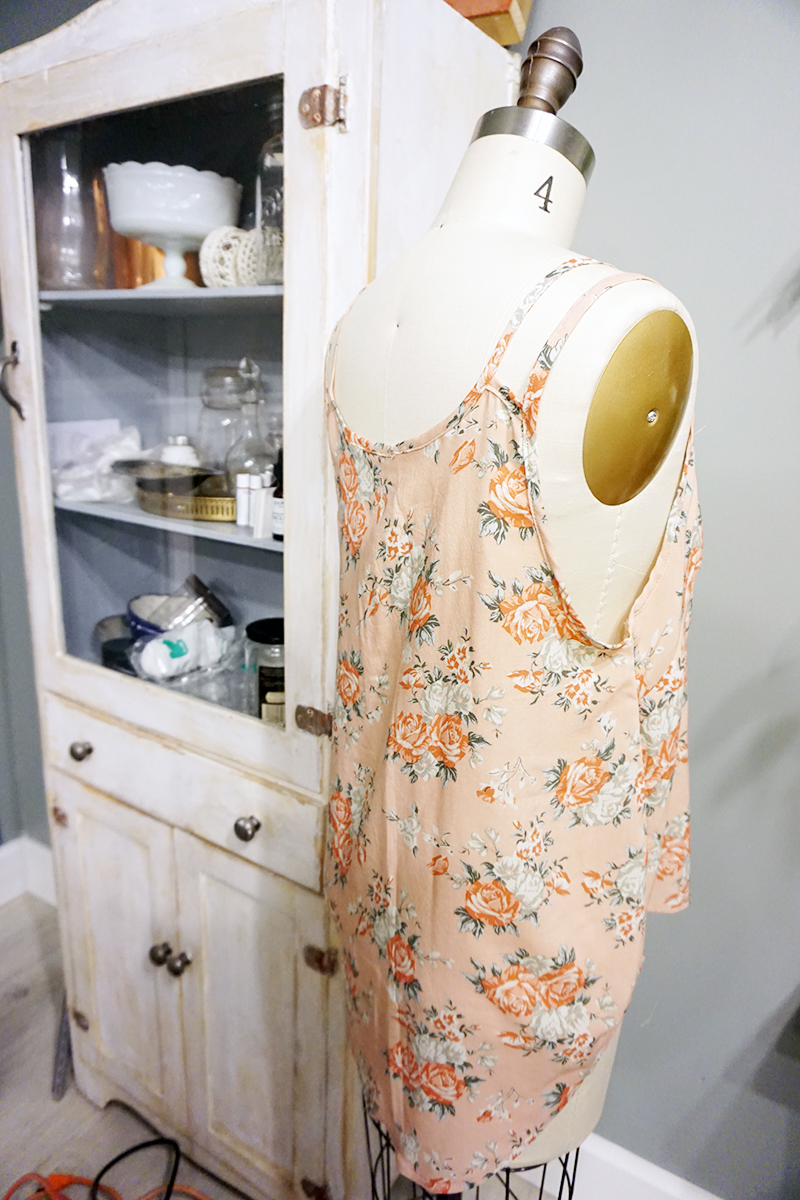
This dress was made from a "rub-off" of an Old Navy dress. The dress I used for the pattern has grown-on sleeves, a high neckline, a keyhole back and a cocoon shape. The fabric is a rayon challis from LA Finch Fabrics. It has a gorgeous drape and hand, but unfortunately it snags and runs very easily.To make the pattern I traced around the seams with the dress folded in half lengthwise using translucent paper and a sharp tracing wheel. I then added a seam allowance as needed and made measurements to cut out a faux cuff piece.The construction was quite simple and I serged all the inside seams. Just sewed the shoulder seams, the side seams, the CB seam (until I wanted to stop for the keyhole), top-stitched the keyhole, made the cuffs and hemmed it. I used single-fold bias binding to finish the neckline. As you can see, I applied elastic to keep the dress fitted around the waist. I generally don't find cocoon shaped dresses too flattering, so this keeps the dress comfortable but still shapely. I also made a tie belt since I don't like the look of an elasticated waist by itself. The elastic seemed too high once I started wearing the dress, so I ended up unpicking it at the front and restitching it lower by about 2 inches in the center front.
 While grown-on sleeves can be awkward and sort of wing-like on me, these actually fit pretty well. I also like the faux cuff but it did take some coaxing with the iron to get them to lay flat. There's a tiny little rouleau loop to hold the gold button I used on the top of the keyhole. There are two matching gold buttons at the top of each cuff on the shoulder seam.
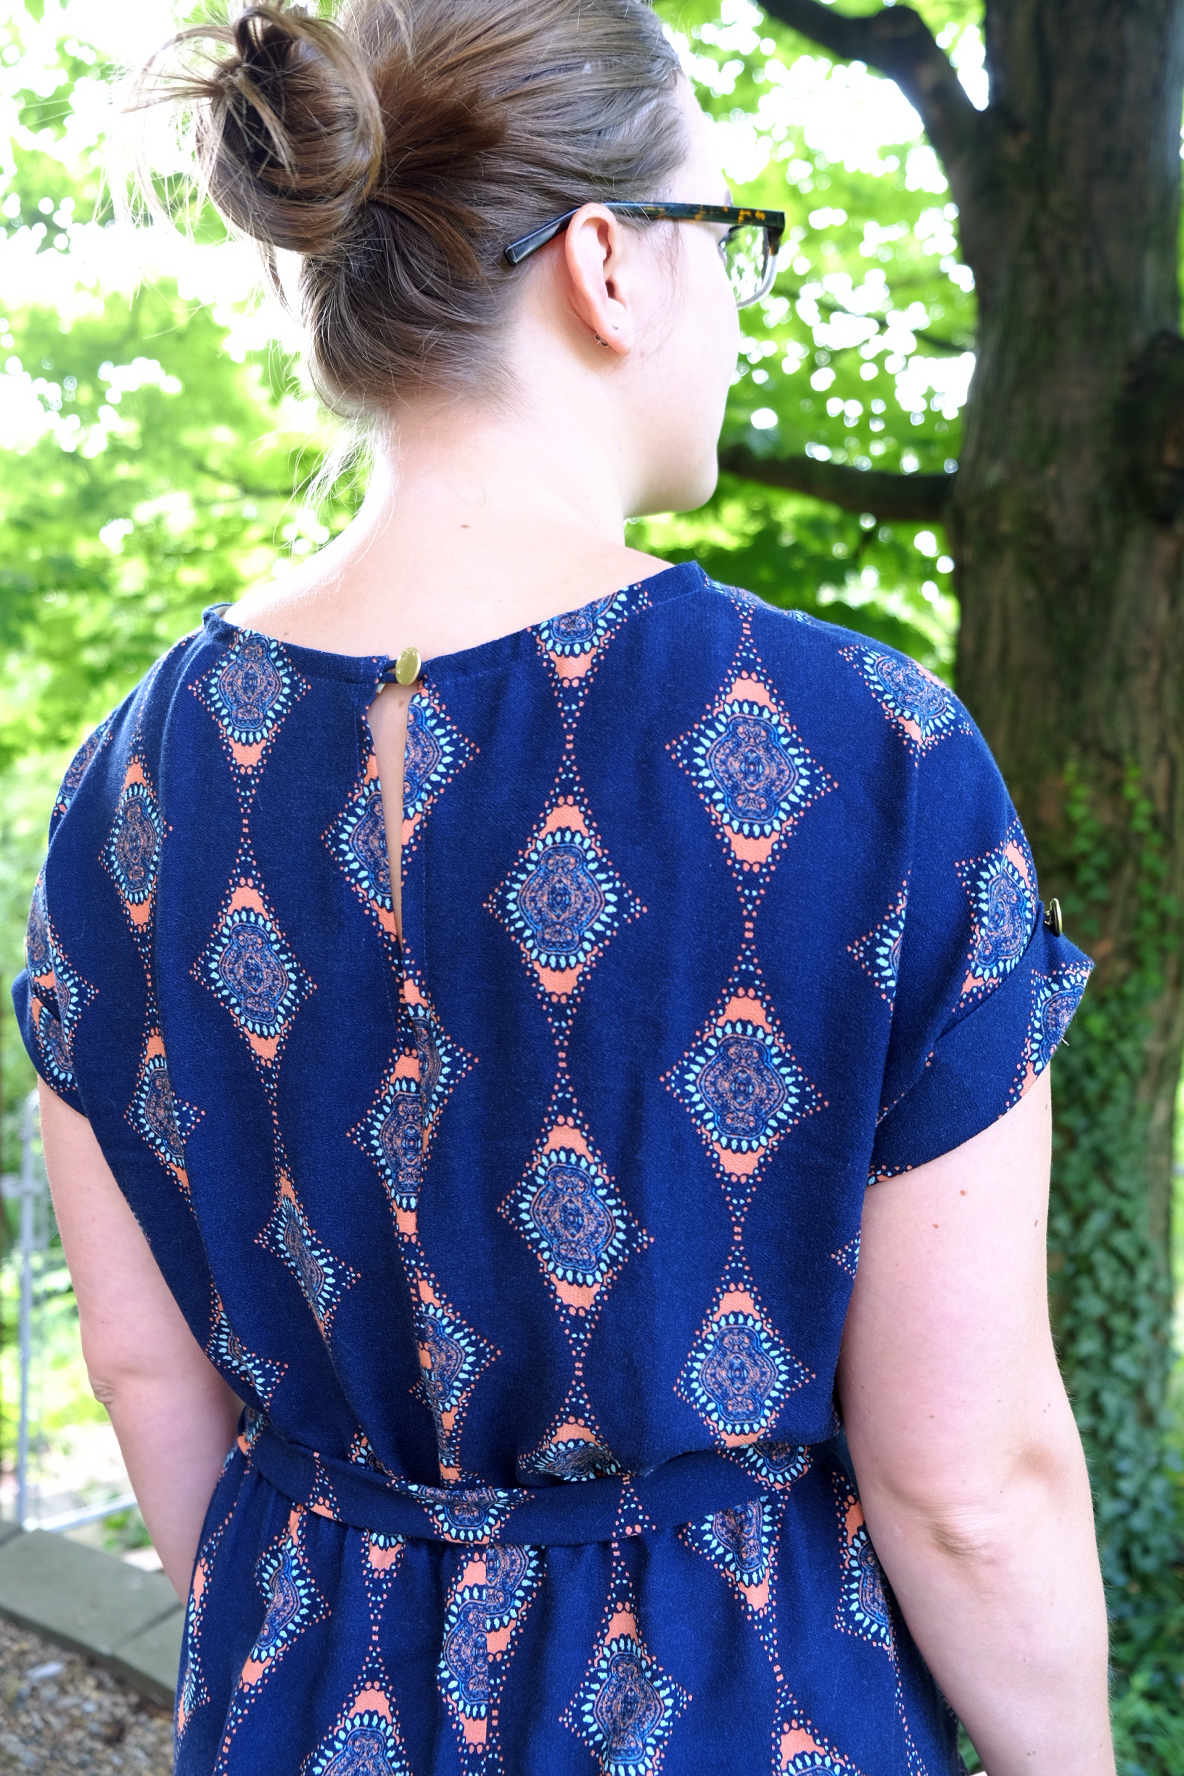
 After wearing this dress for a little bit I have a few adjustments to make to the next one:
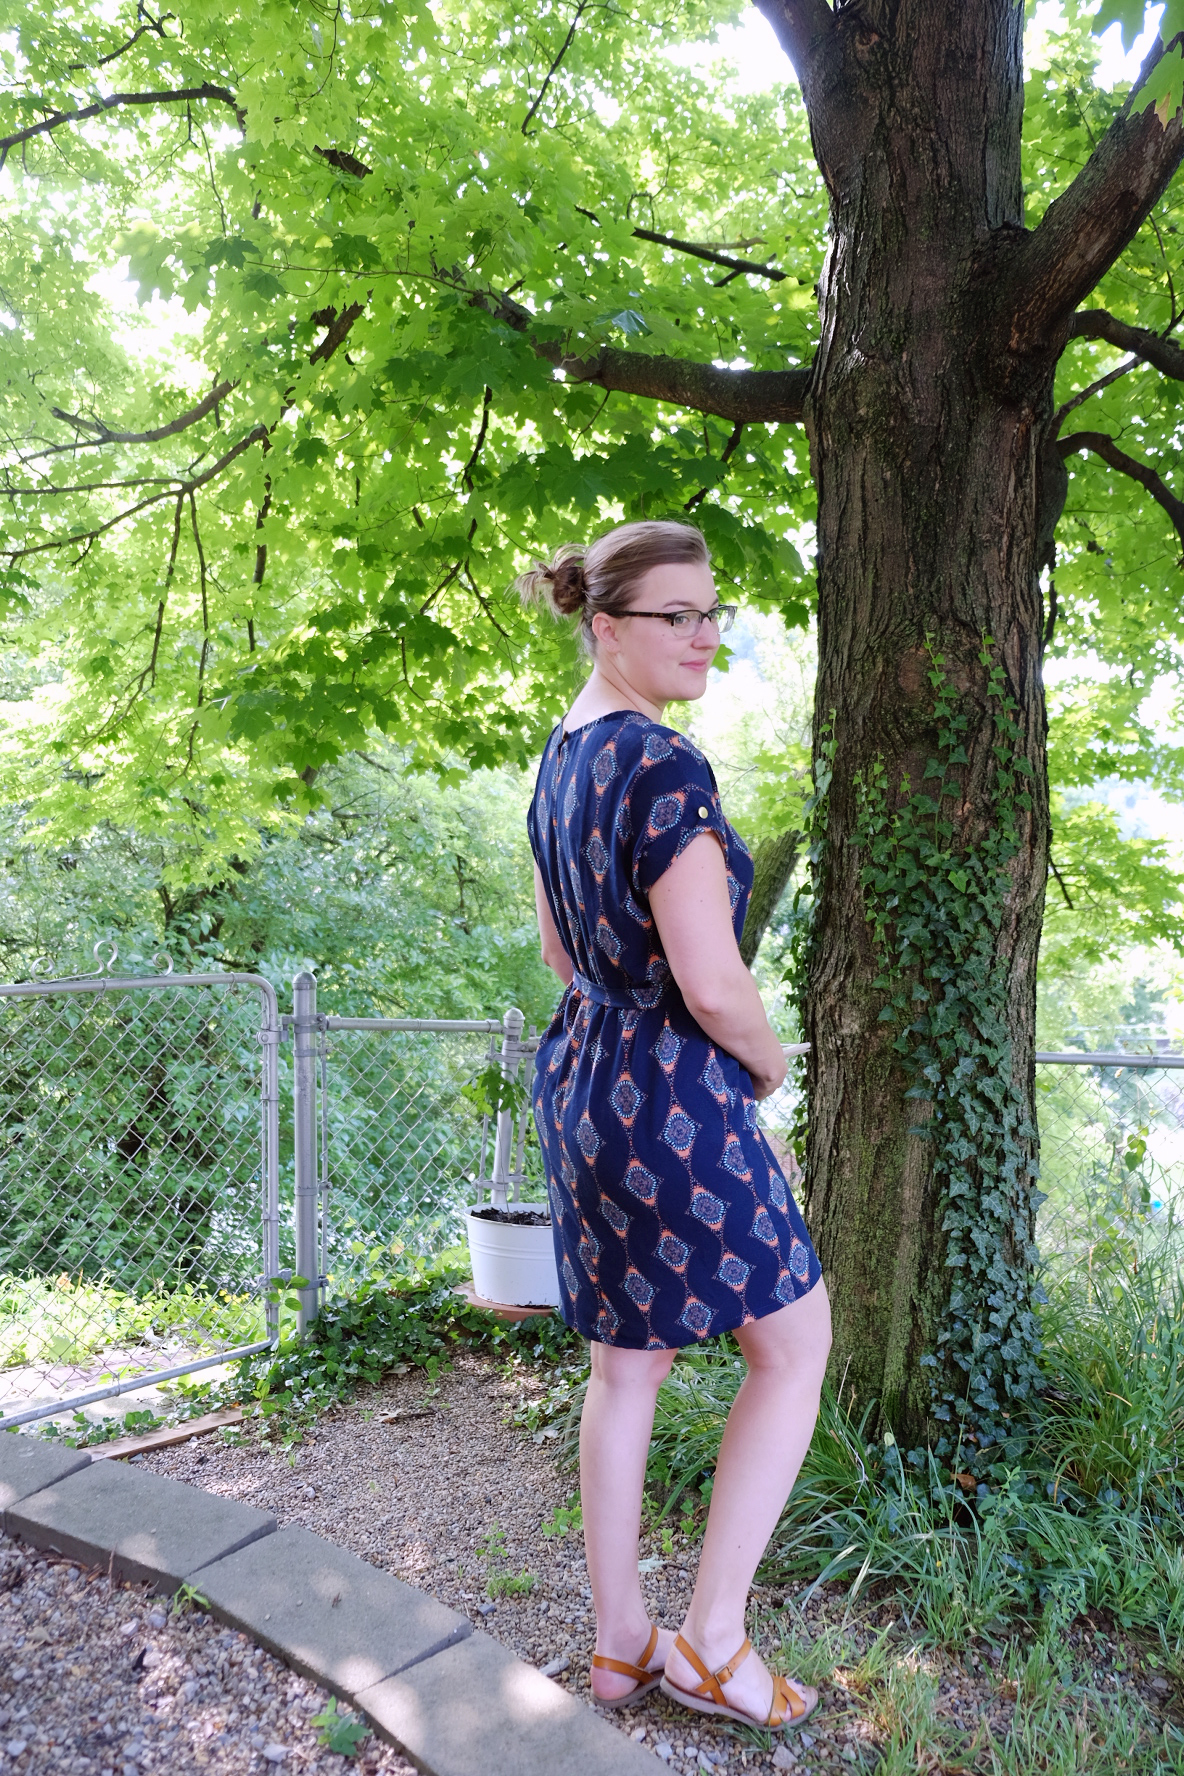
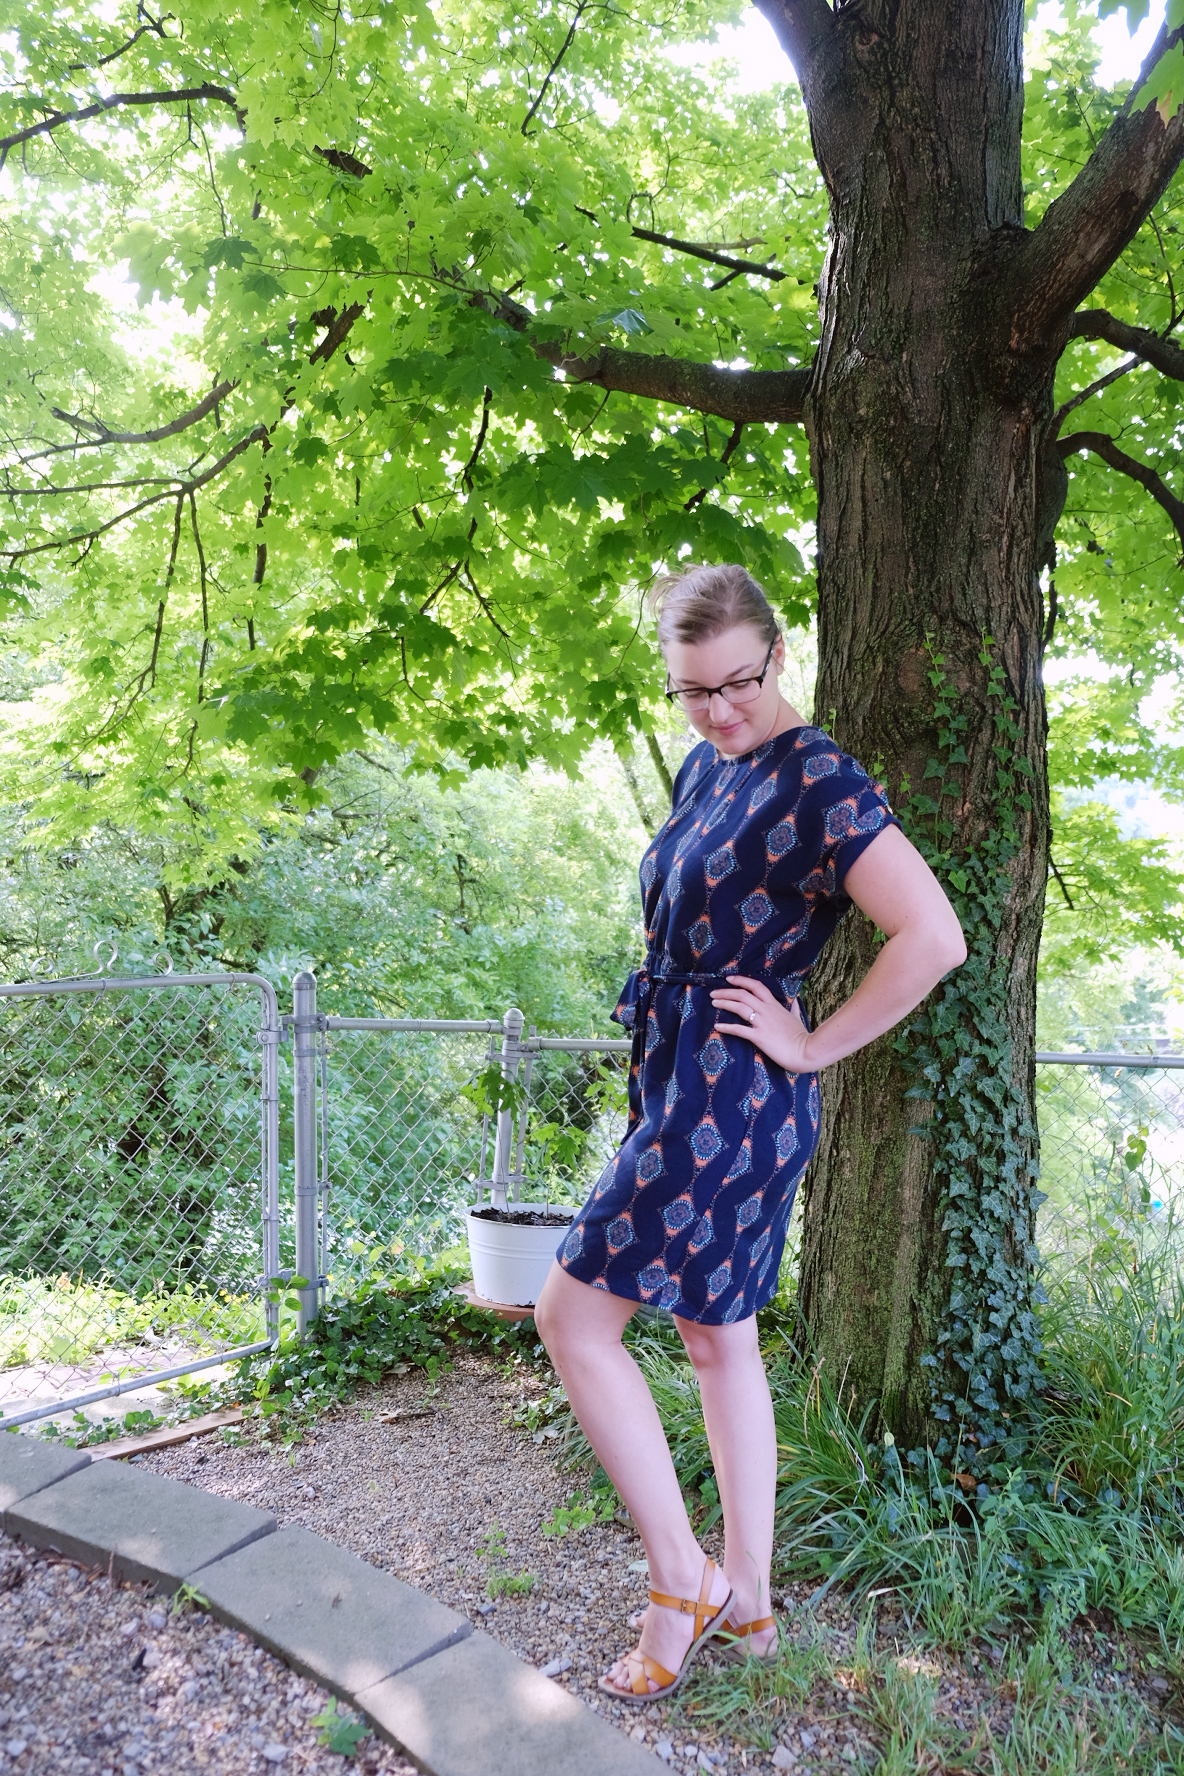
- Make the neckline more of a scoop. The high neck is a bit restrictive.
- Add a little more ease to the hip and thigh areas. In a stiffer fabric it would definitely be too tight.
- Add pockets next time! Duh, why didn't I think to add them to this dress?
- Make a forward shoulder adjustment. The neckline in the front keeps choking me and the back is pulling down, so I think the forward shoulder adjustment should help that. Or maybe I have -- say it ain't so! -- a dowager's hump and need to add fabric to the upper back at the center seam.
 Overall, I'd say this is a pretty successful copy of a RTW garment and it's a totally wearable muslin. Oh -- and I totally tried to pattern match but it was a bust. Next time it'll be perfect! ...Probably not, but who's really looking for that anyway?
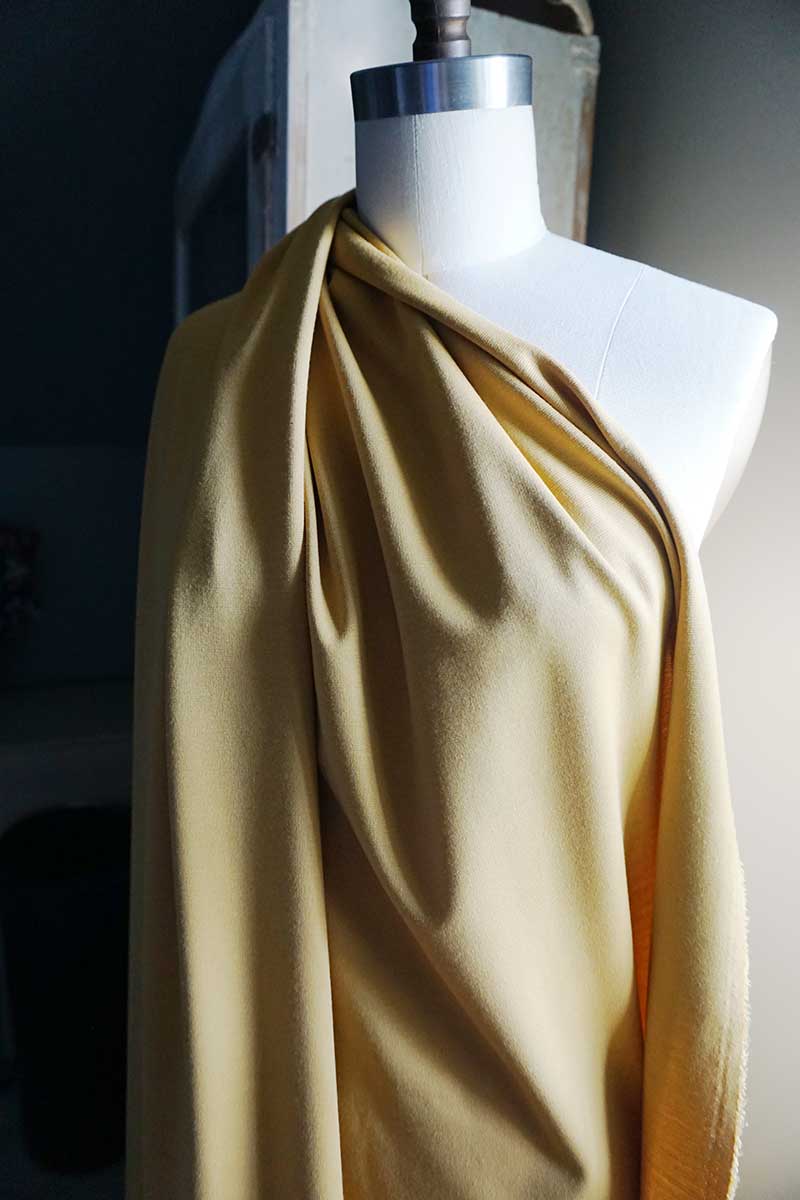
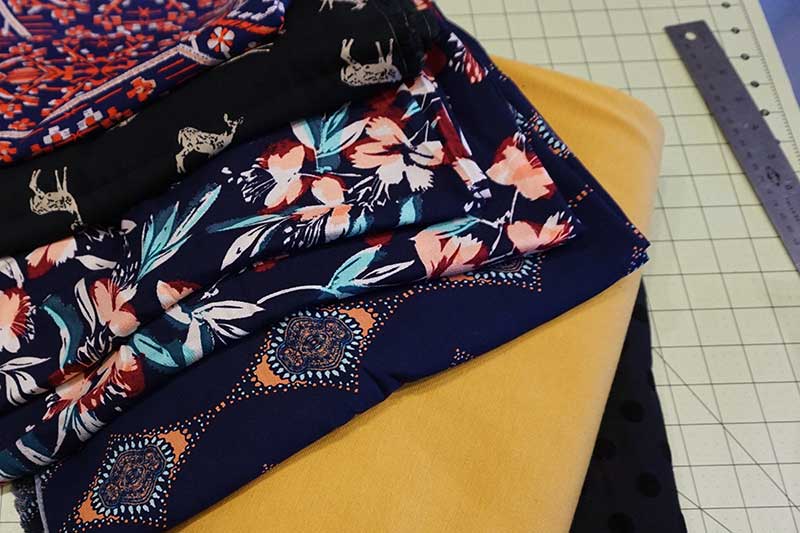 Not only did they send the fabrics, they also included a huge stack of samples, 6 tiny coconut buttons, a good-sized length of black lace ribbon and several twill tape scraps which they used to bundle the fabric. There was, unfortunately, an issue with the gorgeous floral rayon. I ordered two yards of it to make a dress and they sent me two separate yards of it. Obviously, that wouldn't work for making a dress.I emailed them and told them about the issue. The immediately gave me a refund for the floral fabric and asked if I'd like two yards of a different rayon since the floral had a dye issue. I looked through their site and nothing really stood out so I just asked for two more yards of the floral, weird dye or no.All in all I was disappointed that it happened in the first place but they handled the issue quickly and above and beyond my expectations. I will definitely continue shopping here because I'd like to support a smaller fabric company vs. JoAnn fabrics. Still, though, how does that even happen? Oh well.Here are the fabrics I bought draped on a form to show off the print/weight:
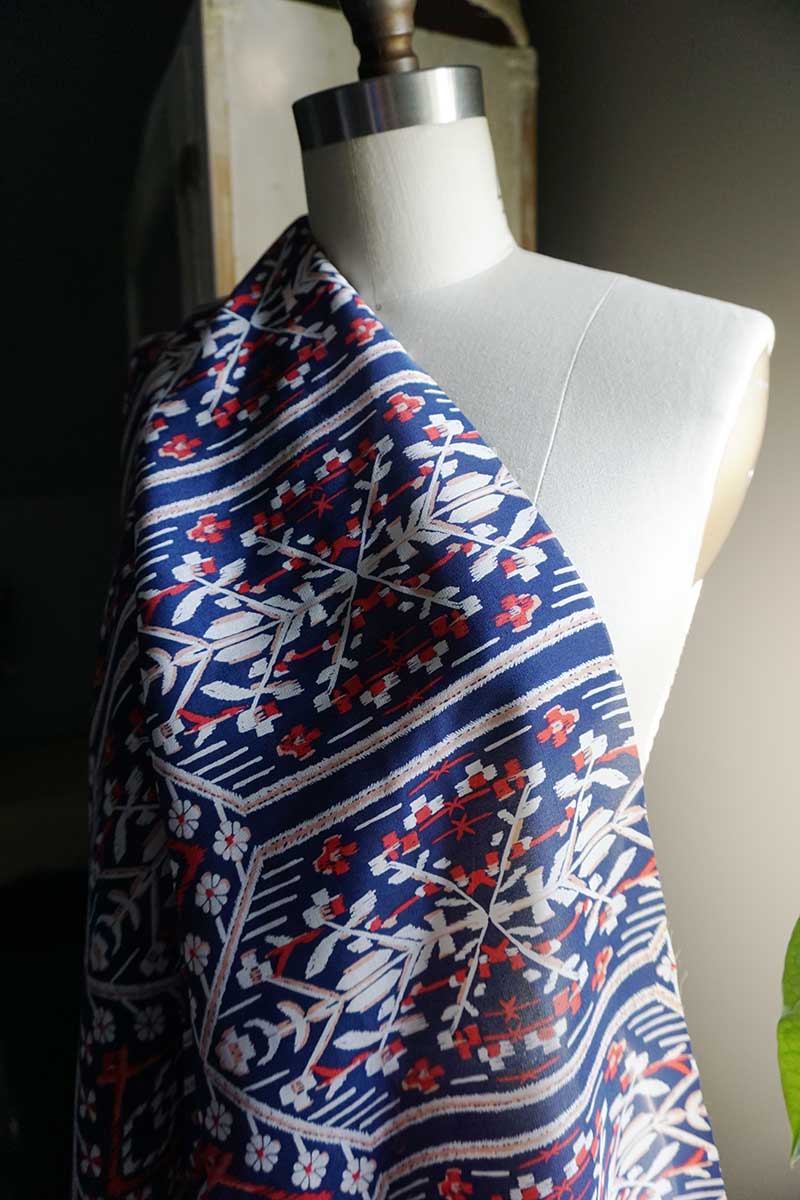 [
[ [
[ [Helena Floral Rayon]
  [
[ [
[ [
[
 First, you take a woven shirt that you like the fit of. Pin the back and front together on the center folds, pinning the armholes together as well. Place tracing paper over the shirt and trace around the outline, slightly shaping the side seam.
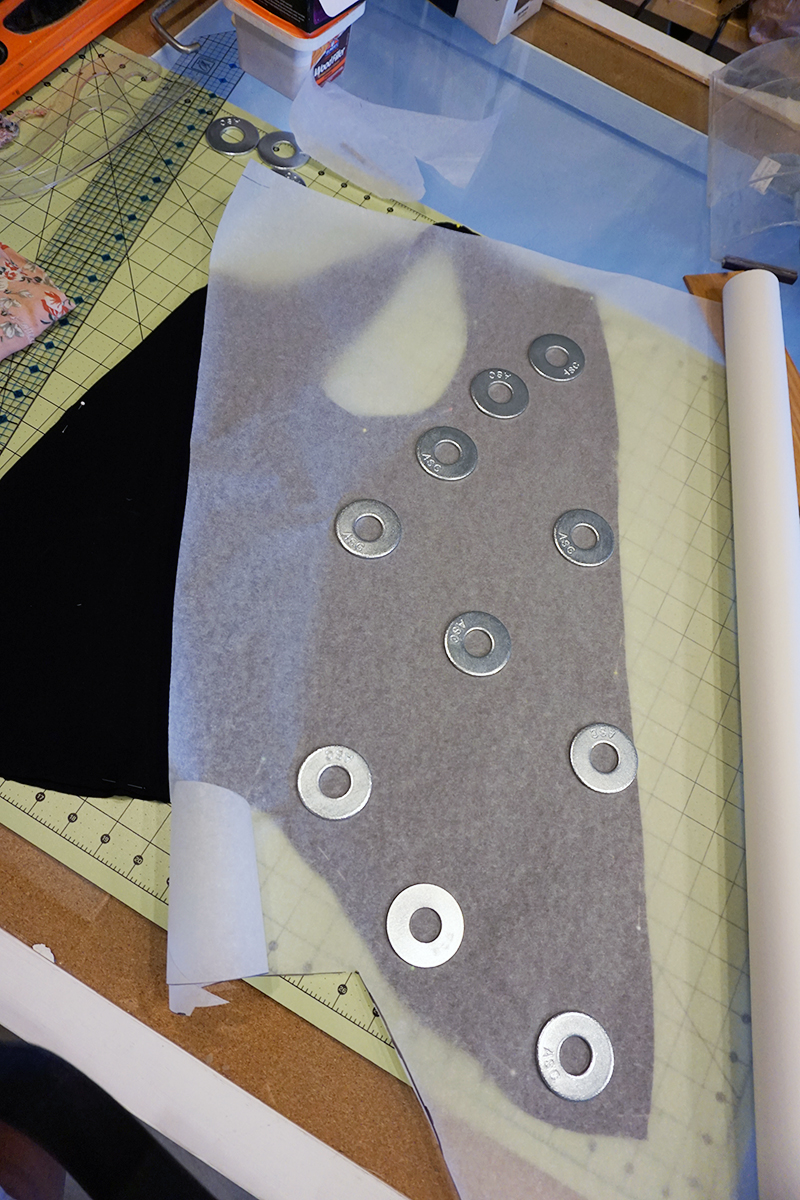
 Label the pattern piece with all relevant info and mark your seam allowances (I used 5/8"). Shorten the length of the straps so that you can use bias tape later to create them.
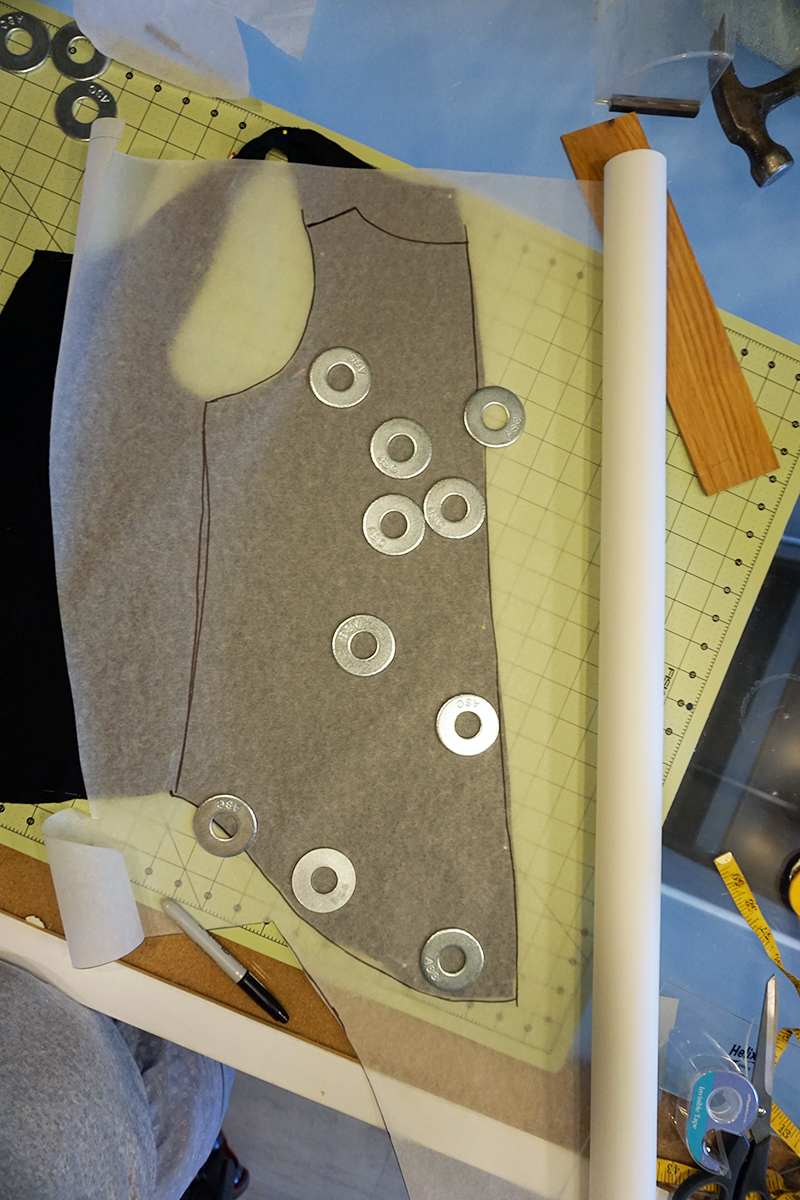
 Trace the front piece and include any darts.
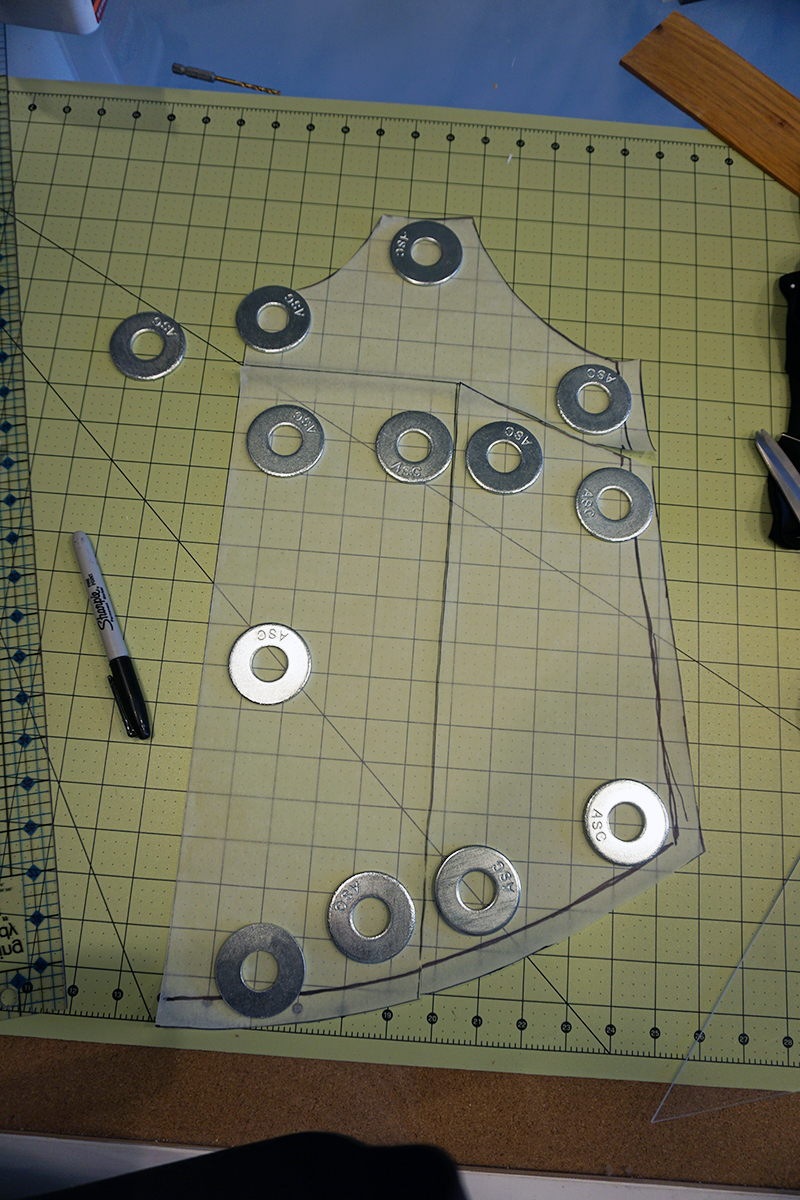 Mark a line from the dart point to the bottom of the shirt and from the dart point over to the center front. Cut these lines, including the dart.
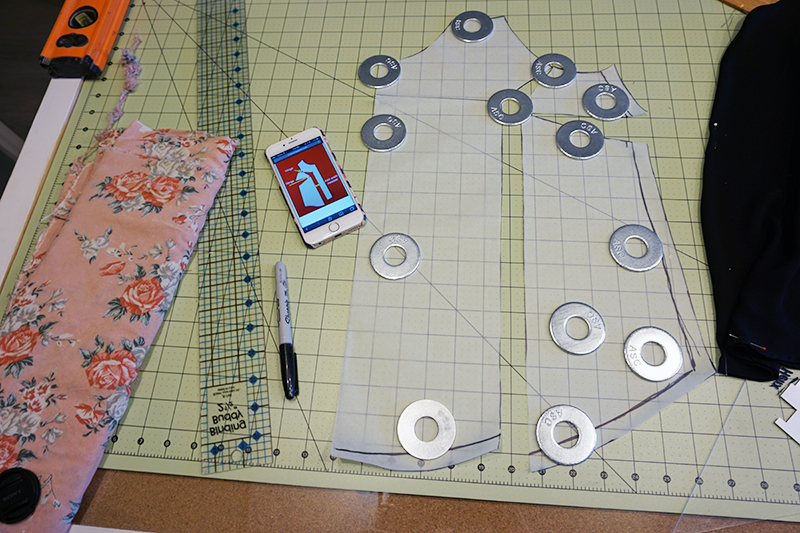 Measure the dart in the shirt to see how far you need to spread the dart. If the dart is 1/2" on either side of the fold you will need to spread it 1". Spread the dart so that you have the right measurement.
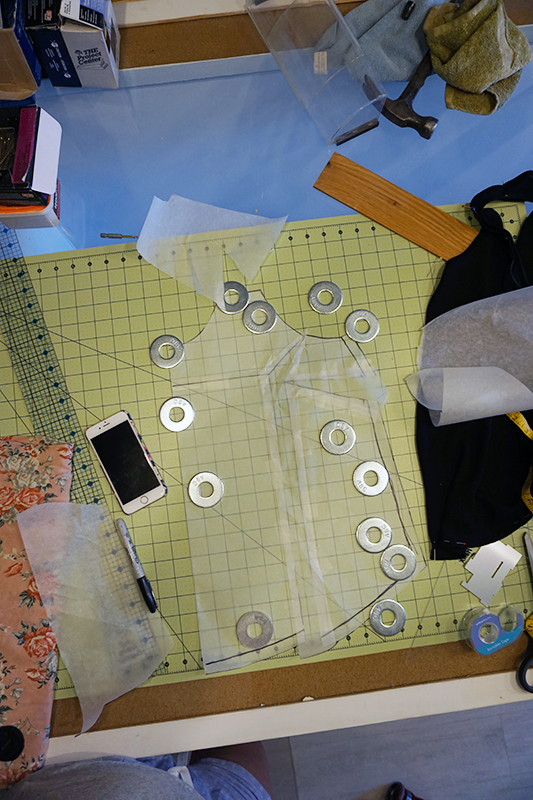 Slide paper under the cut pieces, tape everything together and re-draw the bottom hem lines and sleeve line.
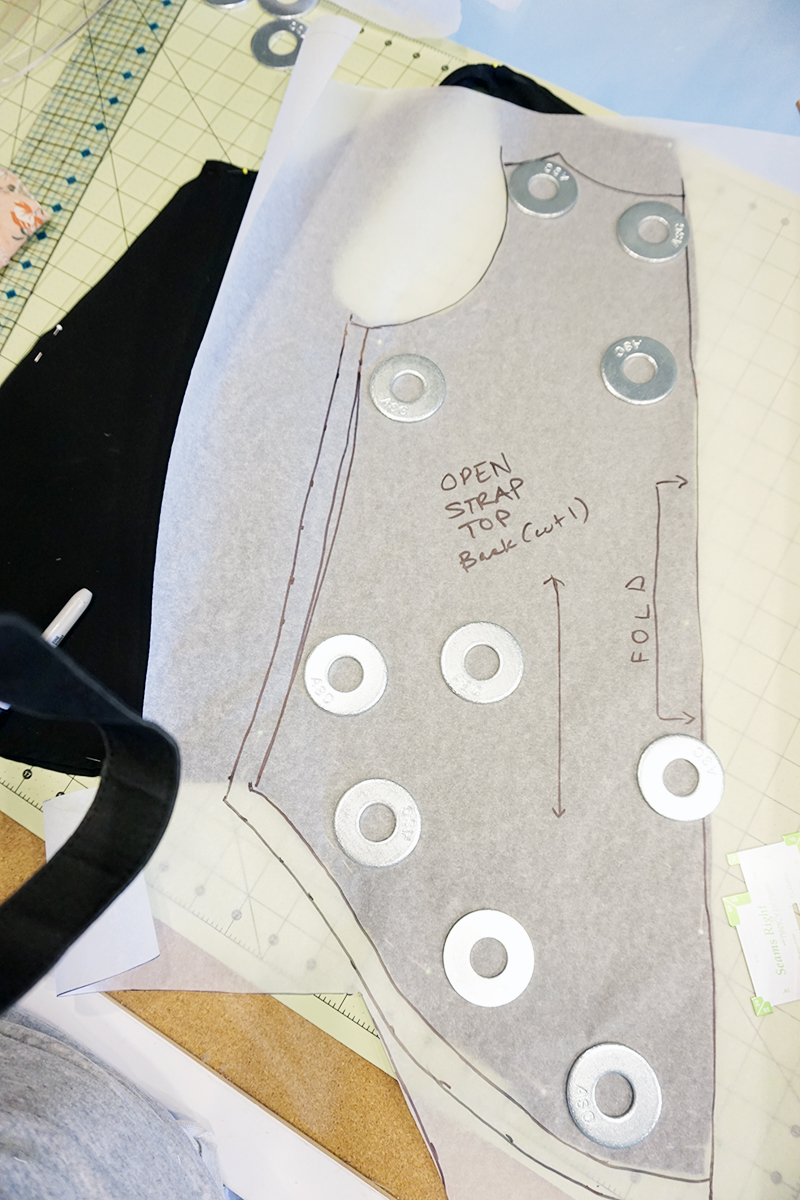
 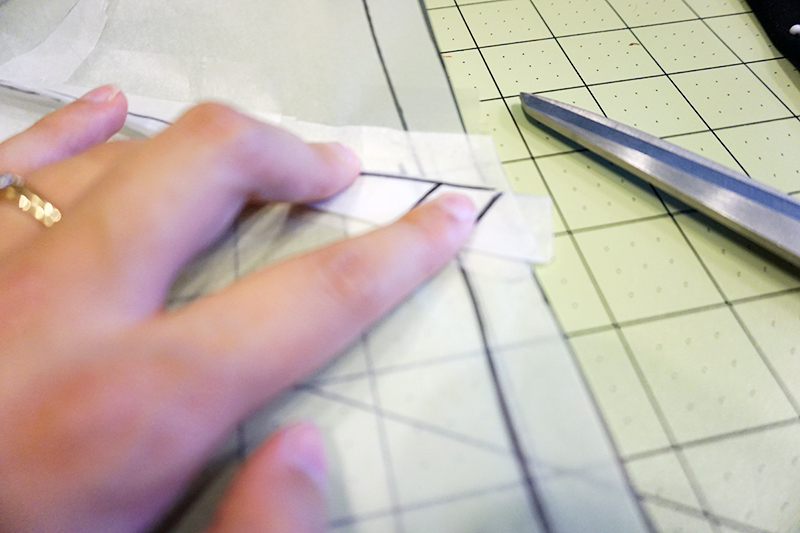 Fold the dart to mark the seam lines (ignore my mistake lines).
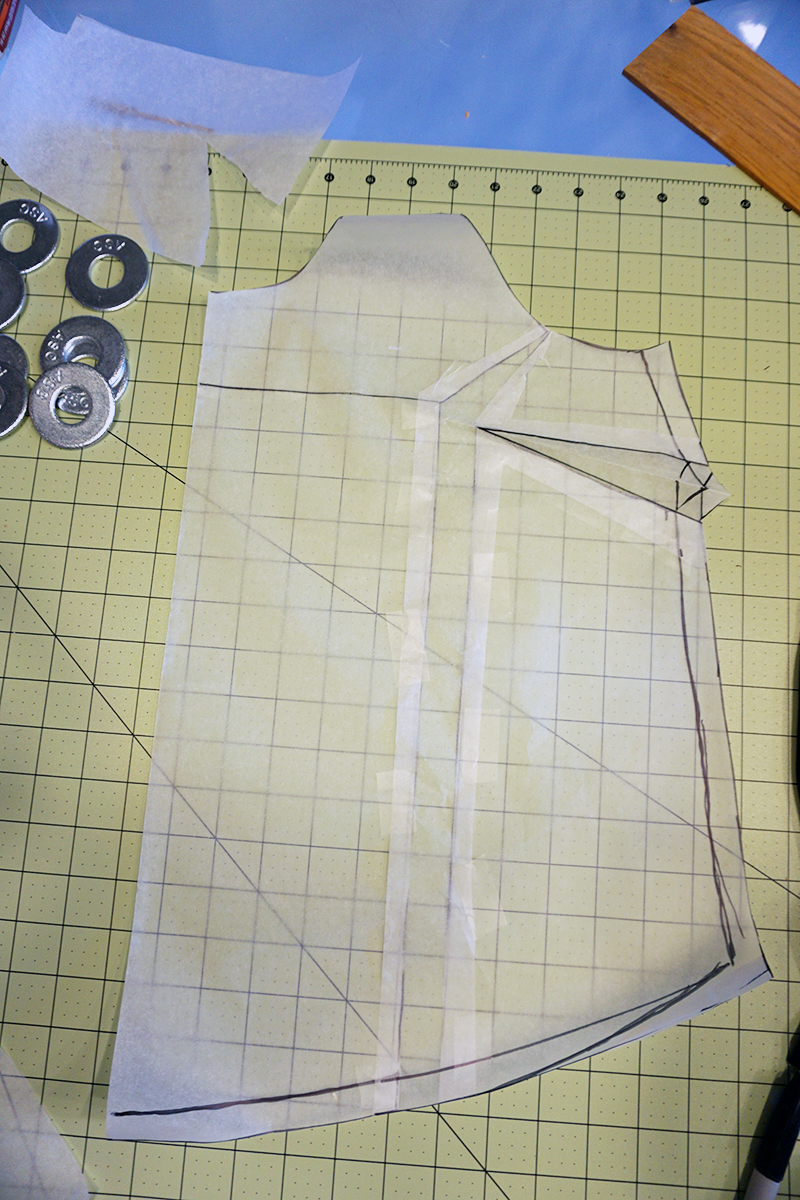 Ta-da! You have a front shirt piece. Cut all of the excess paper off.
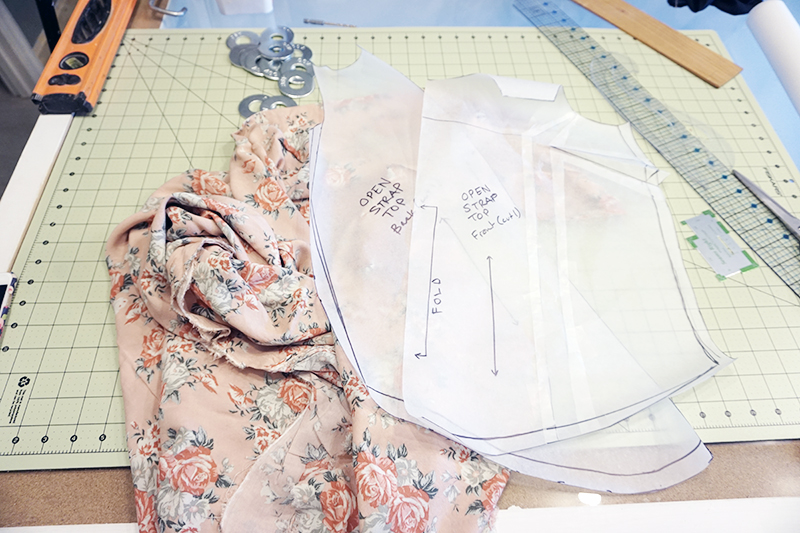 You should only have two pieces for this pattern, a front and back. They will both be cut on the fold.
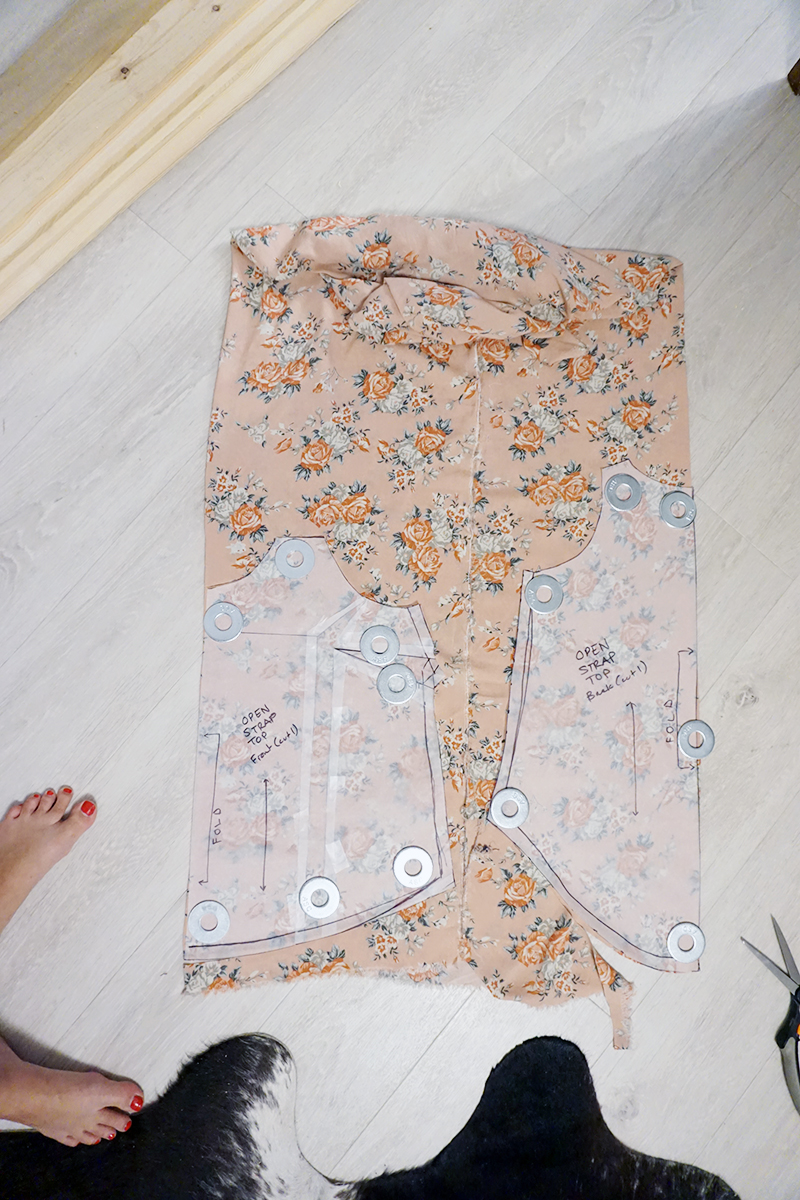 In order to cut both pieces on the fold, bring the selvedge edges to the center of the fabric and lay out your pattern pieces.
 Make some bias tape. I made a ton using this tutorial:
  Sew the front and back pieces together at the side seams. I used french seams.
 Pin and sew bias tape across the tops of the straps.
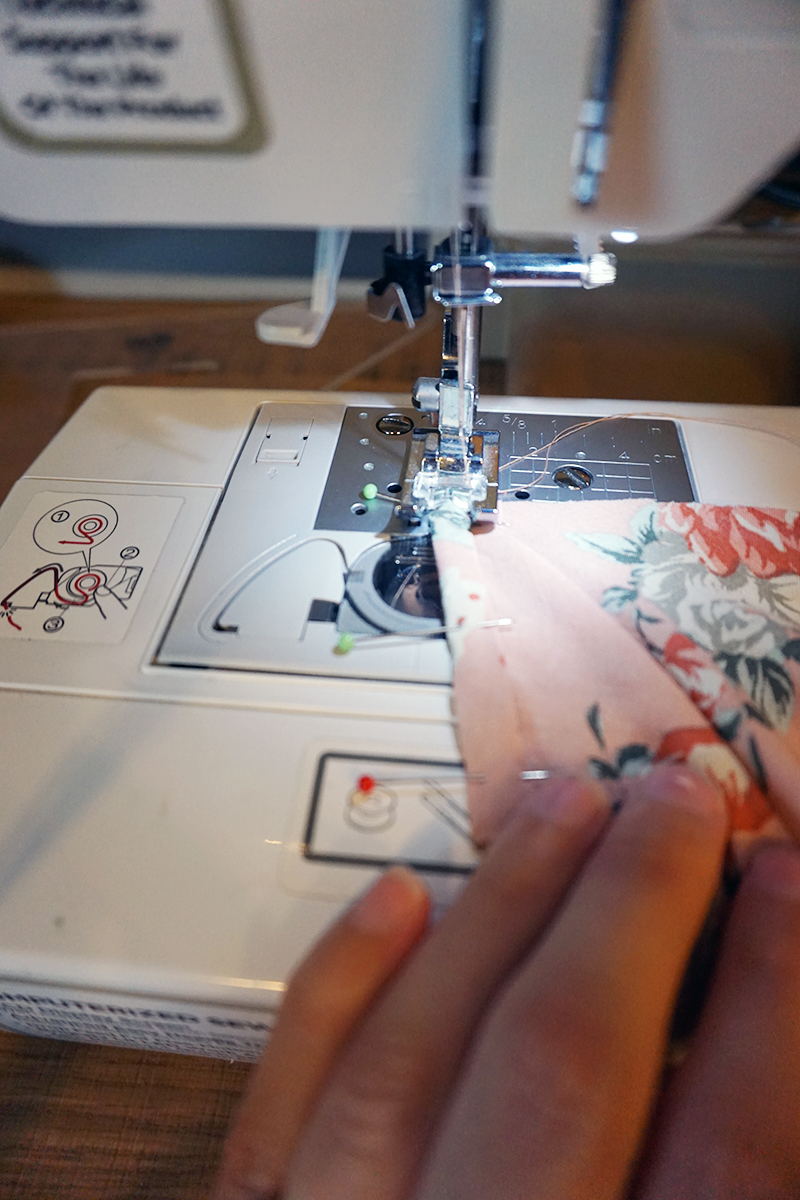 Stitch bias tape around the whole neckline and back, using your original shirt as a guide for the length,
 Stitch bias tape around each armhole, again using your original shirt as a guide for length. Hem, using a narrow hem or bias tape.
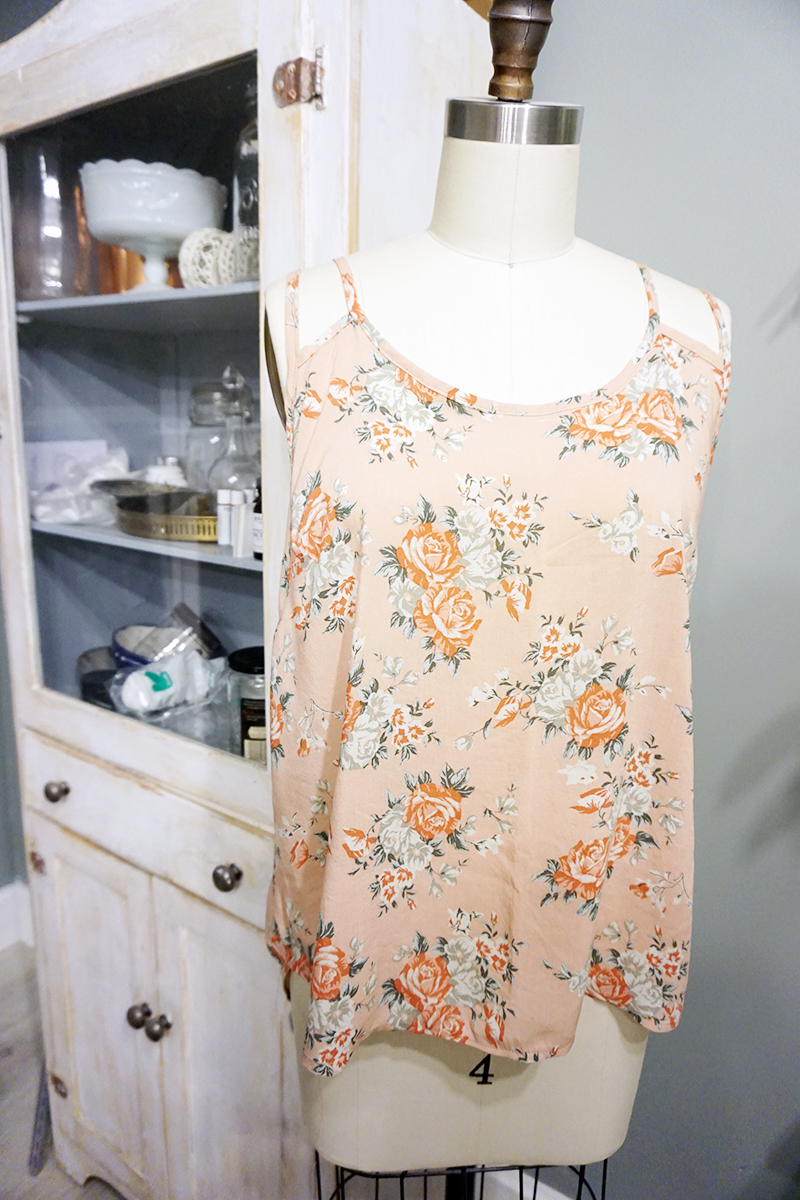 Your flowy, open-strapped tank is done!