This dress was made from a "rub-off" of an Old Navy dress. The dress I used for the pattern has grown-on sleeves, a high neckline, a keyhole back and a cocoon shape. The fabric is a rayon challis from LA Finch Fabrics. It has a gorgeous drape and hand, but unfortunately it snags and runs very easily.To make the pattern I traced around the seams with the dress folded in half lengthwise using translucent paper and a sharp tracing wheel. I then added a seam allowance as needed and made measurements to cut out a faux cuff piece.The construction was quite simple and I serged all the inside seams. Just sewed the shoulder seams, the side seams, the CB seam (until I wanted to stop for the keyhole), top-stitched the keyhole, made the cuffs and hemmed it. I used single-fold bias binding to finish the neckline. As you can see, I applied elastic to keep the dress fitted around the waist. I generally don't find cocoon shaped dresses too flattering, so this keeps the dress comfortable but still shapely. I also made a tie belt since I don't like the look of an elasticated waist by itself. The elastic seemed too high once I started wearing the dress, so I ended up unpicking it at the front and restitching it lower by about 2 inches in the center front.
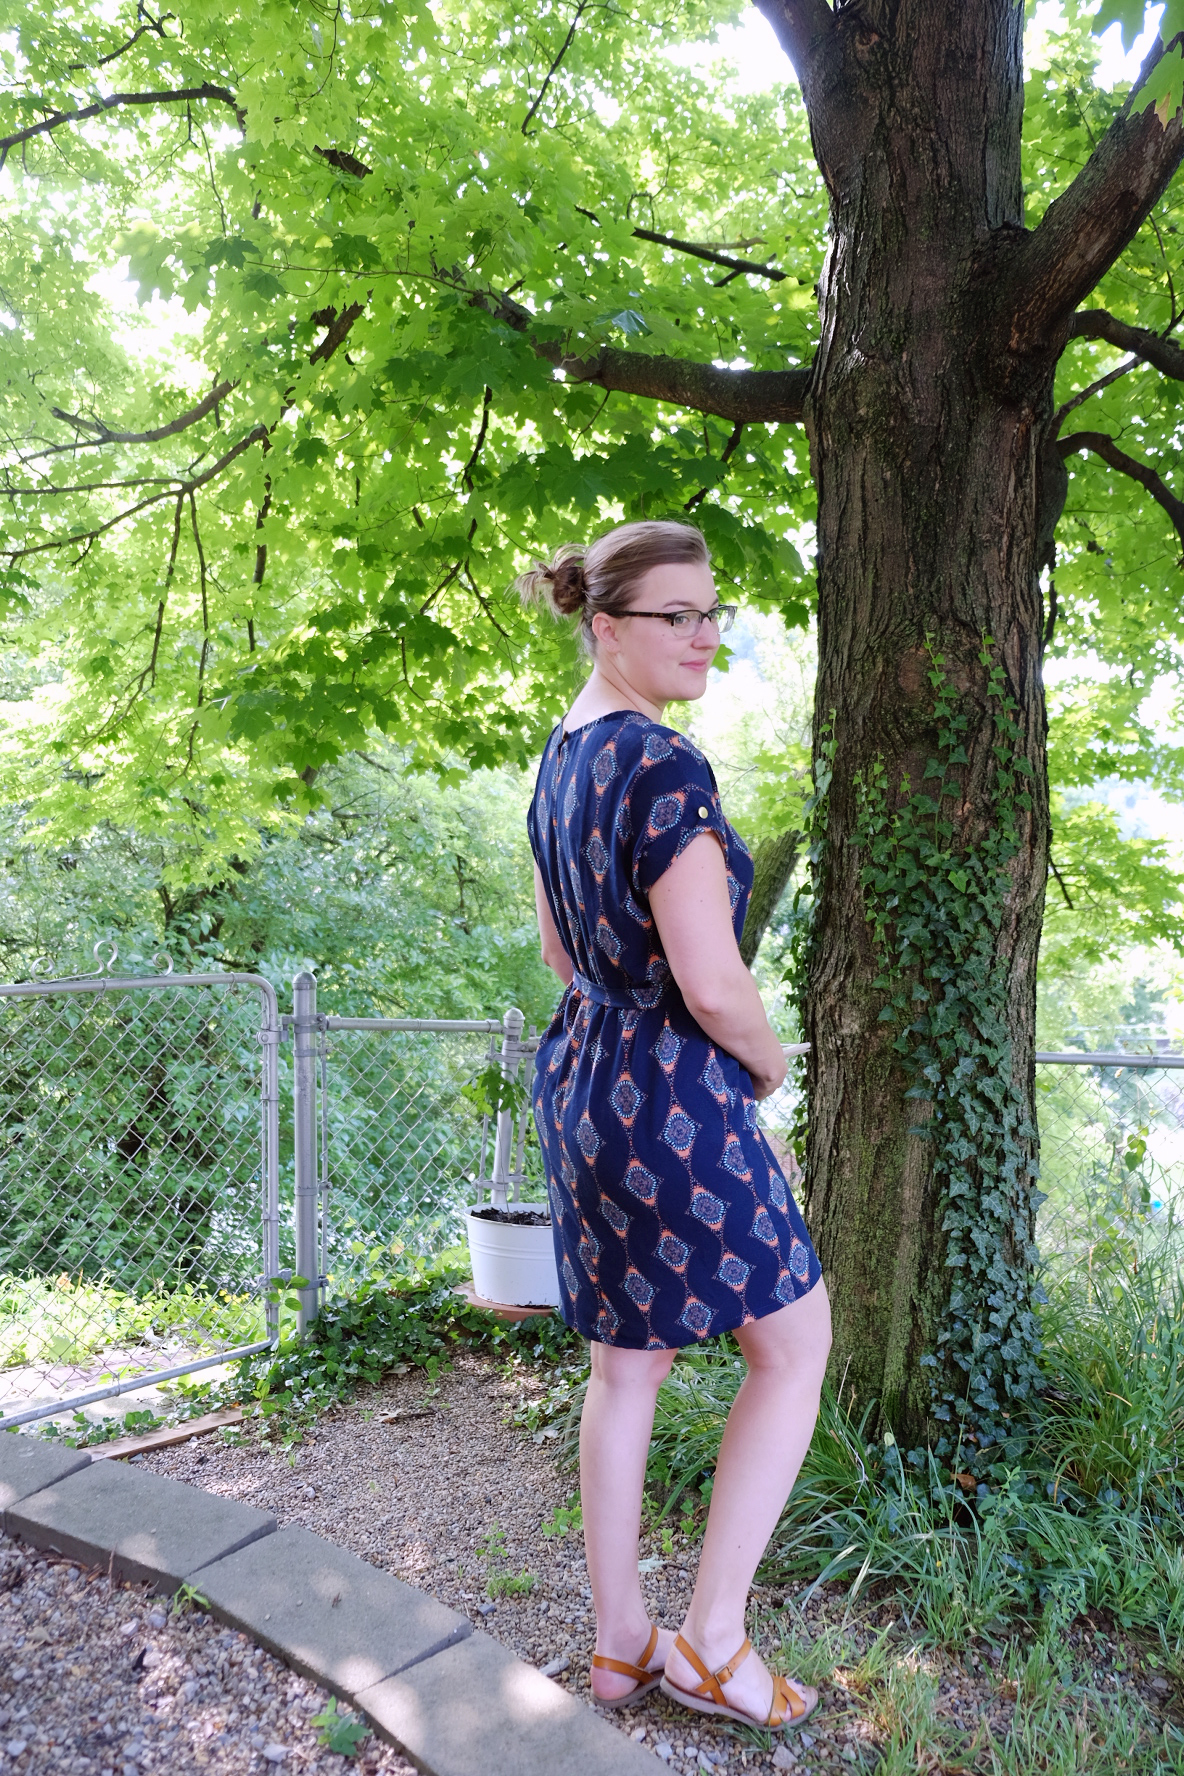
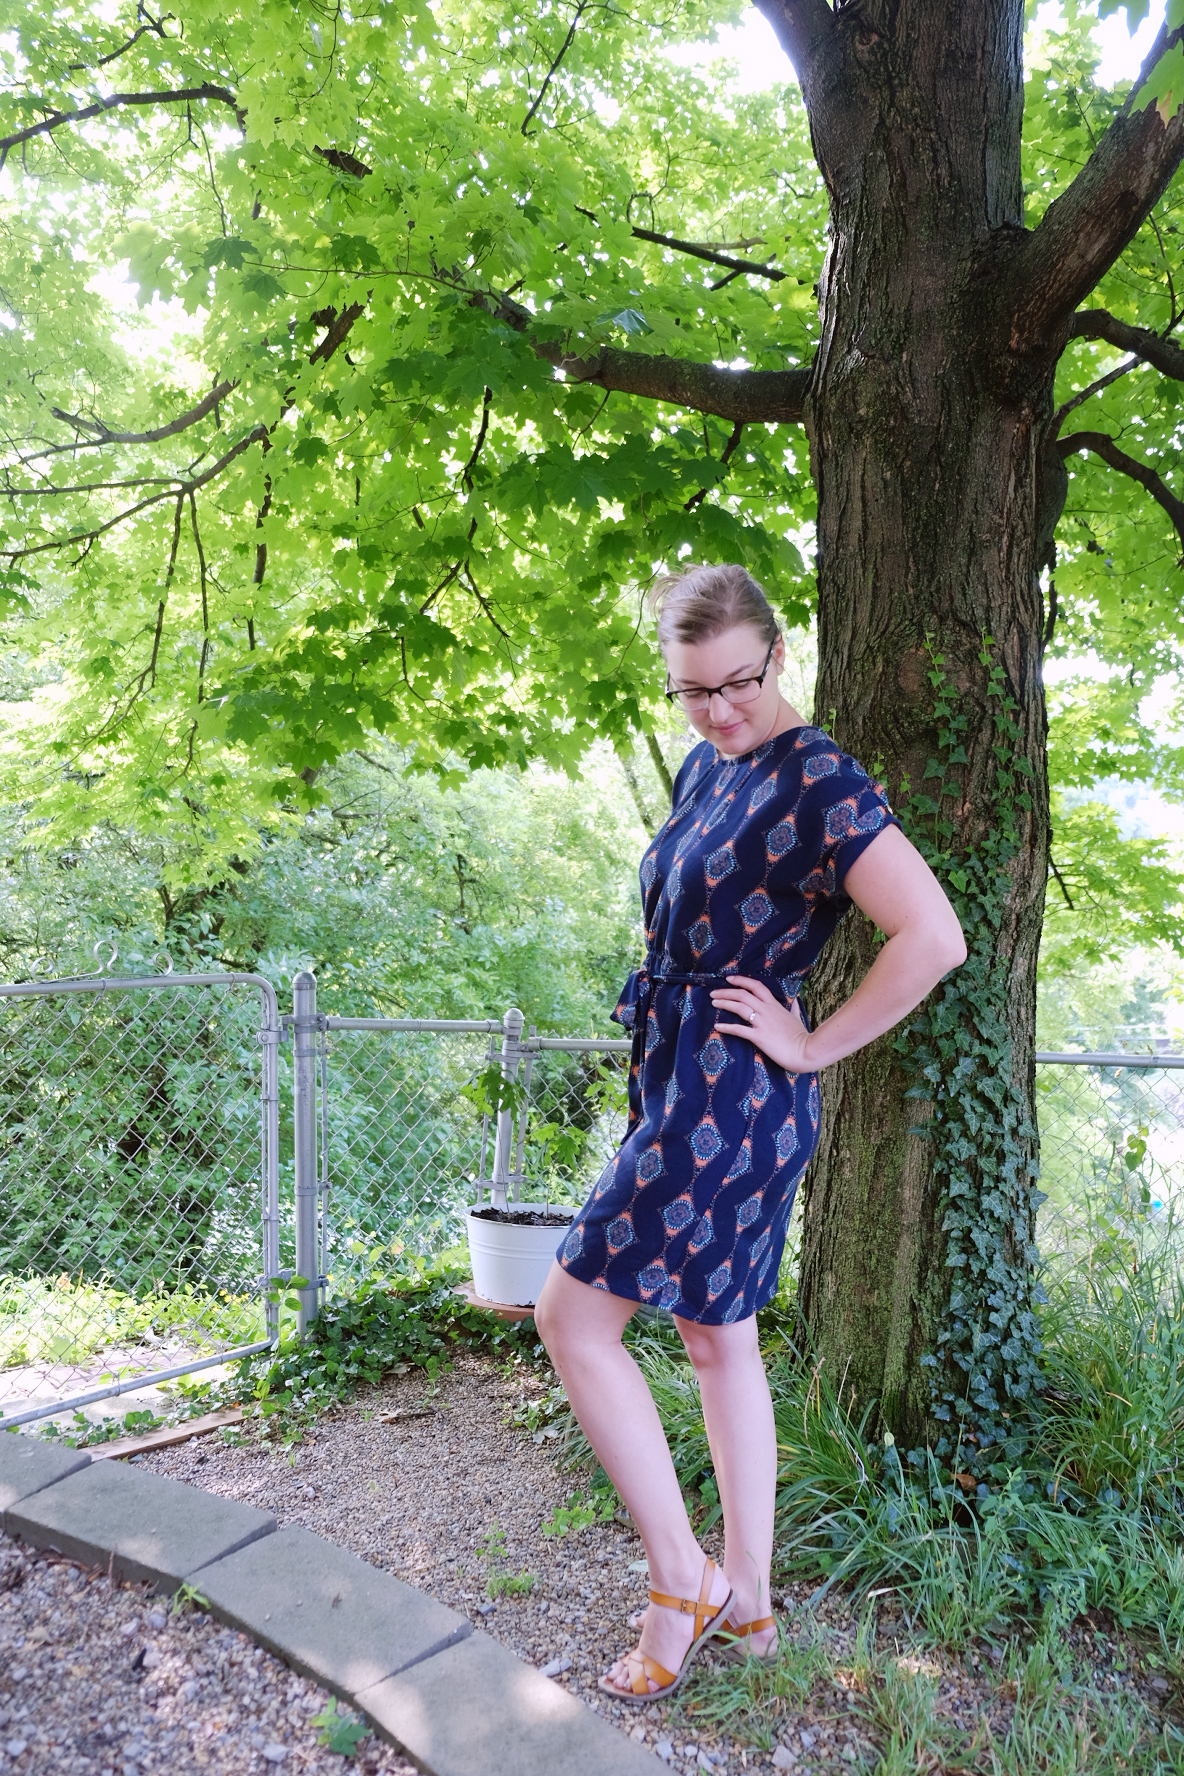
 While grown-on sleeves can be awkward and sort of wing-like on me, these actually fit pretty well. I also like the faux cuff but it did take some coaxing with the iron to get them to lay flat. There's a tiny little rouleau loop to hold the gold button I used on the top of the keyhole. There are two matching gold buttons at the top of each cuff on the shoulder seam.
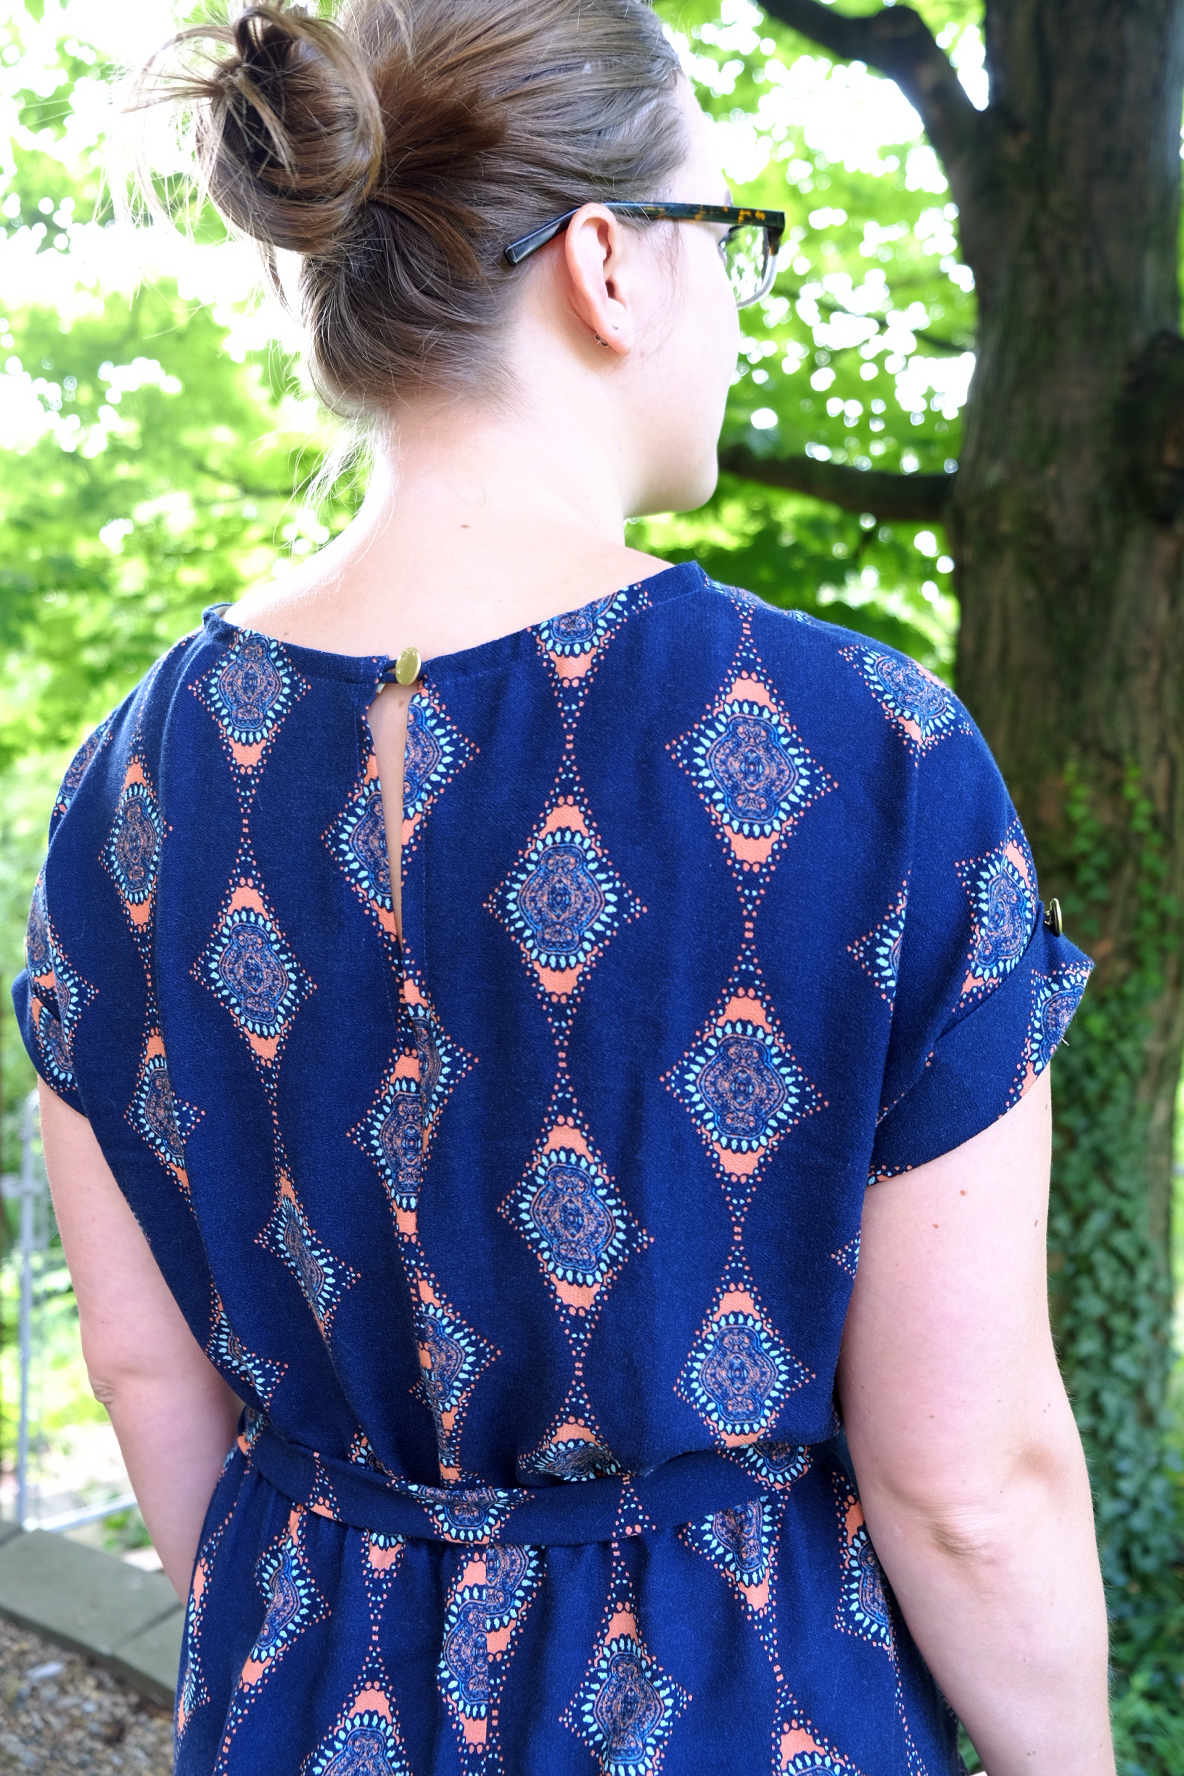
 After wearing this dress for a little bit I have a few adjustments to make to the next one:
- Make the neckline more of a scoop. The high neck is a bit restrictive.
- Add a little more ease to the hip and thigh areas. In a stiffer fabric it would definitely be too tight.
- Add pockets next time! Duh, why didn't I think to add them to this dress?
- Make a forward shoulder adjustment. The neckline in the front keeps choking me and the back is pulling down, so I think the forward shoulder adjustment should help that. Or maybe I have -- say it ain't so! -- a dowager's hump and need to add fabric to the upper back at the center seam.
 Overall, I'd say this is a pretty successful copy of a RTW garment and it's a totally wearable muslin. Oh -- and I totally tried to pattern match but it was a bust. Next time it'll be perfect! ...Probably not, but who's really looking for that anyway?
 It was intended to be practice for a loose shift dress (using
 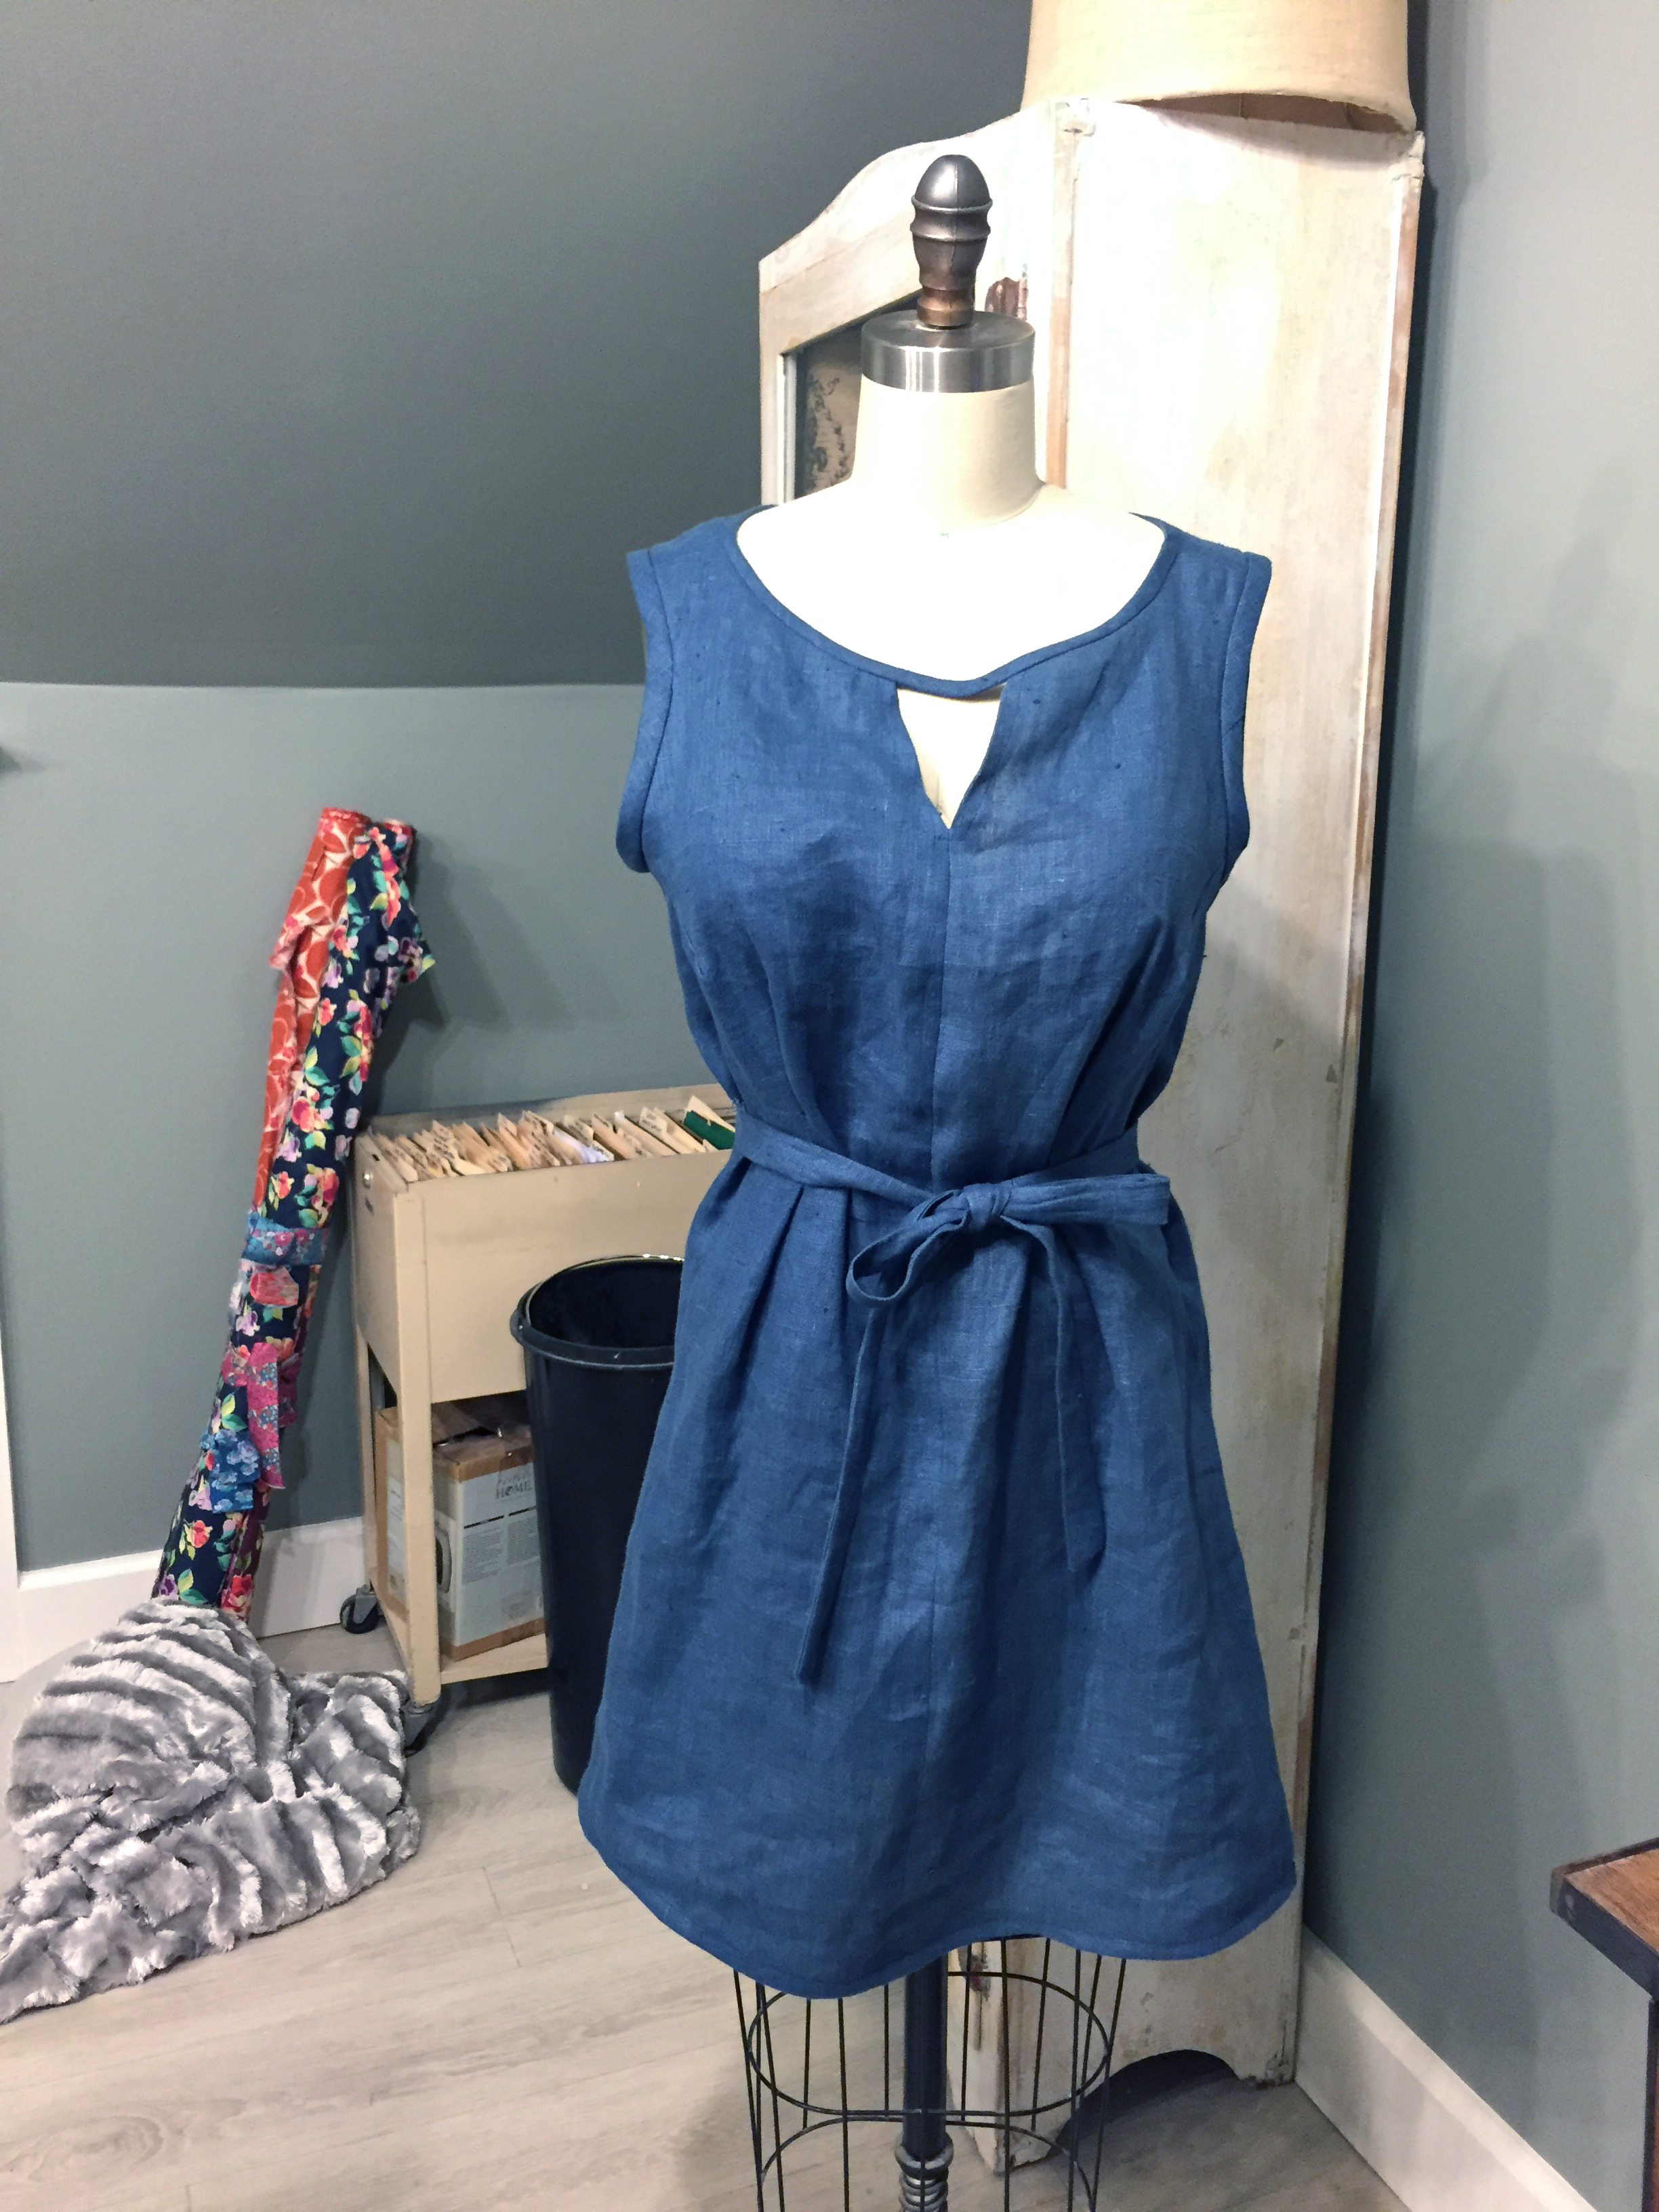 I think it looks much more updated and wearable. In fact, I wore it today![surow][sucolumn size="1/2"]
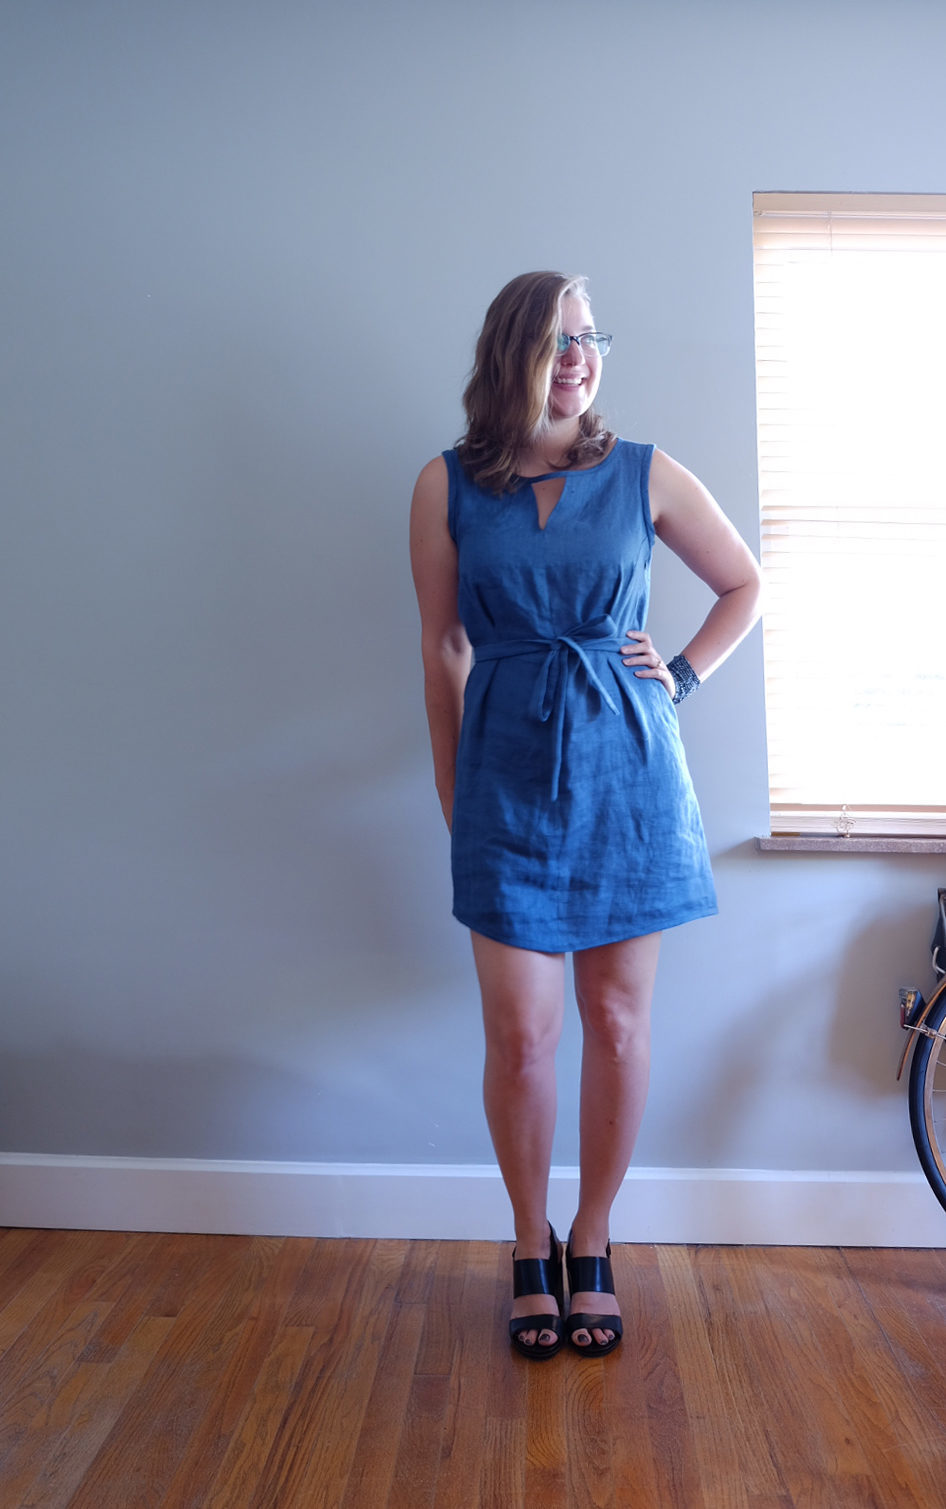 [/sucolumn][sucolumn size="1/2"]
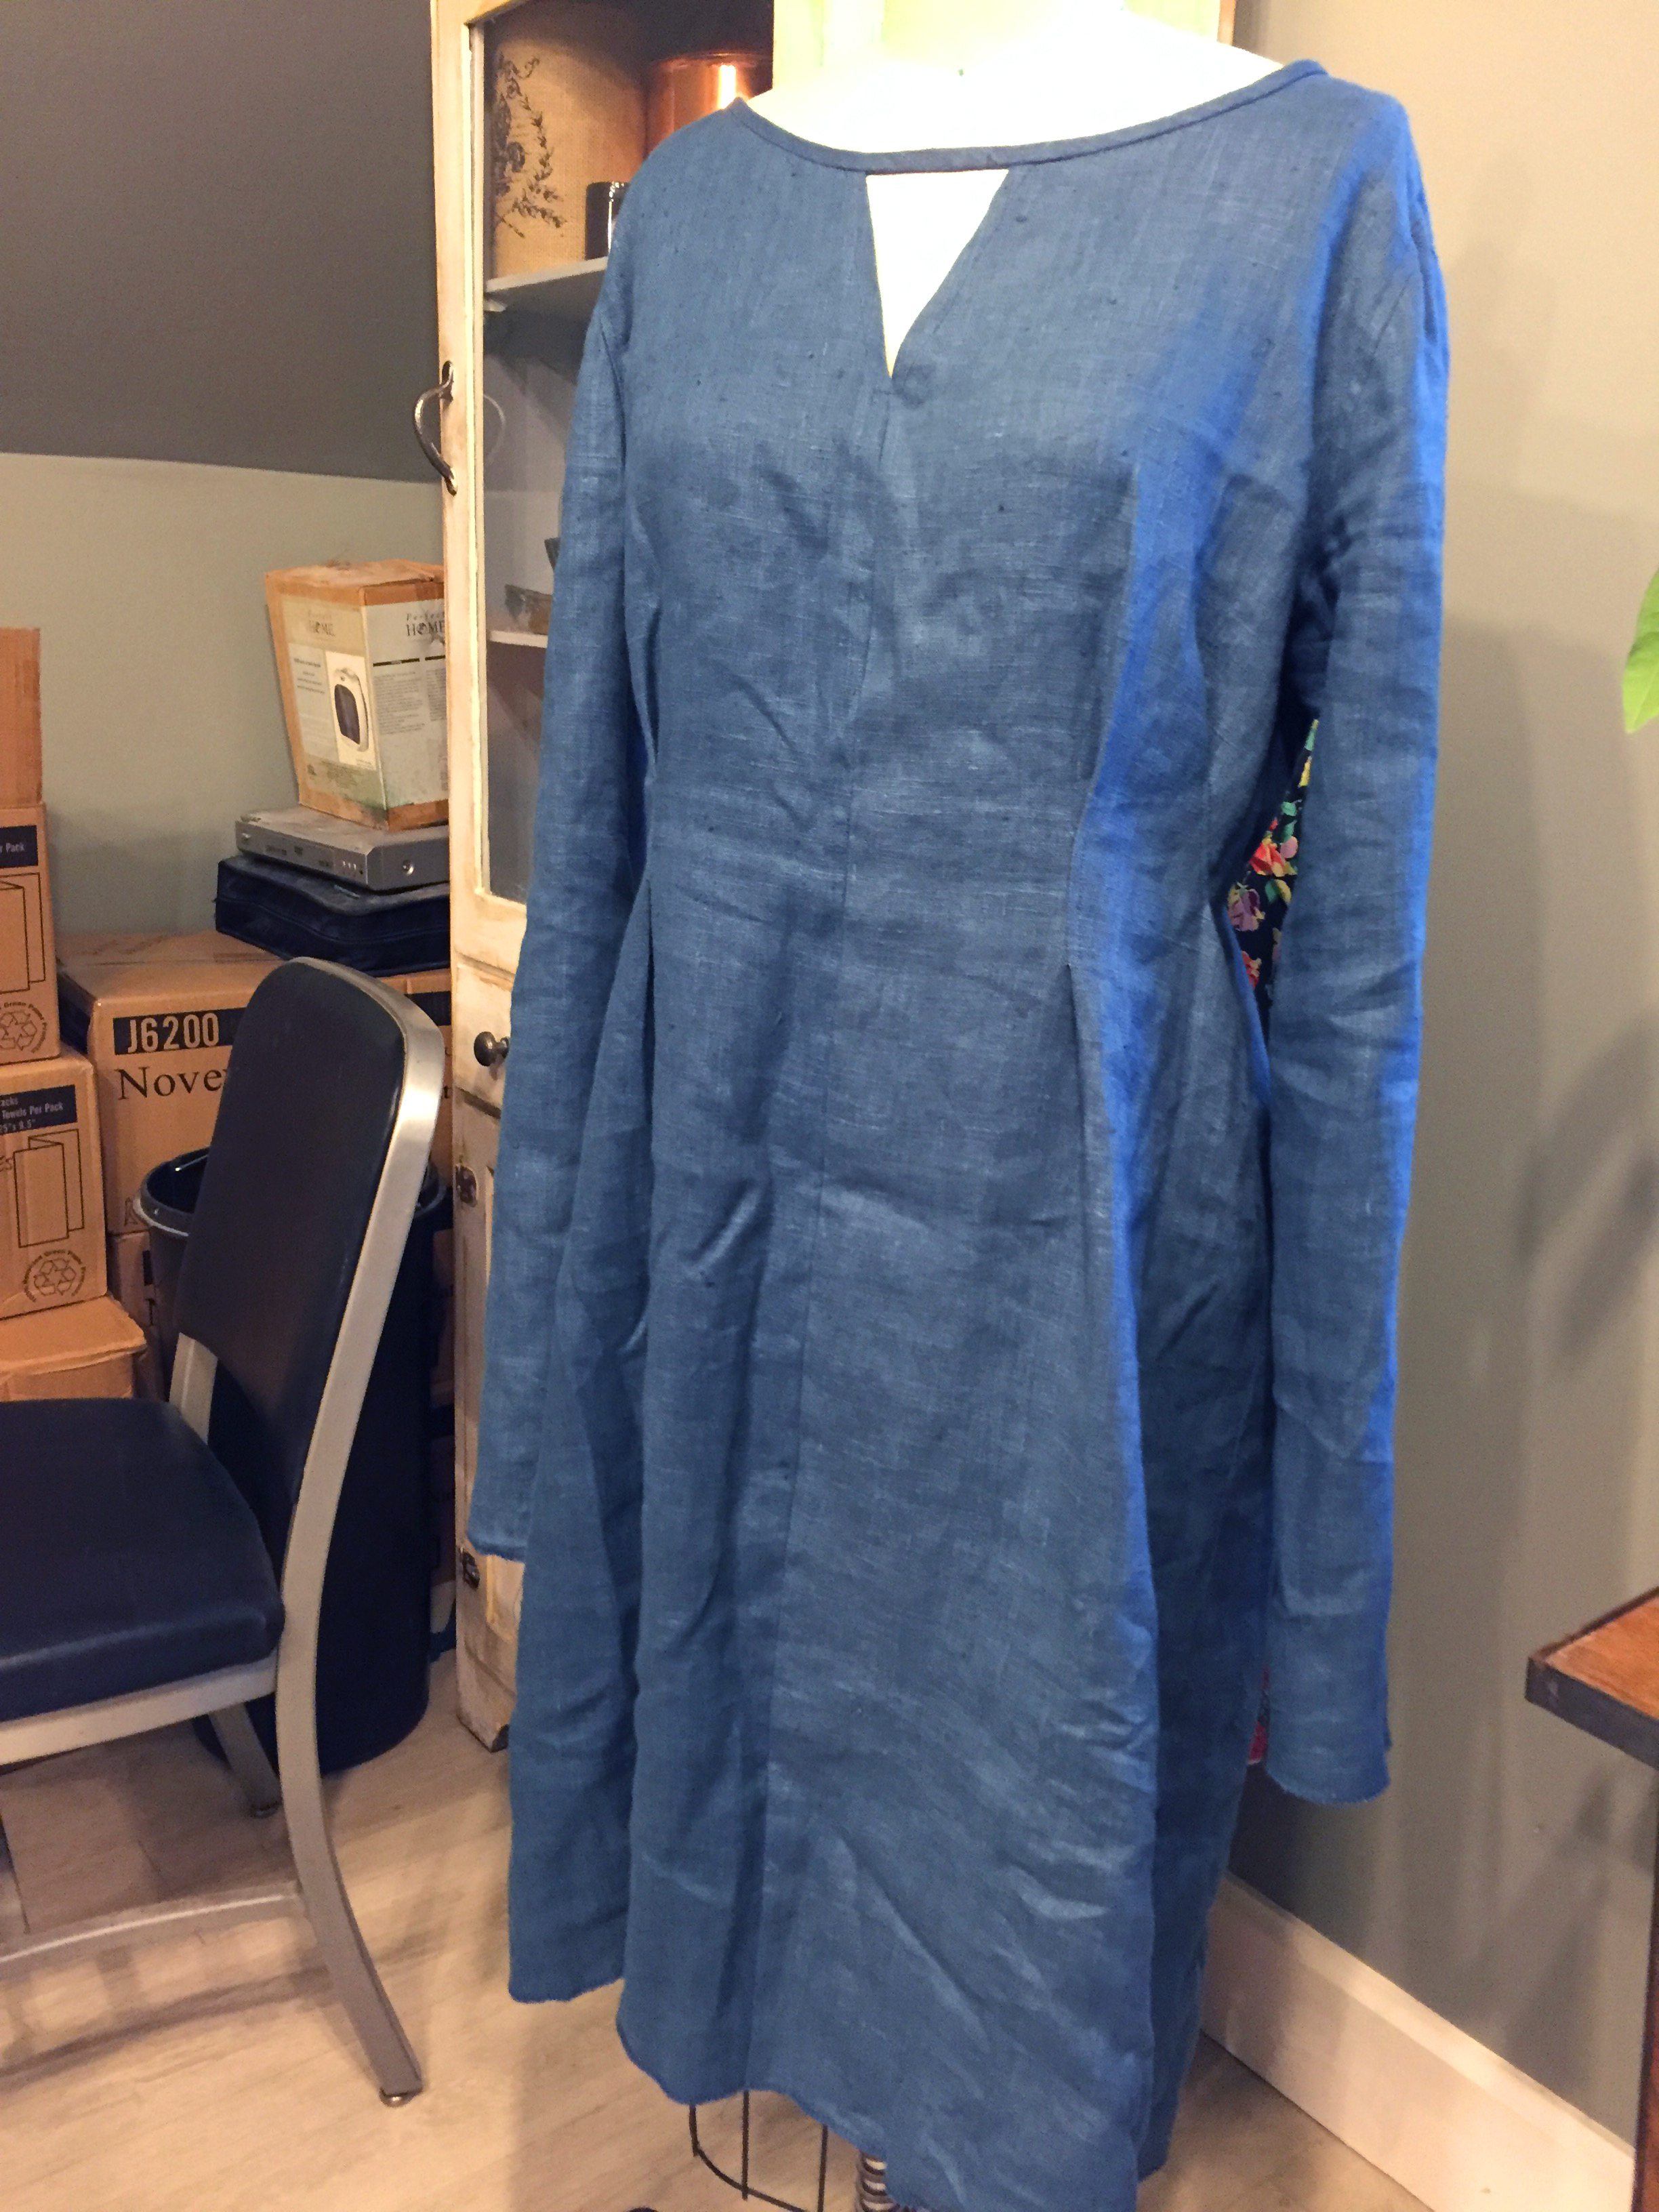
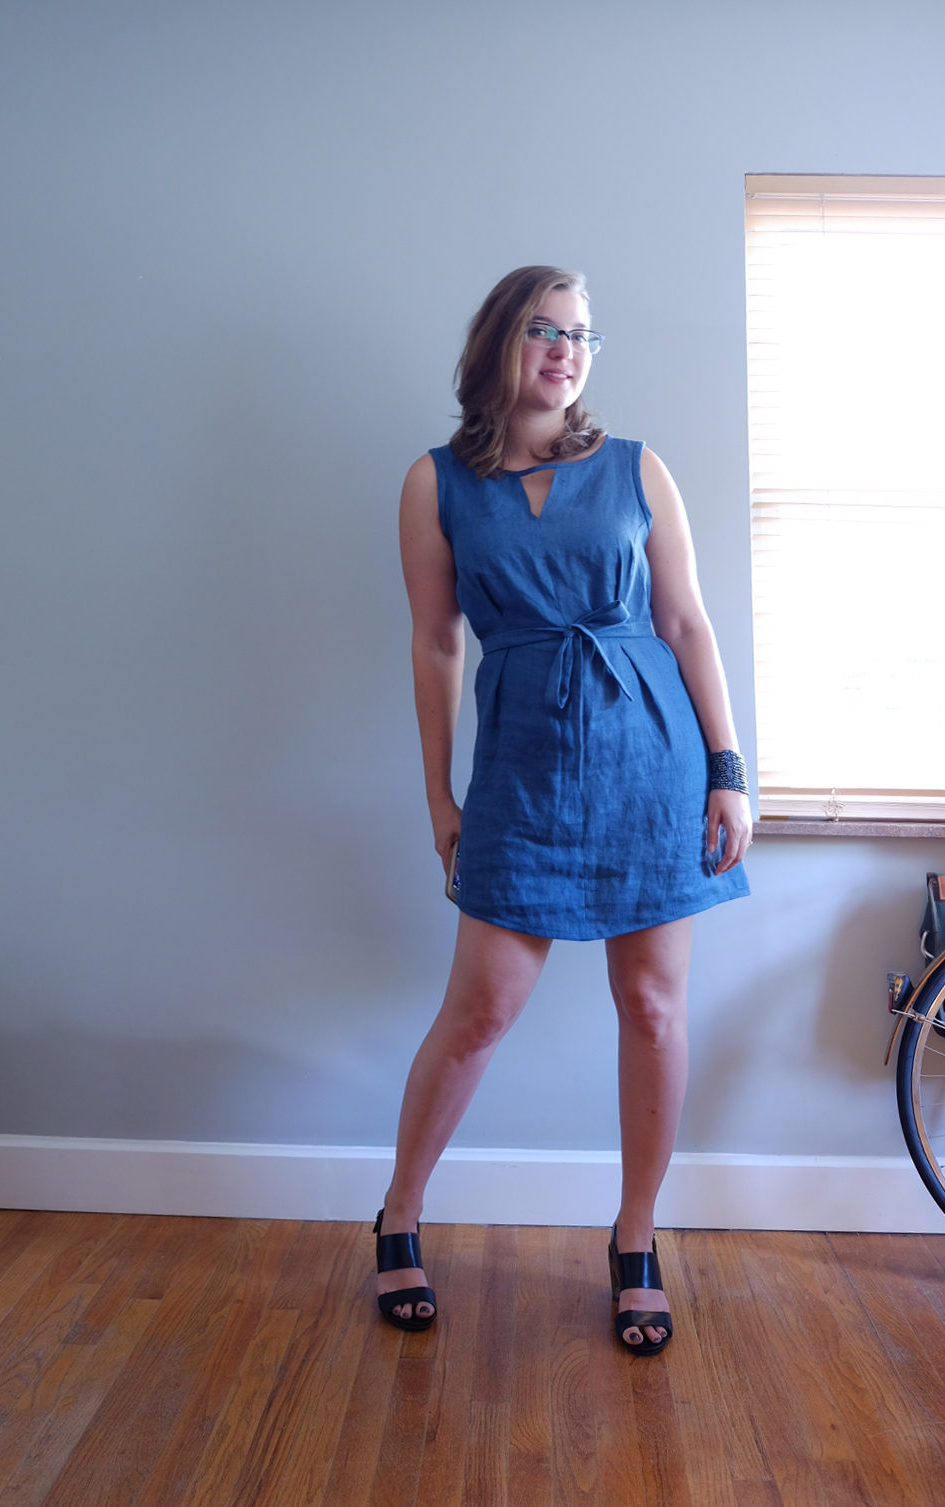 [/sucolumn][/surow]Although I really want to be done with this project, I'm sort of thinking it could benefit from some patch pockets and two darts in the back to take in some of the excess fabric there. I also don't love the neckline...it seems way too big, so that the bias binding on the little cutout juts forward.
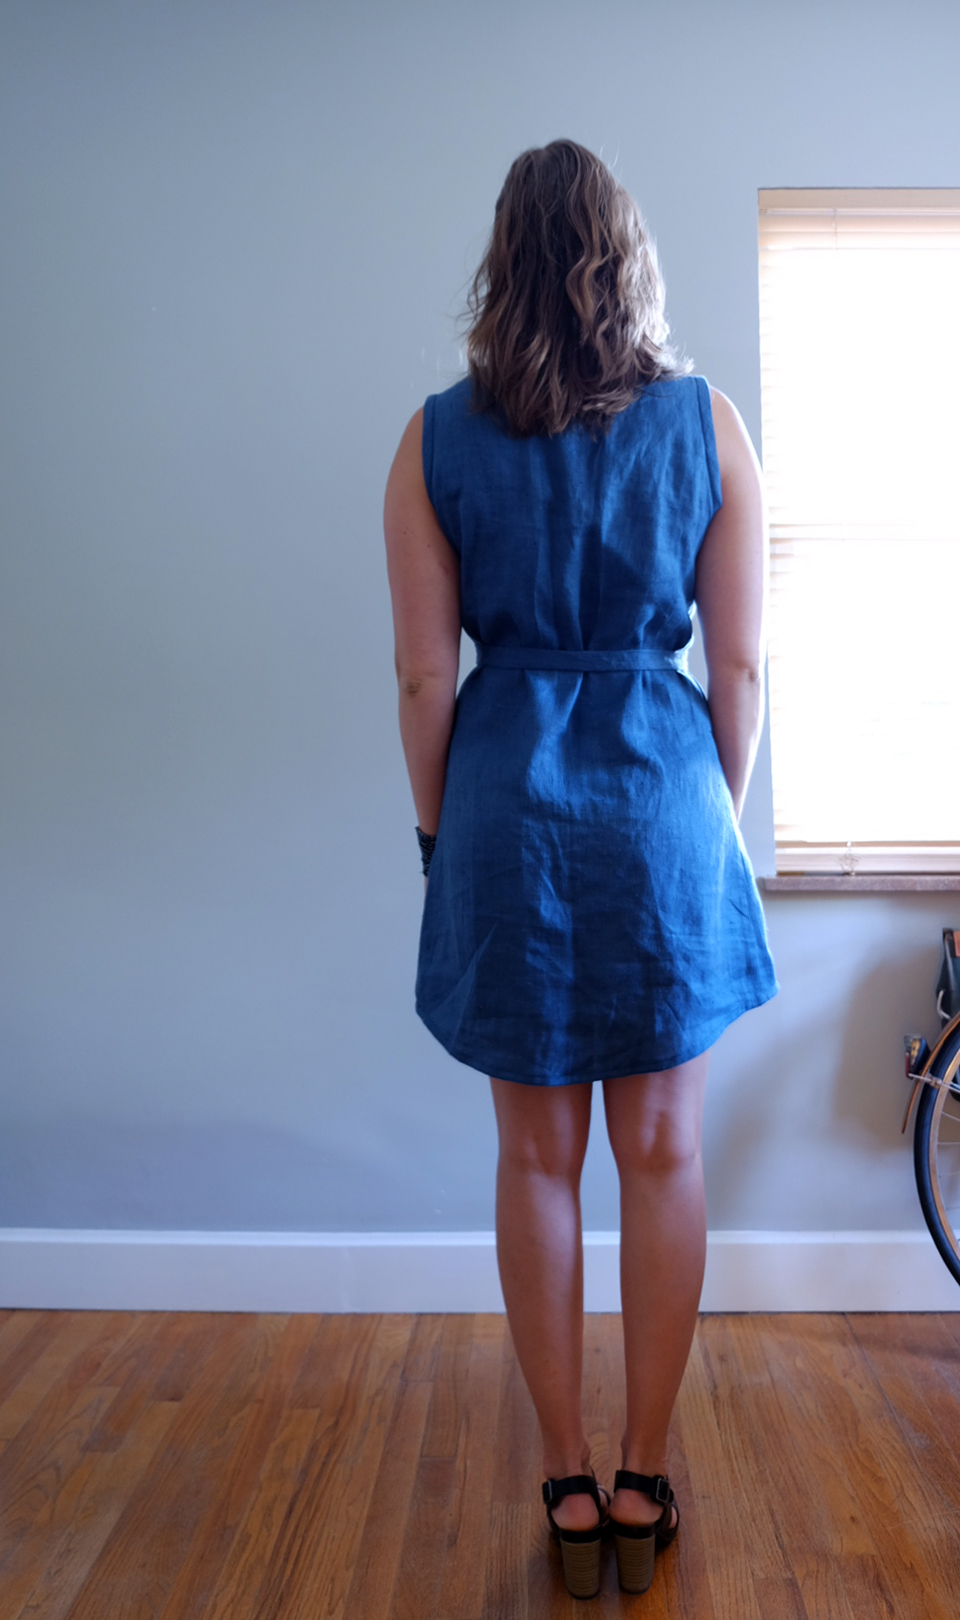 Or maybe I'll just call it done and move on! What do you think?
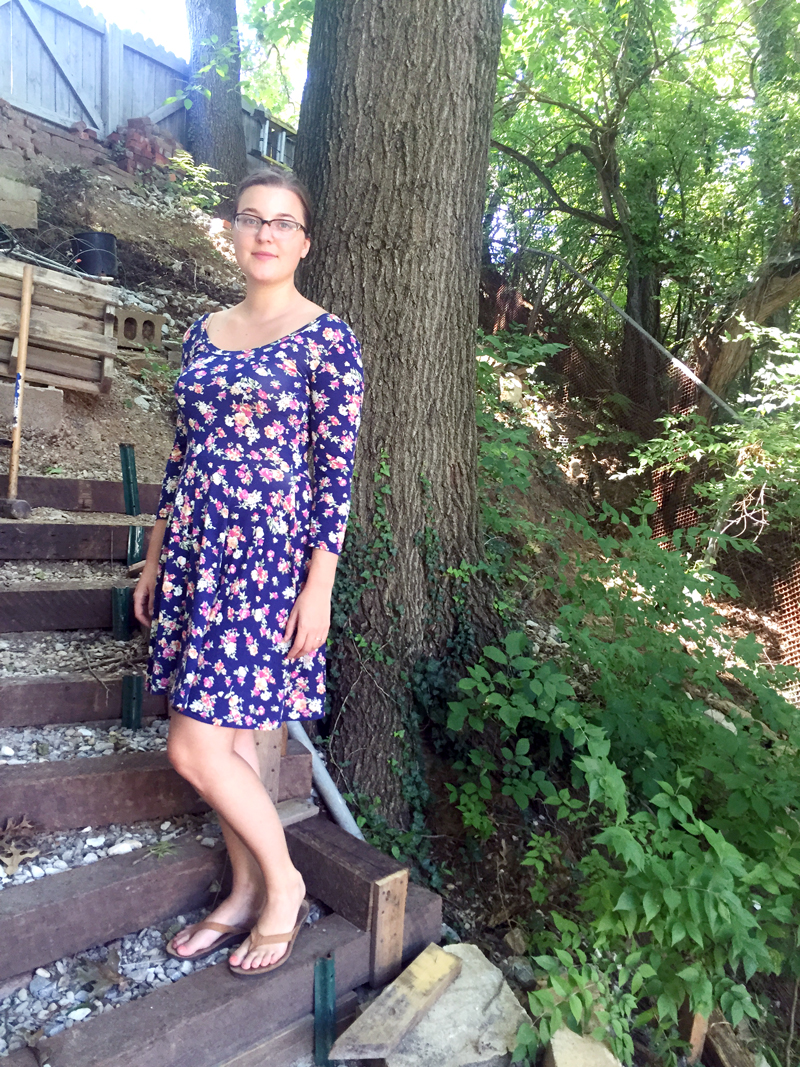 [/responsive
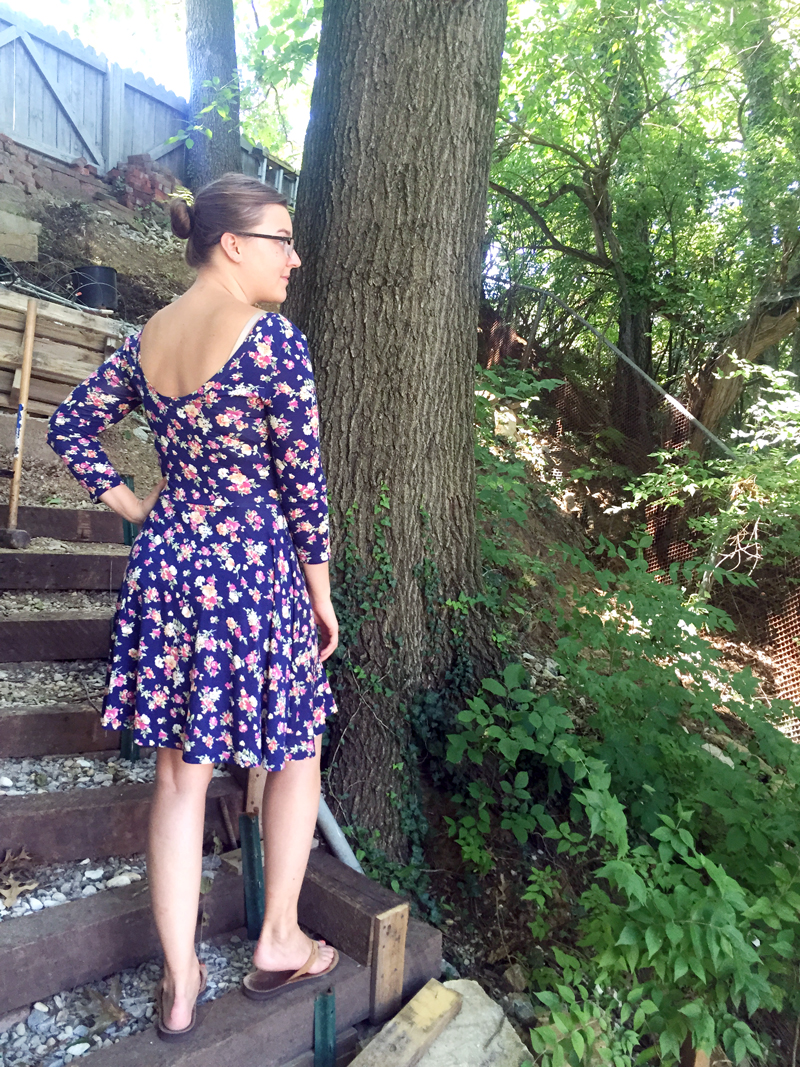 [/responsive]That's it! It sewed up in about 3 hours and may be one of the most comfortable dresses I've ever made. I chose to do the medium back, scoop front and 3/4 sleeves with a 20" long skirt. Next time I may choose to do a higher neckline in the front or back because the sleeves do tend to slip off my shoulders. Another way I could work on that problem would be to extend the shoulders a little bit toward my neck. One other tiny thing: I think the weight of the skirt is pulling down the waistline a little bit so I would shorten the waist by 1/2" to 1". Technically you should also let the skirt pieces hang on a mannequin to let the bias stretch before trimming the hem to an even length again buuuut we already discussed how I'm impatient and don't have time for that. I'd rather have a slightly uneven hem and be able to wear the garment asap.All in all I'm super satisfied with my new floral summer dress!
 [/responsive]That said, this dress is very wearable and it's super light and flowy. Perfect for summer! Actually, the looser waist is kind of nice, too, so I don't feel like I have to suck it in all the time :)[responsive]
 [/responsive]There was nothing too crazy about this pattern except for the side zipper and in-seam pockets. I've done in-seam pockets before but it was a little different when I had to sew a zipper into the side of the pocket. The instructions were clear, though and I didn't have an issue with the pockets. Of course, I put the zipper in on the right side instead of the left. Oops. Just a learning experience for the next time, I guess![responsive]
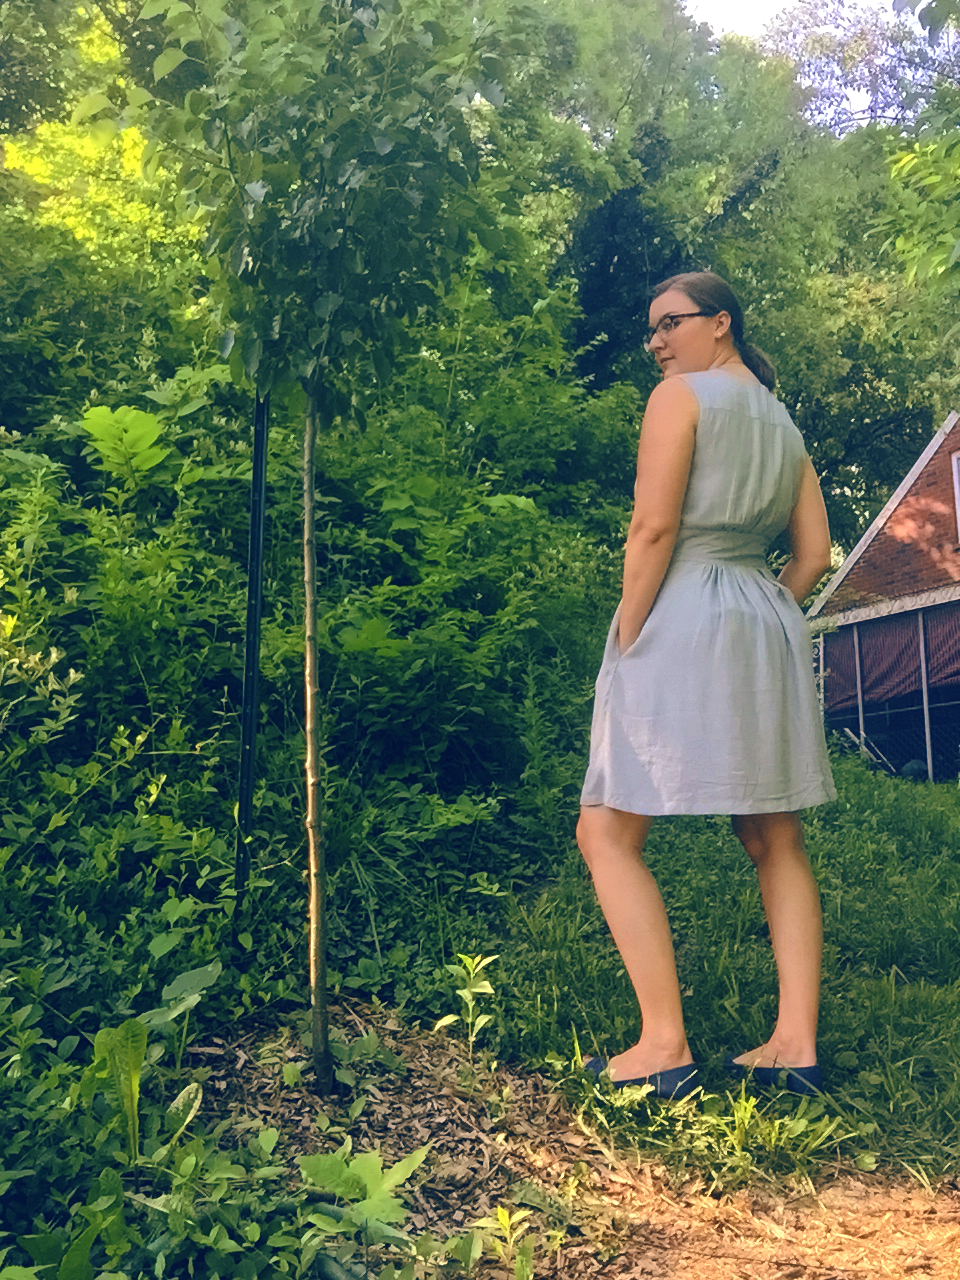 [/responsive] Bonus:I had my phone set up to take a few quick pictures and set the 10 second timer. Didn't realize that it also took 10 photos in a burst, but I thought they look pretty cool as gifs.[responsive]
 [/responsive][responsive]
 [/responsive]
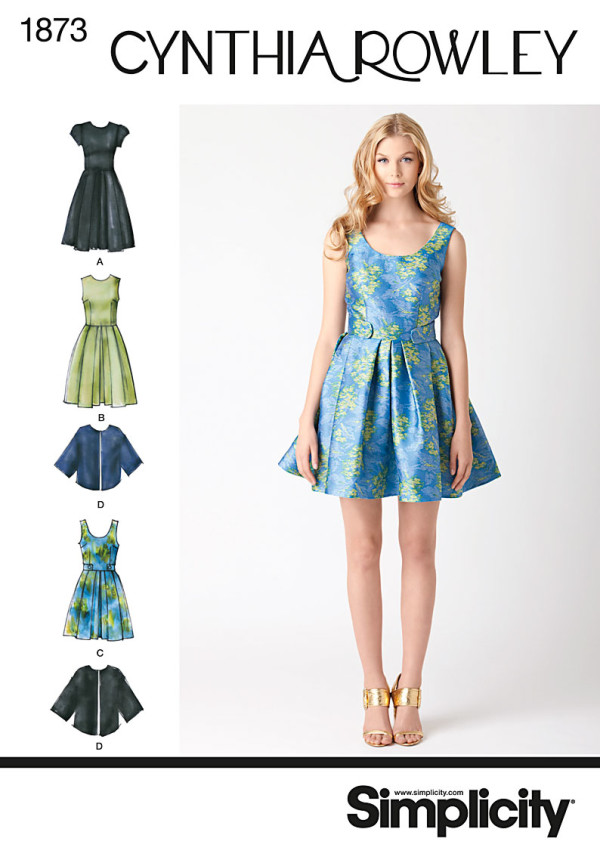 [/responsive]This pattern definitely has a sort of 60s retro look to it with the scoop neckline and tab details. I used two mother of pearl buttons to add some more metallic elements. Pretty pleased with the way it turned out![responsive]
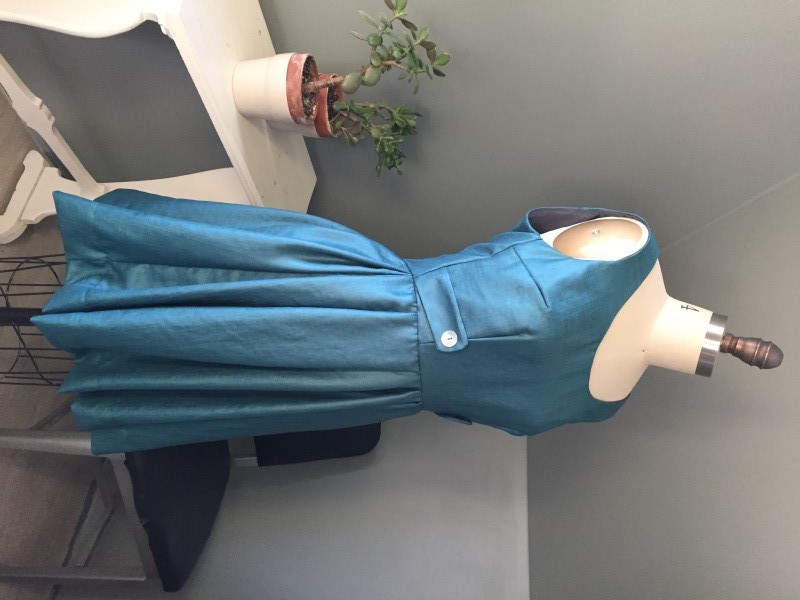 [/responsive][responsive]
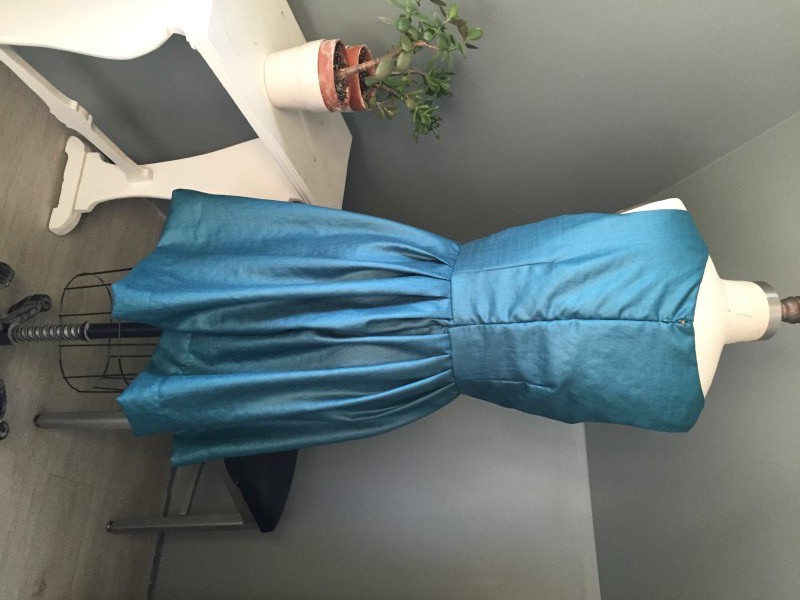 [/responsive][responsive]
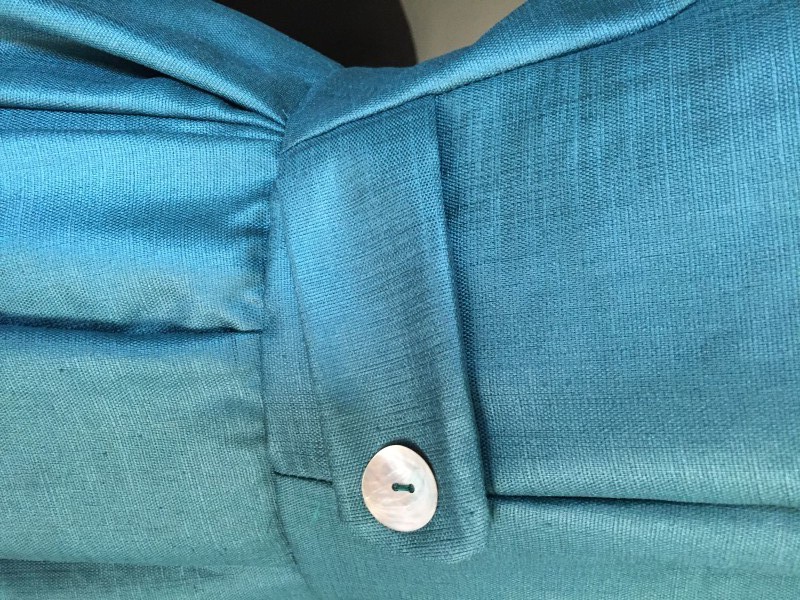 [/responsive]
 The dress consists of 4 pattern pieces: the bodice (with two neckline variations), the skirt panel, the waistband and the straps.
 The bodice pattern piece looks more confusing than it really is. Just use common sense. Cut a bodice piece of each neckline (on the fold) out of your outer and lining fabrics. You should have four bodice pieces. Then cut a long skinny piece for the straps. I made mine about 2" wide x 30" long.
 Then cut your two skirt panels and 2 waistband pieces.
 Stitch two lines of gathering stitches around the bottom of the bodice, keeping the edges even. Gather the bottom so that it matches your waistband length.