Buying fabric online is always a bit of a challenge...There's just no good way to tell how heavy or light a fabric will be without ordering a swatch (and who has time for that?). So when I ordered a floral knit from fabric.com I wasn't sure what to expect. I was hoping for something thicker to make a nice circle skirt out of but I ended up with a lightweight jersey that would be great for a t-shirt. Except I had 2 yards and no need for a floral tee.It sat in my stash for a few months until I finally found the perfect pattern to suit its lightweight, stretchy nature. Enter the Nettie Bodysuit pattern from Closet Case Files. This pattern was made for 4-way stretch fabrics and has a body-hugging fit with negative ease. In order to make it a dress I just cut my bodice pattern pieces to end around my waistline and used a previously drafted 1/2 circle skirt pattern. Even though the two pieces weren't exactly the same size at the bottom I just pinned them together in few places and held the tension evenly, which worked out just fine.responsive]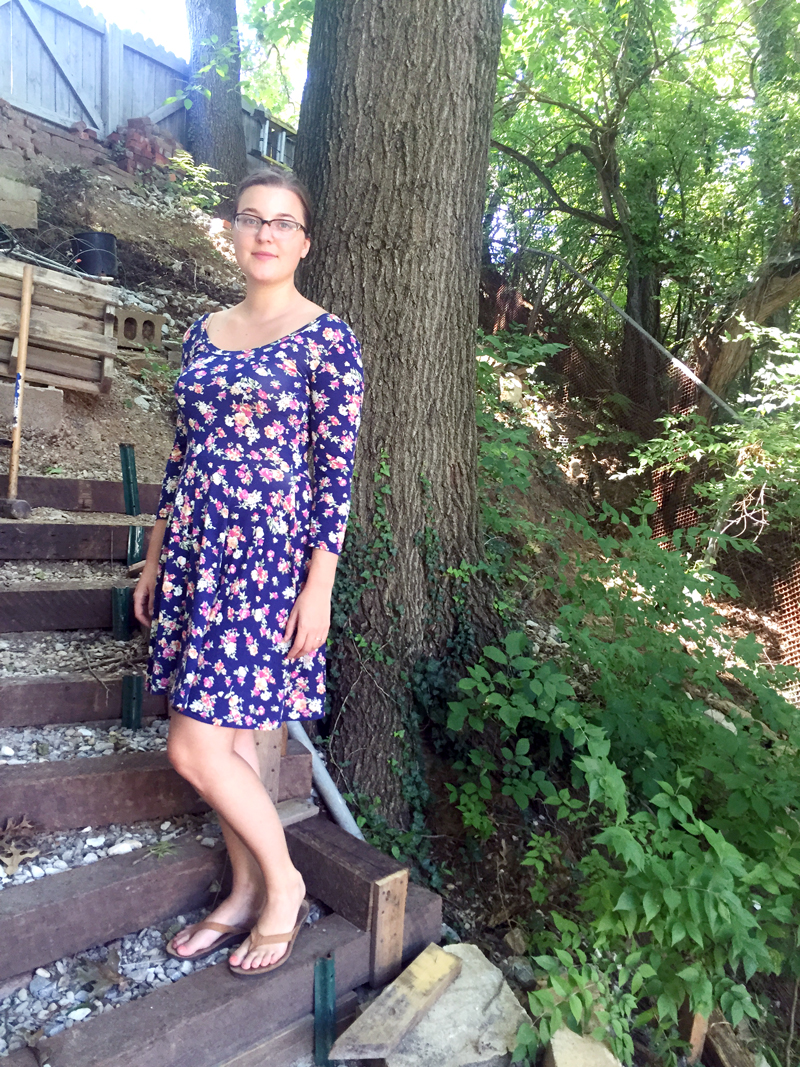 [/responsiveHere is the step-by-step process:1. Iron fabric and cut out pieces. I ended up folding the selvedge edges to the center of my fabric so I could use the fabric economically and cut the bodice pieces on the folds.2. RST, serge shoulders, stabilizing with clear swimsuit elastic.3. Fold binding in half lengthwise (WST), press, then sew up short edge of neck binding (RST). Attach it to the neckline using pins spaced out evenly. Raw edges should be together and the binding should be touching the right side of the bodice fabric.4. Serge binding to neckline, flip, press and top stitch about 1/8" from the seam over your serged edges.5. Attach sleeves to the bodice flat. Just try not to stretch them too much and pin evenly.6. Attach skirt front and skirt back to bodice bottom. Pin evenly, and as you're serging, use clear swim elastic to stabilize the seam and keep it from sagging.7. Hem sleeves and skirt (I folded up the fabric once and topstitched using a double needle.) I discovered at this point that hemming a circular skirt is way easier with knit fabrics than wovens.8. Serge the side seams from the sleeve hems to the skirt hems.9. Try on and adjust side seams as necessary. I had to take it in at the waist a little bit, but this might not have been needed if the fabric was heavier.[responsive]
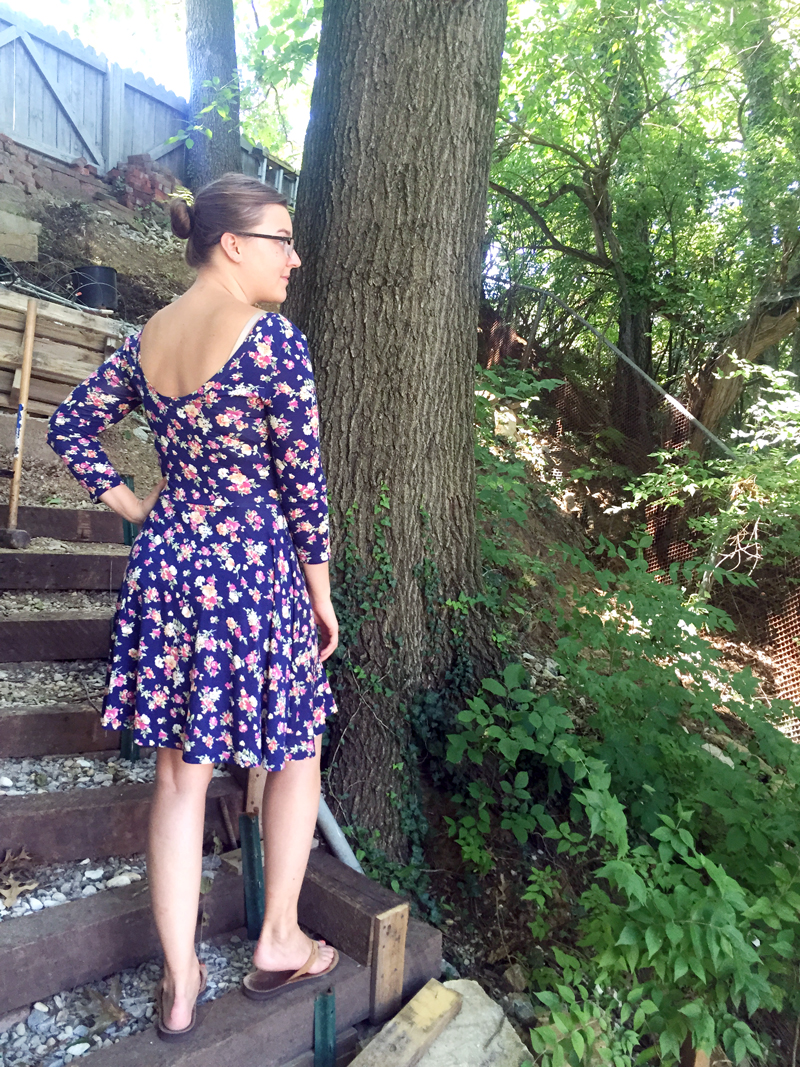 [/responsive]That's it! It sewed up in about 3 hours and may be one of the most comfortable dresses I've ever made. I chose to do the medium back, scoop front and 3/4 sleeves with a 20" long skirt. Next time I may choose to do a higher neckline in the front or back because the sleeves do tend to slip off my shoulders. Another way I could work on that problem would be to extend the shoulders a little bit toward my neck. One other tiny thing: I think the weight of the skirt is pulling down the waistline a little bit so I would shorten the waist by 1/2" to 1". Technically you should also let the skirt pieces hang on a mannequin to let the bias stretch before trimming the hem to an even length again buuuut we already discussed how I'm impatient and don't have time for that. I'd rather have a slightly uneven hem and be able to wear the garment asap.All in all I'm super satisfied with my new floral summer dress!
closet case files
First Pair of Ginger Jeans
I bought my first indie sewing patterns from Sewaholic and Closet Case Files a few weeks ago. The one I am probably most excited about is the Ginger Jeans pattern. I've never seen such a nice-looking skinny jeans pattern made for curvier ladies and it even comes with two versions (high-waisted skinnies and low-waisted stovepipes).After researching other people's makes and reading through the sew-a-long multiple times I felt ready to move forward with making my first pair of jeans out of some weird floral stretchy denim ($2 a yard!).I have to say, I am most pleased with how neat and clean my front fly turned out. My topstitching actually turned out pretty nice, too, although I just used regular thread for these practice jeans. I didn't use any rivets or even a jeans button, opting instead to use two regular buttons.Unfortunately the fit really wasn't working for me, so I had to make quite a few adjustments. Based on my measurements I cut a size 12, grading to 14 at the hip and back to 12 for the waistband. I ended up taking a wedge out of the back yoke, stitching four 1/2" darts in the waistband, taking in the sides at the hips by almost 1 1/2" and the fit still wasn't right. So I took in the inseam at the crotch by about 1 1/2" and flattened out the front crotch curve. I probably should have left the crotch alone and instead taken in the waist even more because they went from high-waisted to about 1/2" below my belly button. I also tapered the calf area by about 1 - 1/2" from the knee on either side.Luckily, I had basted the seams, so I was able to adjust the fitting quite a bit. I'm not sure if it was my fabric choice (the denim is very lightweight and pretty stretchy) but the size I cut just overall seemed way too big. I have some heavier stretch denim (that I used for Brad's apron) and hopefully it will work better.The adjustments I plan on making to the next pair are: cut a straight size 12, make a swayback adjustment to the yoke and waistband, place the zipper a little closer to the fly, shorten pocket length and I may omit the pocket stays. I like the idea of pocket stays but I don't like that I can actually see the bottom of the stays through the pants fabric. There are definitely some issues with the jeans but they were great practice for several new techniques and I feel like I have a better understanding of how to fit pants.Disclaimer: If you keep scrolling you will see my half-baked attempts to photograph myself, awkward facial expressions, gratuitous booty shots and at least one awkward crotch shot. Scroll at your own peril.[responsive]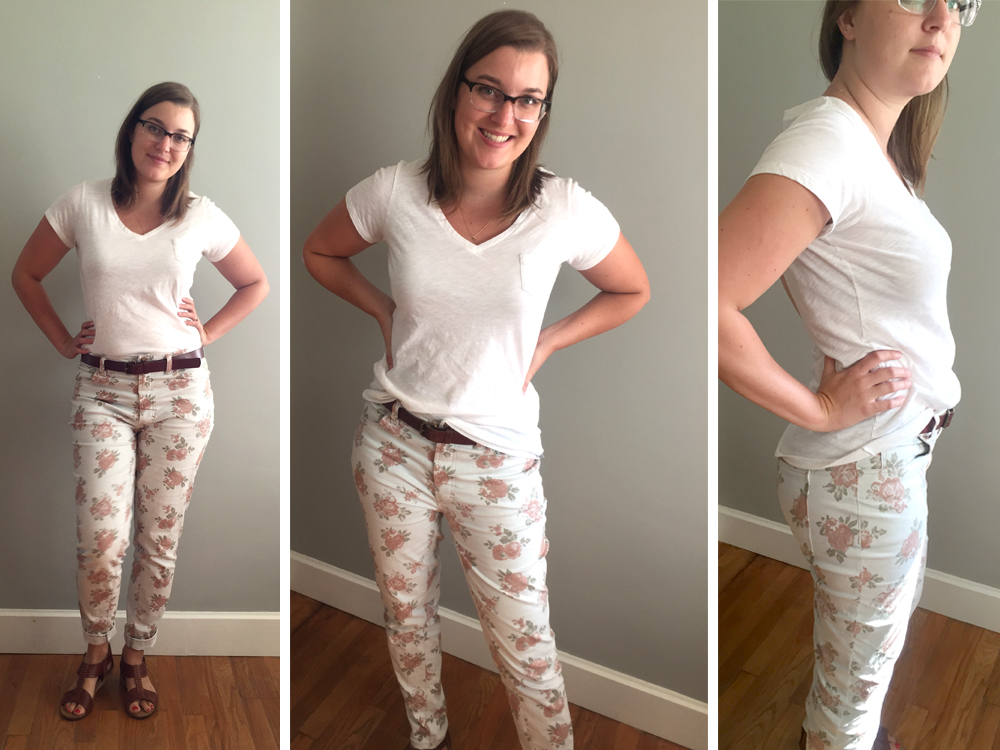 [/responsive][responsive]
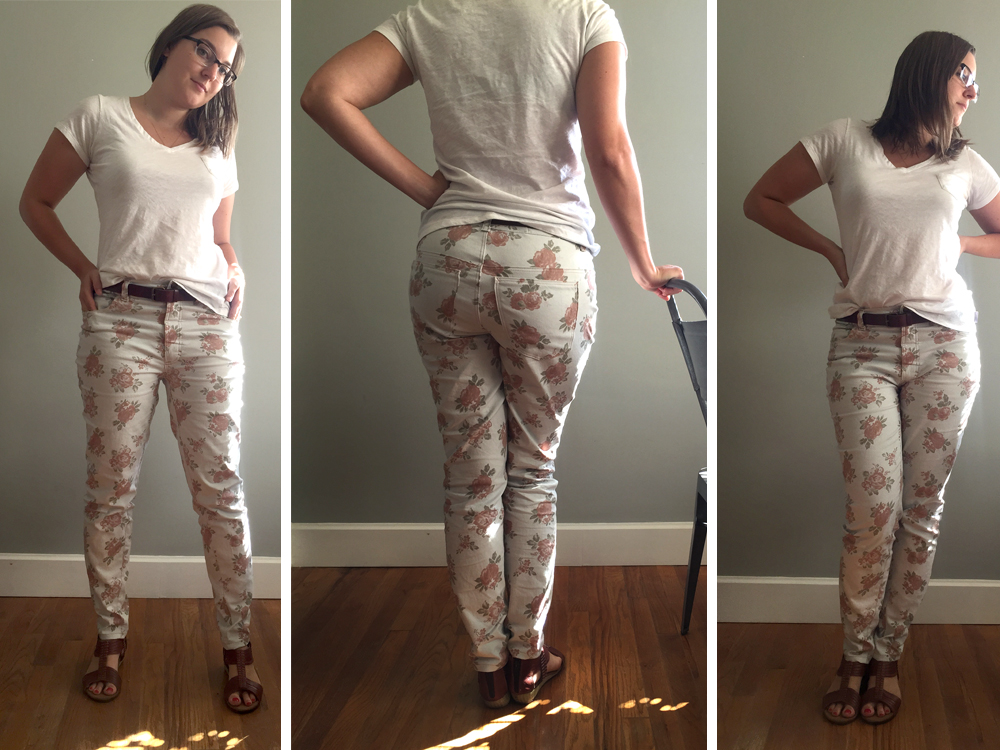 [/responsive][responsive]
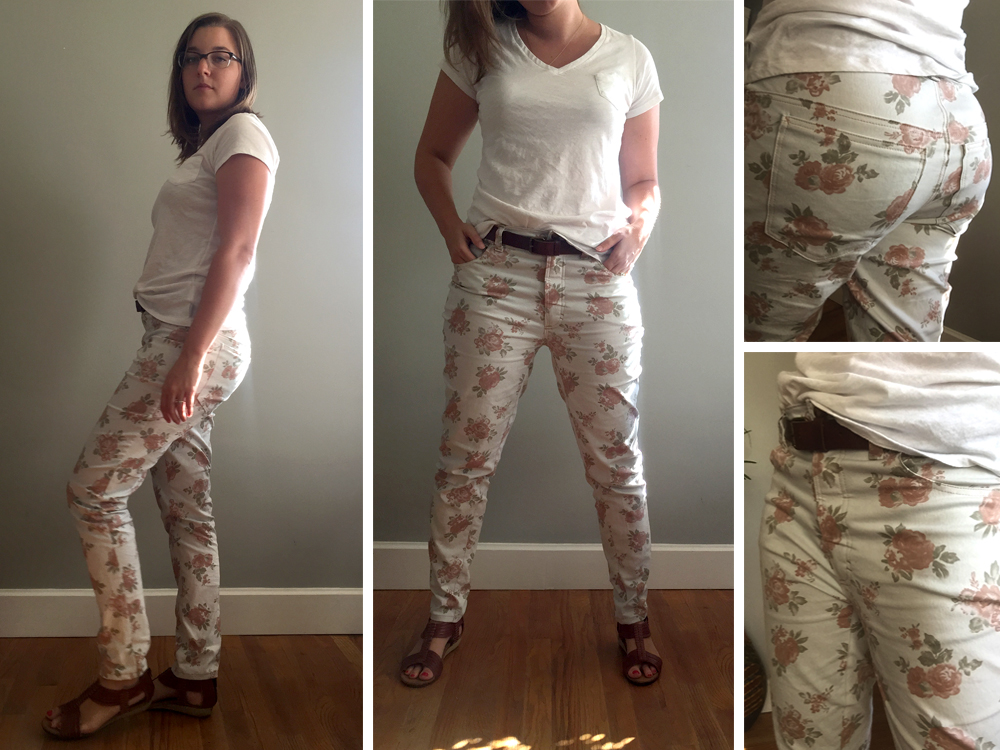 [/responsive]