Today I bring you a tutorial on how to take an existing shirt, create a pattern from it, and stitch it up. The most time consuming piece of this shirt was creating the bias tape. Basically, it's quite simple.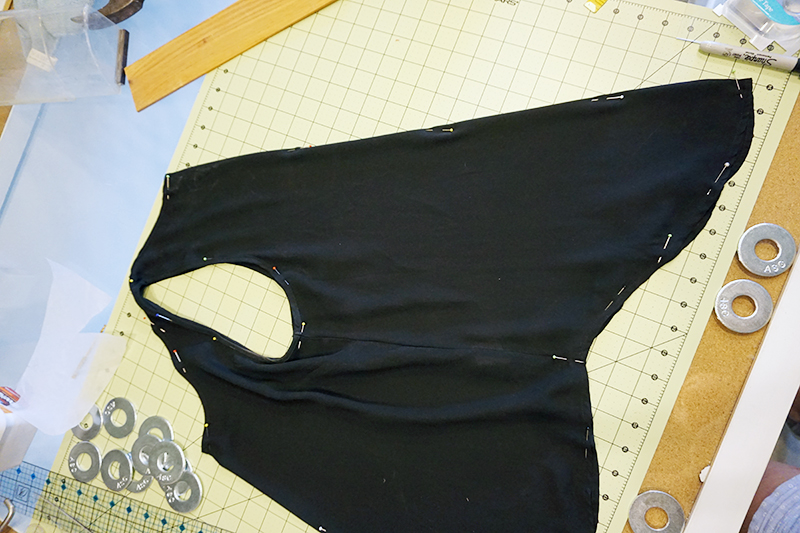 First, you take a woven shirt that you like the fit of. Pin the back and front together on the center folds, pinning the armholes together as well. Place tracing paper over the shirt and trace around the outline, slightly shaping the side seam.
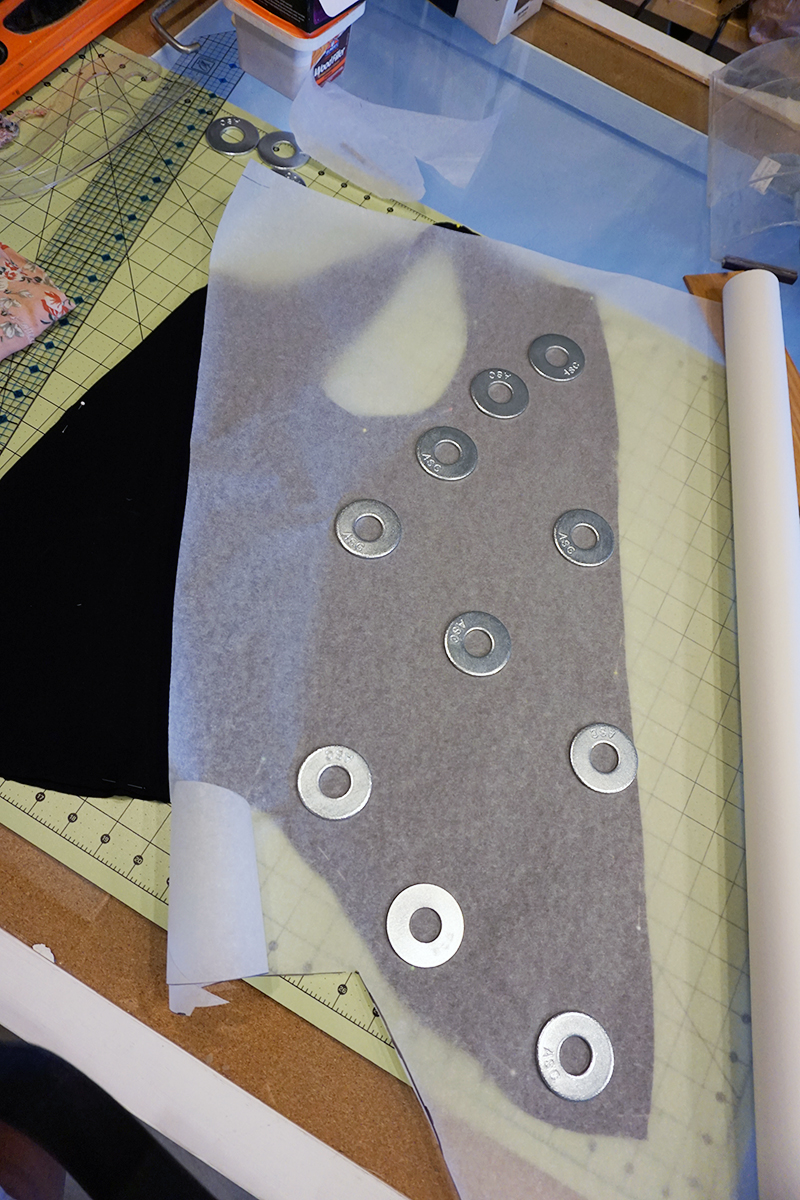
 Label the pattern piece with all relevant info and mark your seam allowances (I used 5/8"). Shorten the length of the straps so that you can use bias tape later to create them.
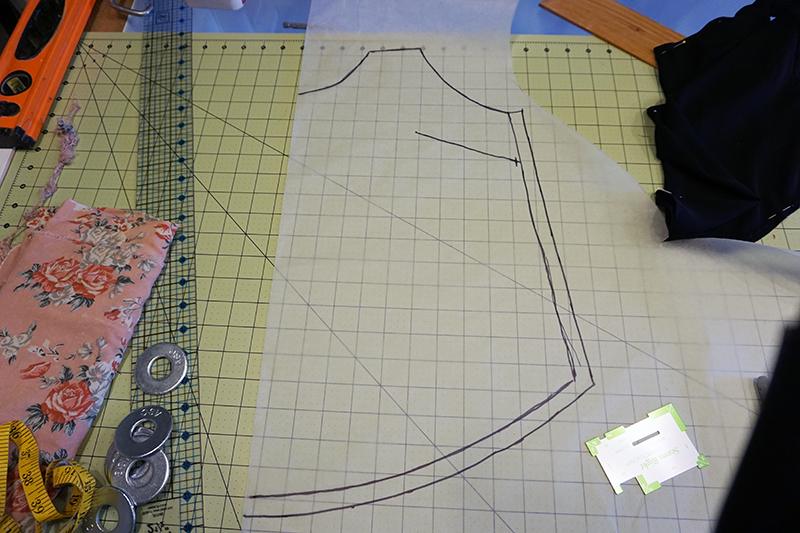 Trace the front piece and include any darts.
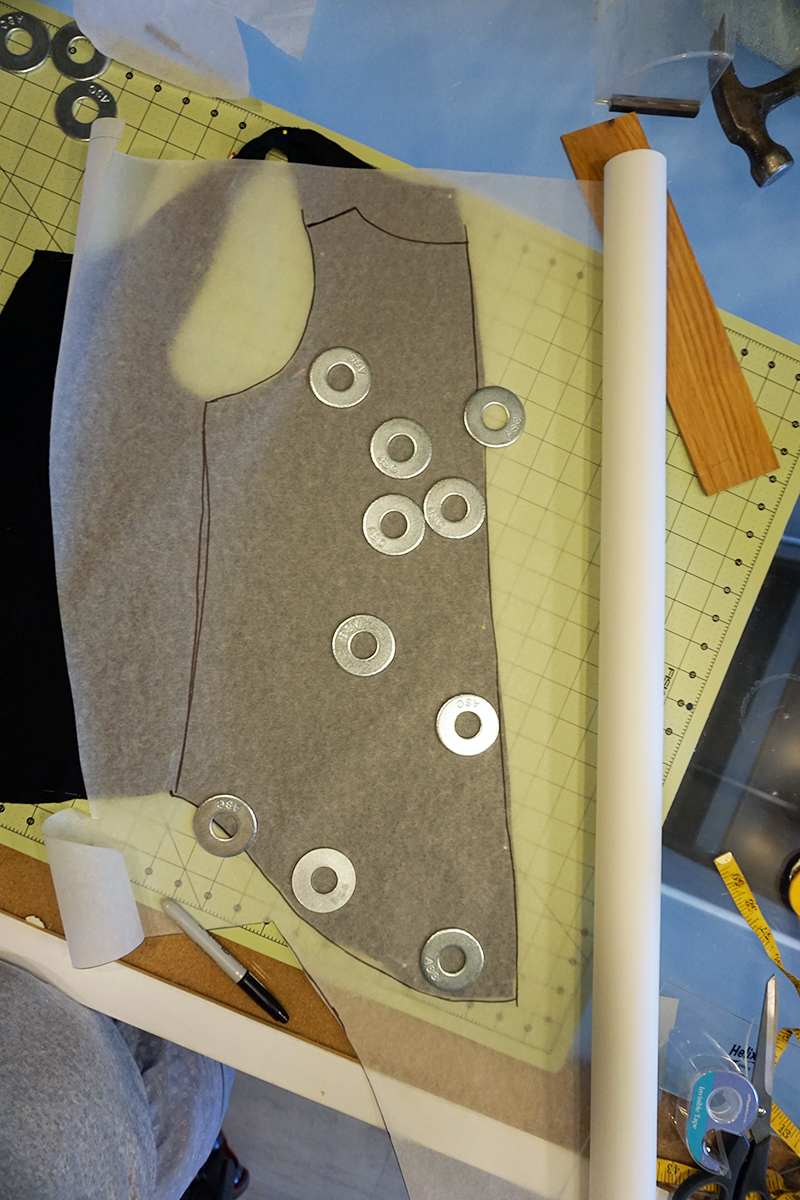
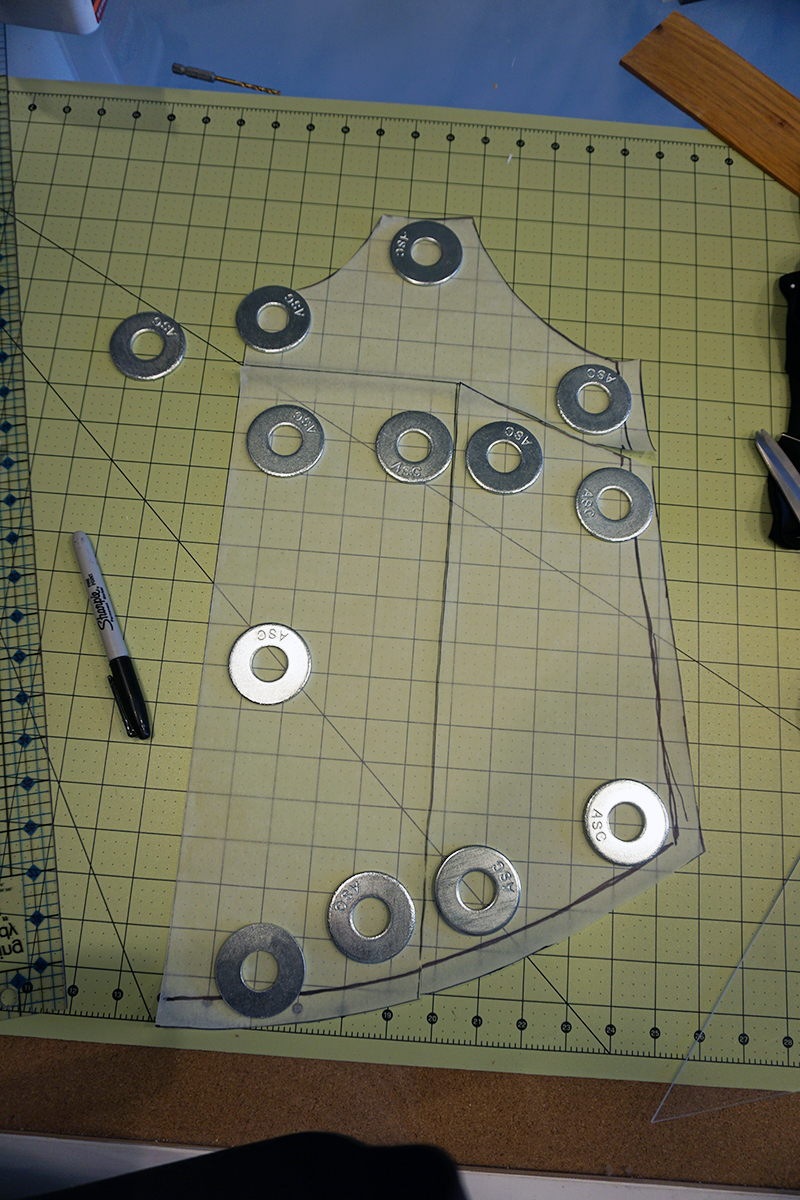 Mark a line from the dart point to the bottom of the shirt and from the dart point over to the center front. Cut these lines, including the dart.
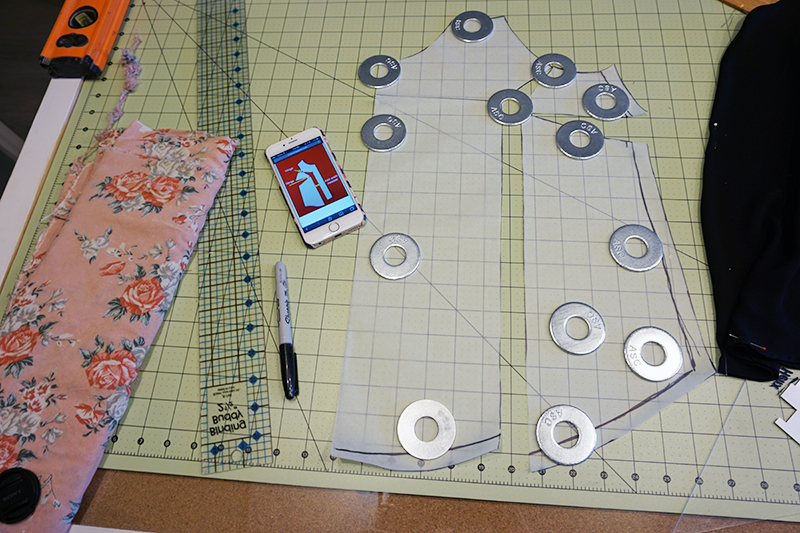 Measure the dart in the shirt to see how far you need to spread the dart. If the dart is 1/2" on either side of the fold you will need to spread it 1". Spread the dart so that you have the right measurement.
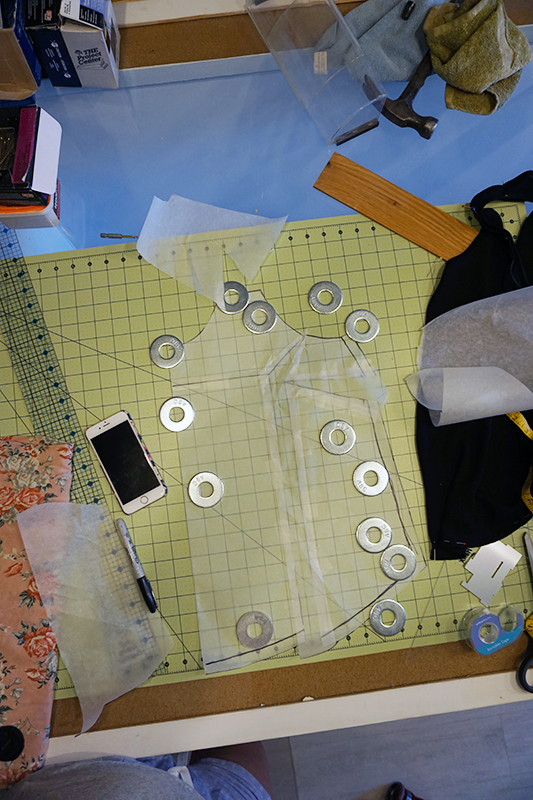 Slide paper under the cut pieces, tape everything together and re-draw the bottom hem lines and sleeve line.
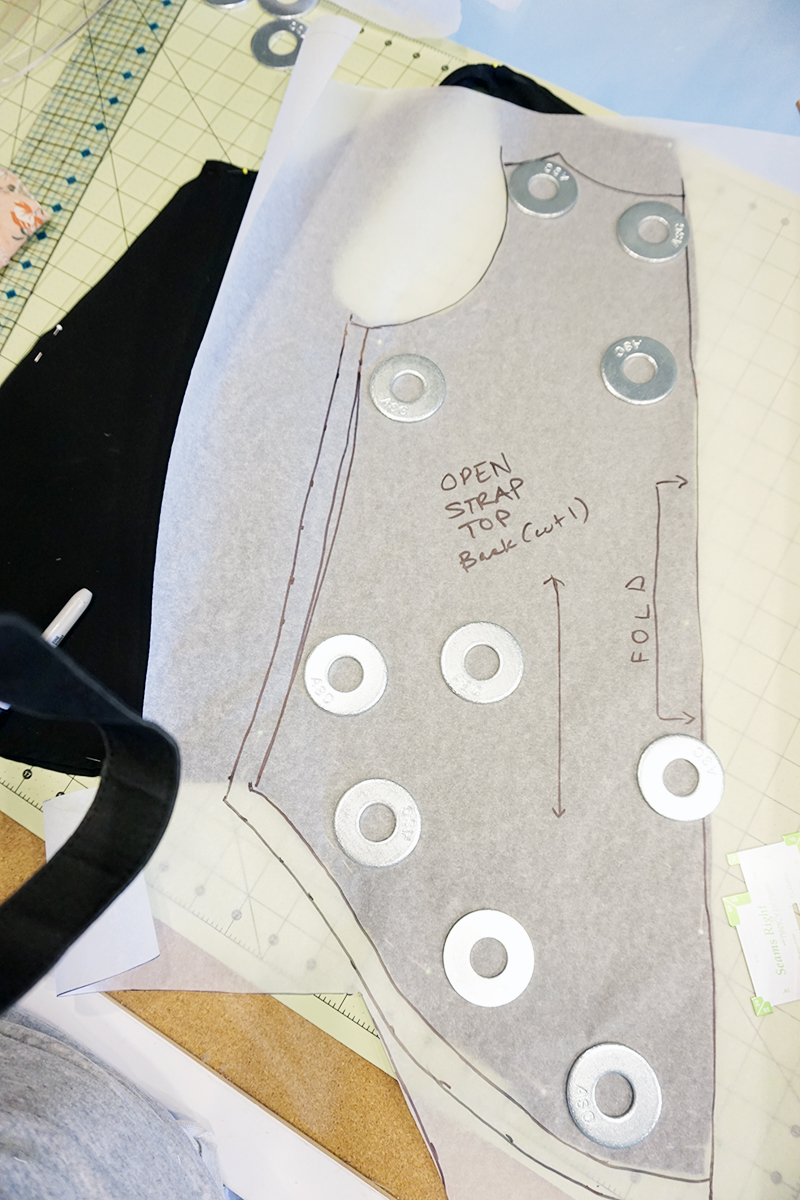
 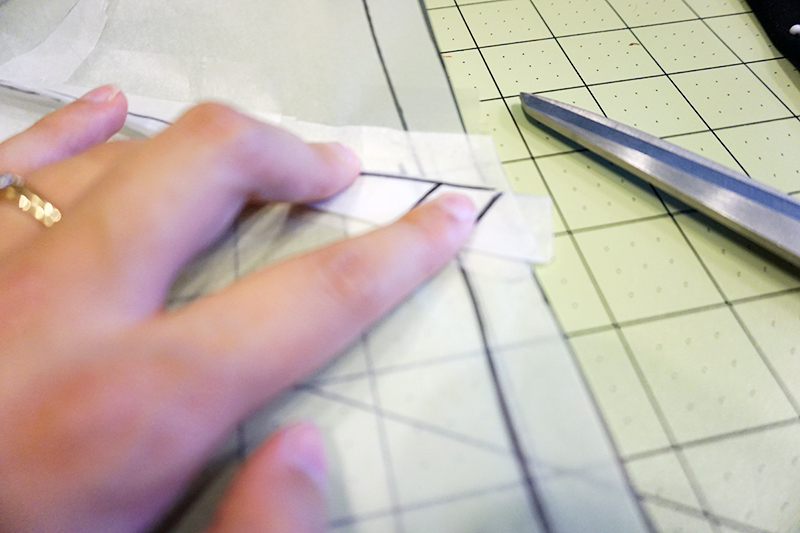 Fold the dart to mark the seam lines (ignore my mistake lines).
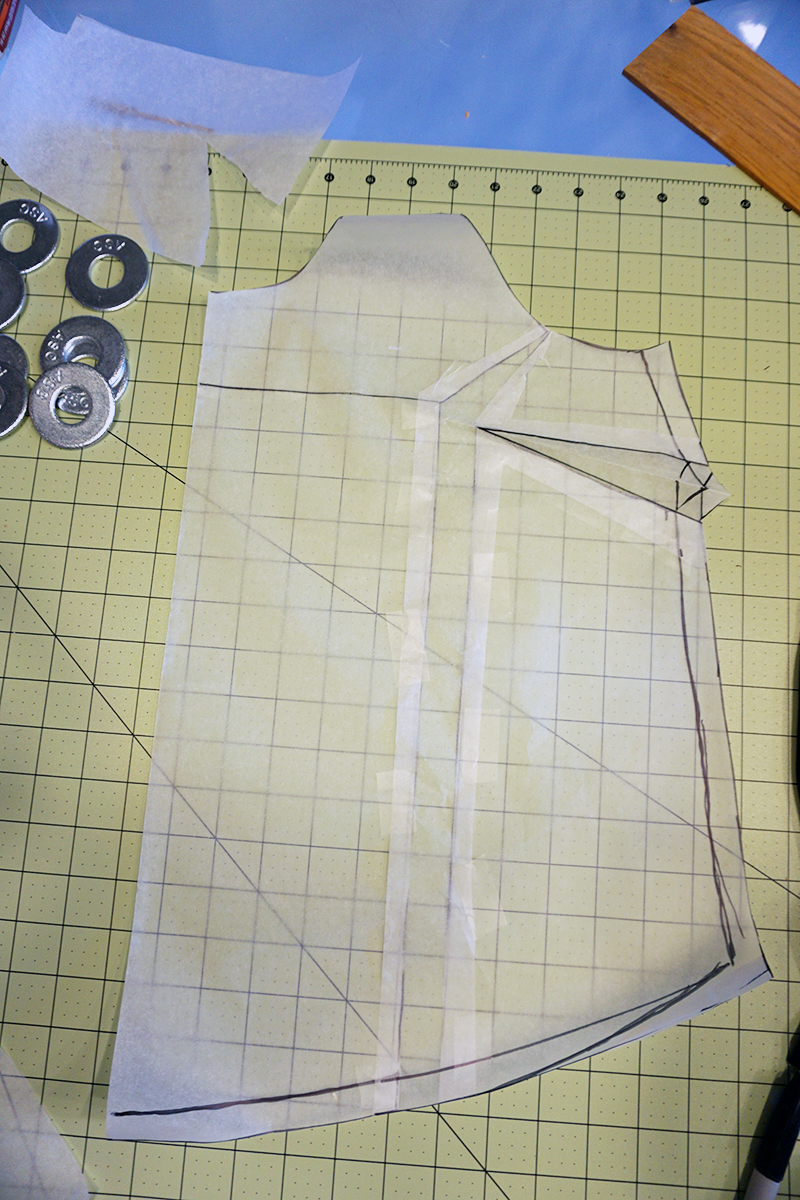 Ta-da! You have a front shirt piece. Cut all of the excess paper off.
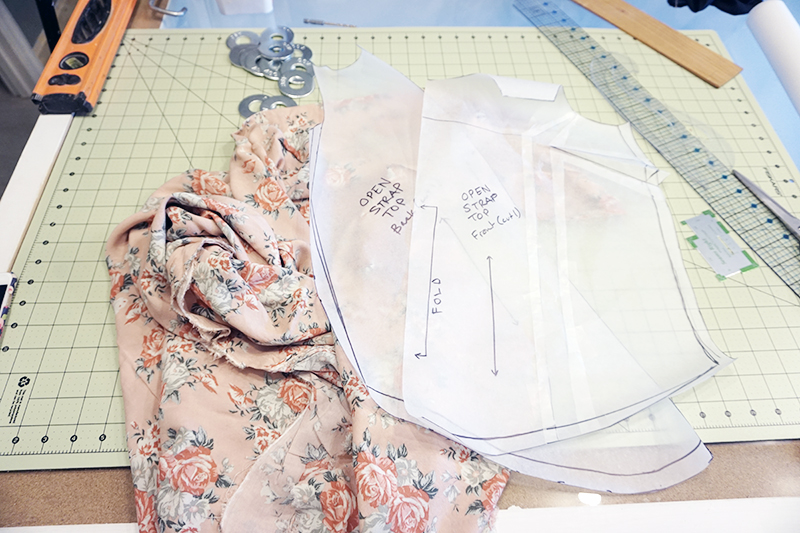 You should only have two pieces for this pattern, a front and back. They will both be cut on the fold.
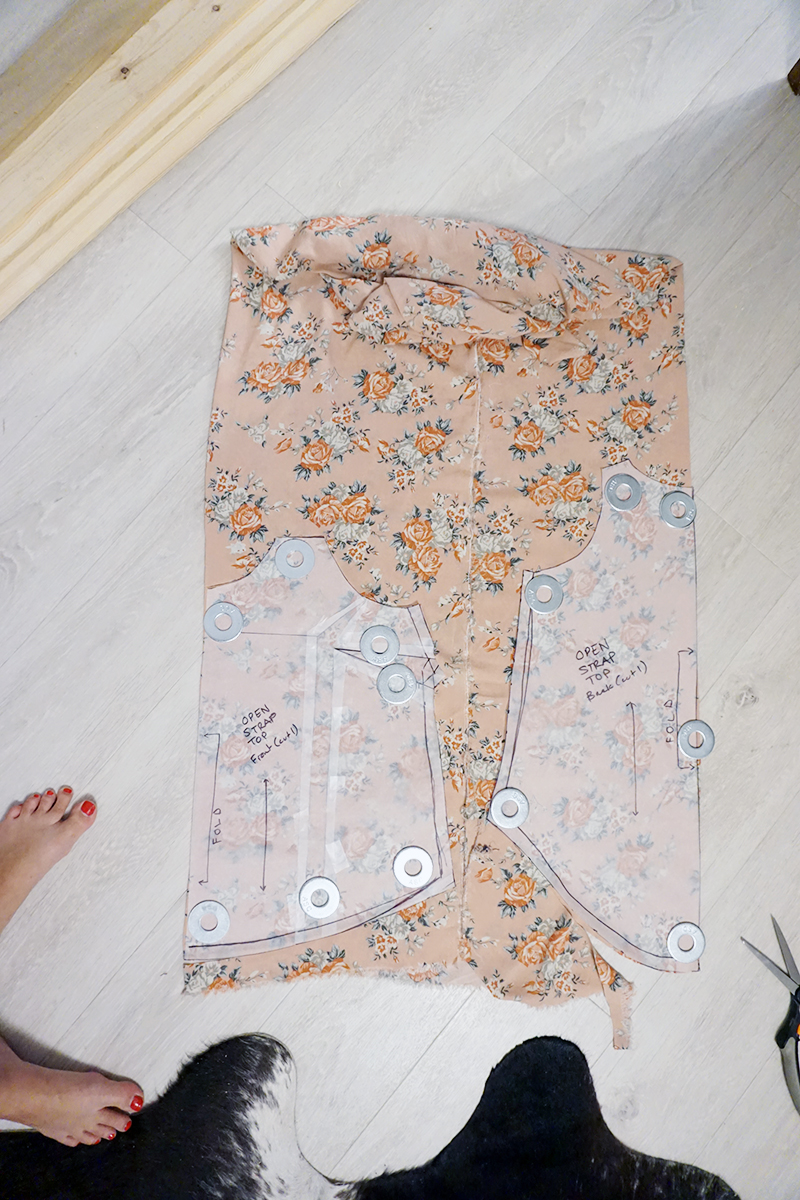 In order to cut both pieces on the fold, bring the selvedge edges to the center of the fabric and lay out your pattern pieces.
 Make some bias tape. I made a ton using this tutorial: http://whip-stitch.com/continuous-bias-tape-tutorial/
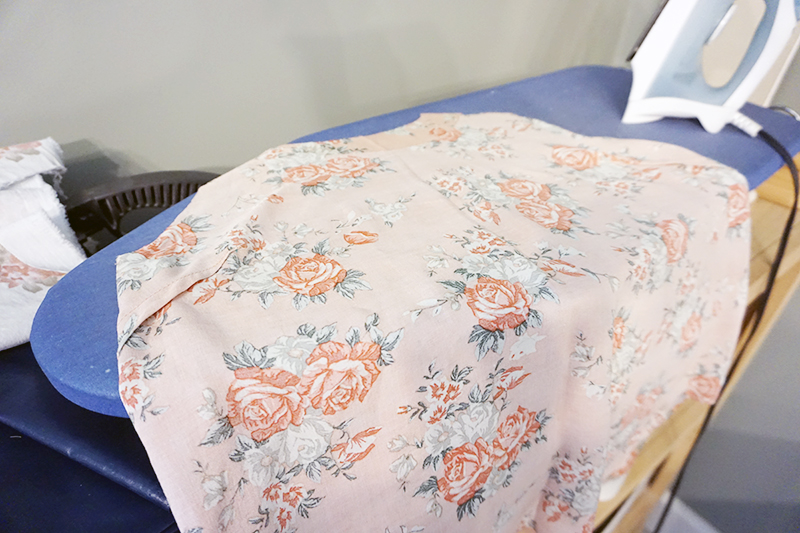 Sew the front and back pieces together at the side seams. I used french seams.
 Pin and sew bias tape across the tops of the straps.
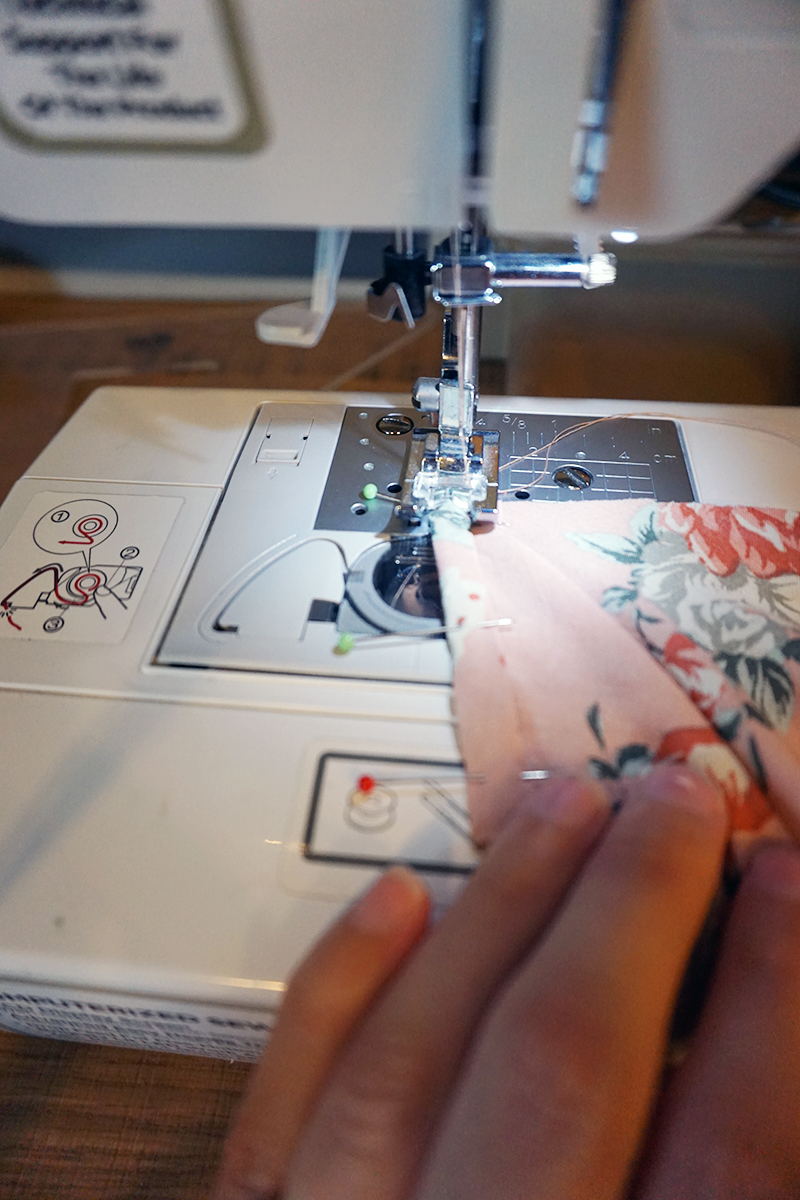 Stitch bias tape around the whole neckline and back, using your original shirt as a guide for the length,
 Stitch bias tape around each armhole, again using your original shirt as a guide for length. Hem, using a narrow hem or bias tape.
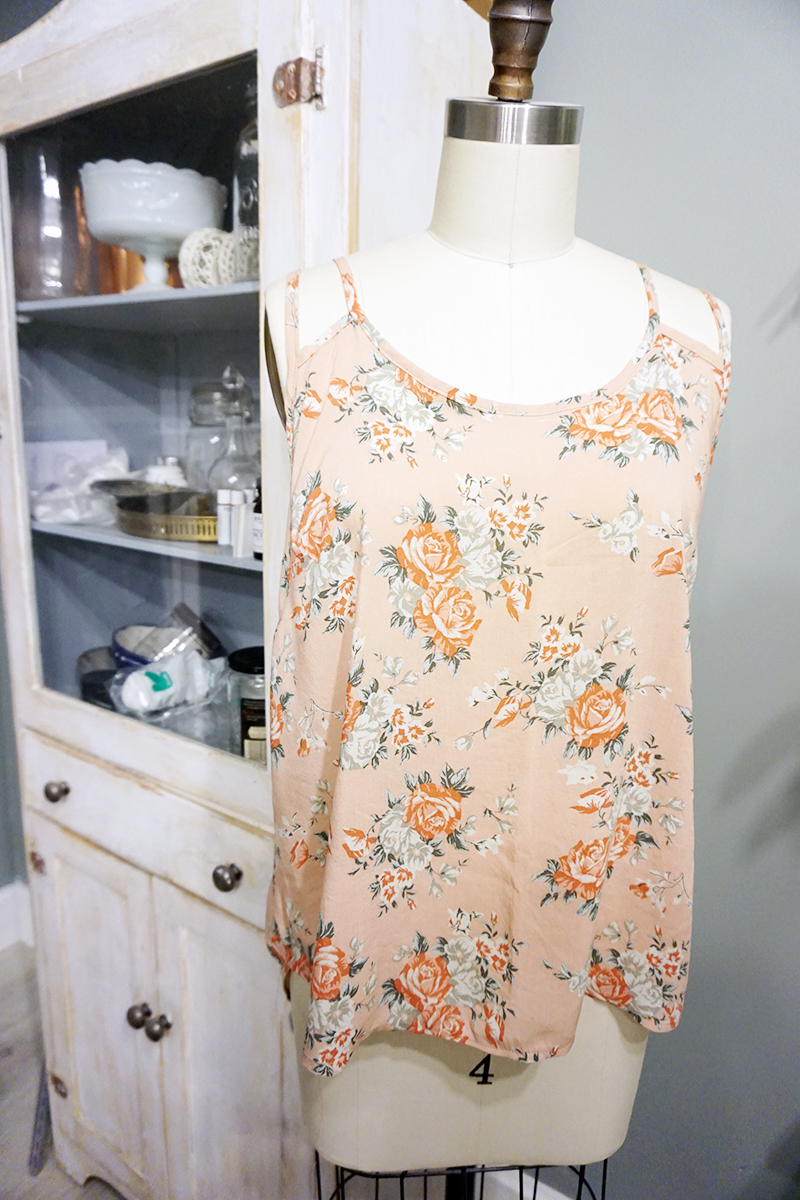 Your flowy, open-strapped tank is done!
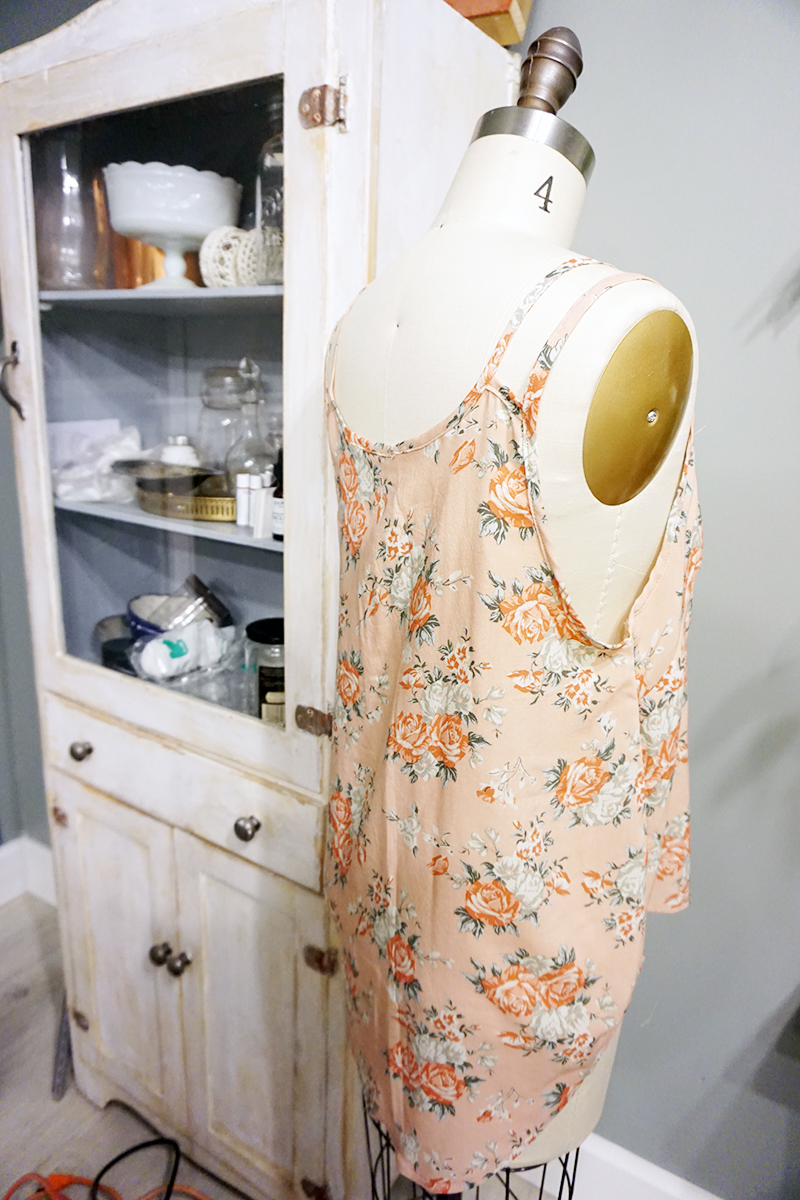
tutorial
One way to color in a pencil sketch in Photoshop.
in Design
How to go from this...
[responsive] [/responsive]
To this!
[responsive] [/responsive][responsive]
 [/responsive]Step 1. Scan in your drawing (I like to set the scanner to 300 dpi grayscale TIFF) and bring it in to Photoshop. Unlock the layer and clean up any areas you need to. I like to just use a round brush with white paint to do this. Command-U to adjust the linework color. Check "Colorize" and adjust the sliders to your liking. Don't mess with the lightness slider at this point. If you want to make your linework darker you can adjust the curves. Set your layer style to "Multiply"2. Find a sepia-colored paper texture and place it in a layer below the sketch layer. Set the layer style to "Multiply" and the opacity to around 50%. Keep this layer directly under your sketch layer.3. Make a new layer and choose a background color. Always keep this layer beneath all the other layers you'll end up with.4. Start adding new layers under the textured paper layer. I like to separate these by color. I used a sort of dry texture brush that uses the background and foreground colors together depending on pen pressure. I also used a Wacom tablet, though this isn't really necessary. Keep your color layers separate and stack them as needed. That way, you can go back and change the opacity of certain sections.5. Lastly, to add a little more depth to the image, I used filter > render > lighting effects to add a vignette effect on a layer above all the other ones. I made a layer of white, applied the effect and set the layer style to "Multiply". You can probably see by now that the multiply style is super helpful :)Additional tips: I like to use the hue/saturation tool to adjust the colors of my layers. Dodge and burn are also helpful for adding more depth to certain areas. This technique is by no means polished, but I think the overall look is quite nice.Hope you liked seeing the process!
DIY Summer Dress - With Tutorial!
Hi! After a long hiatus I have decided to revamp the blog and start posting again. So...enjoy!I present to you a super comfortable and simple diy summer dress. And it only takes two yards of fabric! This dress was made with a polyester print fabric (which was so not fun to work with, but it's pretty, so I'm good with that) and one invisible zipper inserted in the side of the garment. I used a 22" one, but ended up trimming quite a bit off of it. I finished the hem with lace hem tape which makes the boring task of hemming kind of fun and gives it a bit more weight, important for such a lightweight fabric. Also, I used a 1/2" seam allowance. The dress consists of 4 pattern pieces: the bodice (with two neckline variations), the skirt panel, the waistband and the straps.
 The bodice pattern piece looks more confusing than it really is. Just use common sense. Cut a bodice piece of each neckline (on the fold) out of your outer and lining fabrics. You should have four bodice pieces. Then cut a long skinny piece for the straps. I made mine about 2" wide x 30" long.
 Then cut your two skirt panels and 2 waistband pieces.
The Bodice:
To start, sew together the outer bodice pieces on the right side. Sew the lining pieces together on the left side. Do the same on the opposite side, only stitch about 3" down (to leave room for the zipper). Then, with right sides together, sew down the long side of the strap piece. Pull the end through to turn the strap right-side-out. I use one of these.With outer and lining fabric right sides together, sew the arm holes and neckline, leaving the strap section open. Try on the bodice and figure out how long you want your straps to be (+1" for seam allowance). Cut two straps out of the long tube you made. Iron them flat. With bodice pieces still right sides together, thread the straps through the strap openings, being careful not the twist them. Pin and stitch in place, meeting the seams you made on either side for the arm hole and neckline. Turn bodice right side out. Stitch two lines of gathering stitches around the bottom of the bodice, keeping the edges even. Gather the bottom so that it matches your waistband length.