Today I bring you a tutorial on how to take an existing shirt, create a pattern from it, and stitch it up. The most time consuming piece of this shirt was creating the bias tape. Basically, it's quite simple.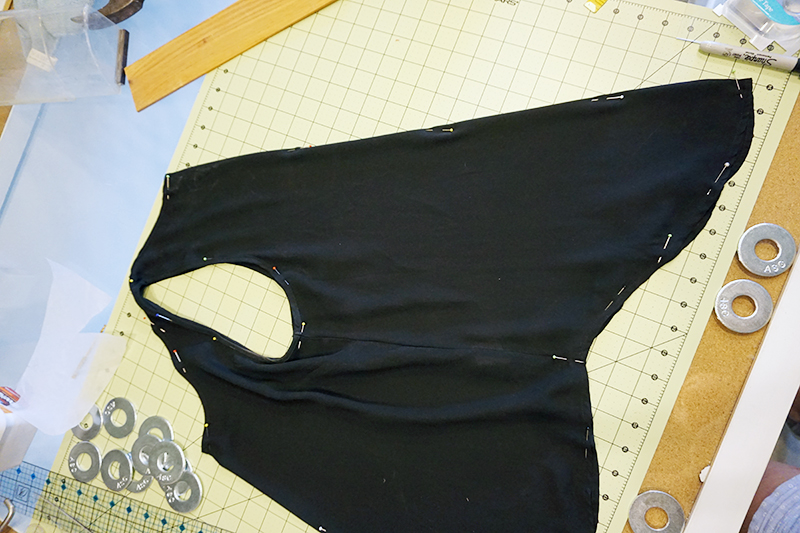 First, you take a woven shirt that you like the fit of. Pin the back and front together on the center folds, pinning the armholes together as well. Place tracing paper over the shirt and trace around the outline, slightly shaping the side seam.
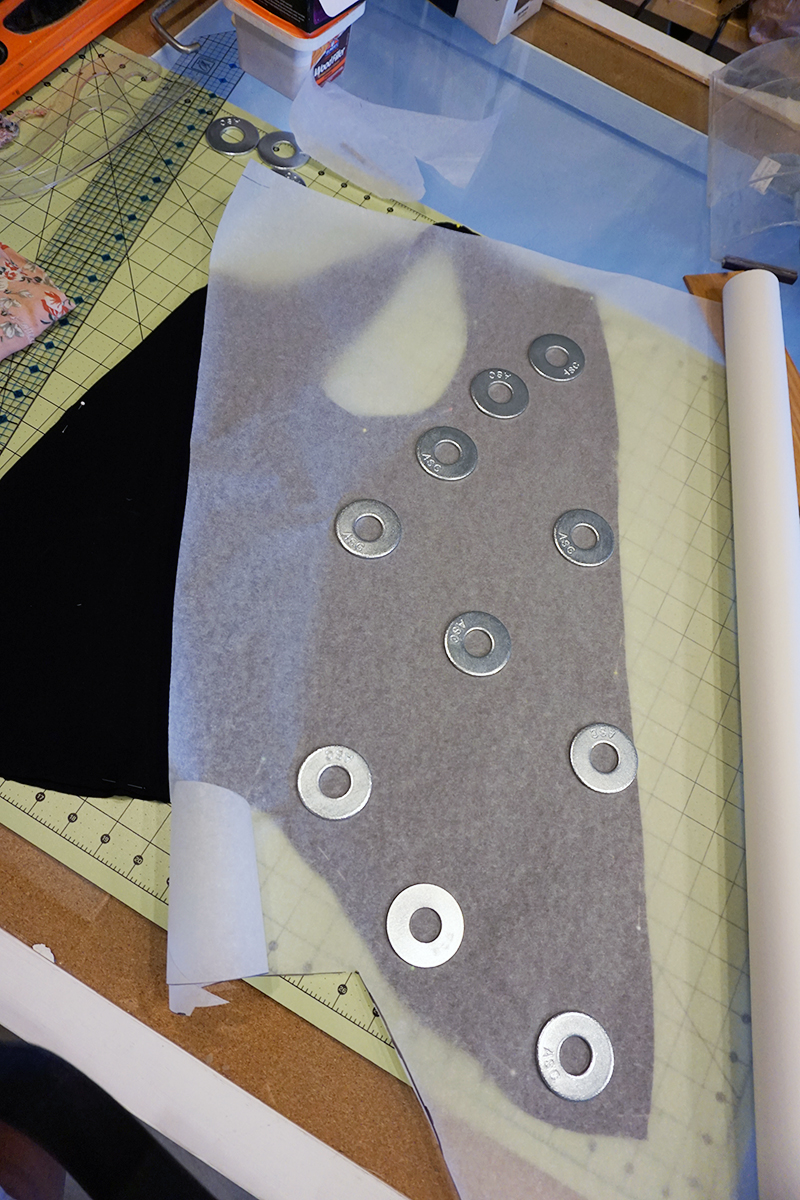
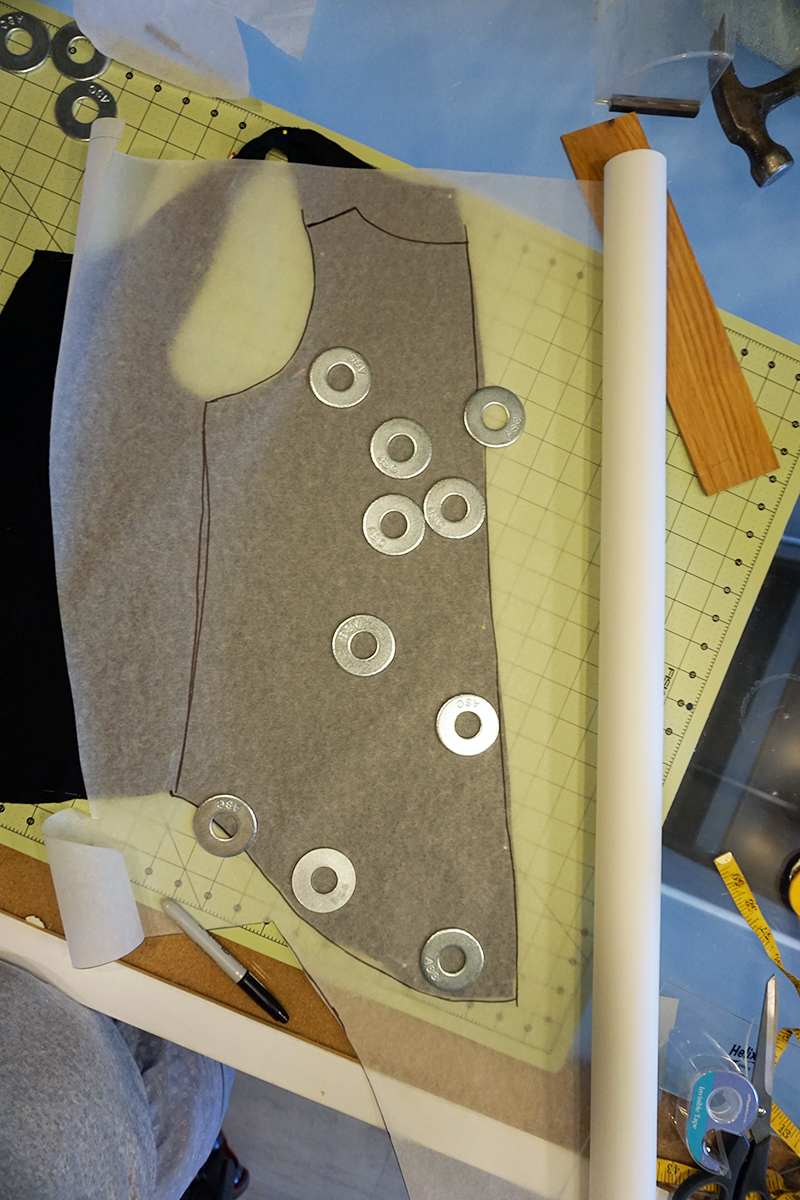
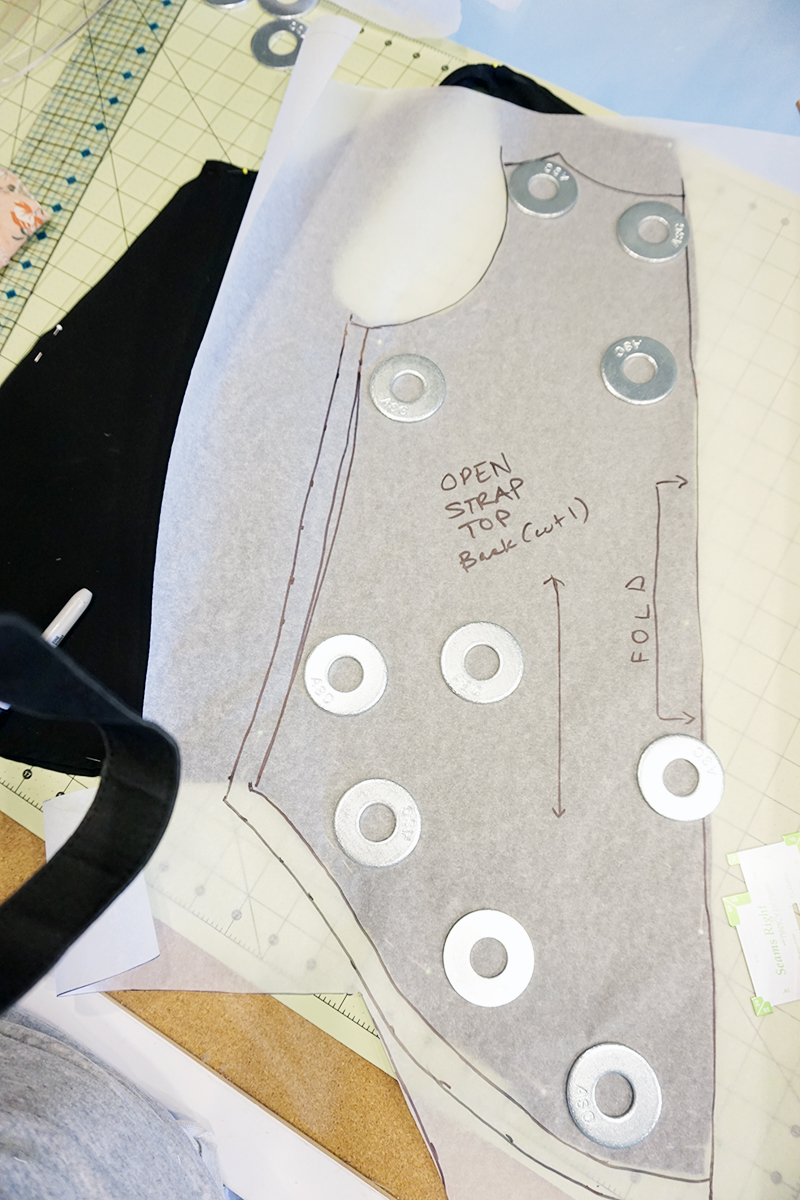 Label the pattern piece with all relevant info and mark your seam allowances (I used 5/8"). Shorten the length of the straps so that you can use bias tape later to create them.
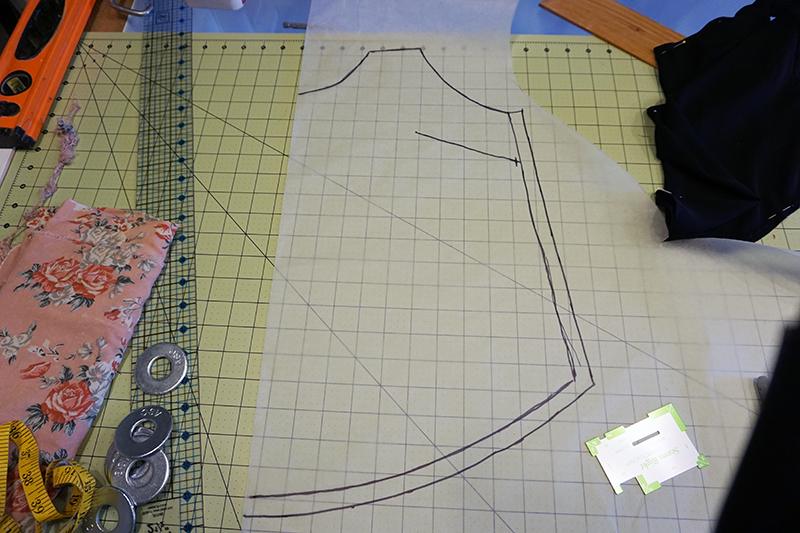 Trace the front piece and include any darts.
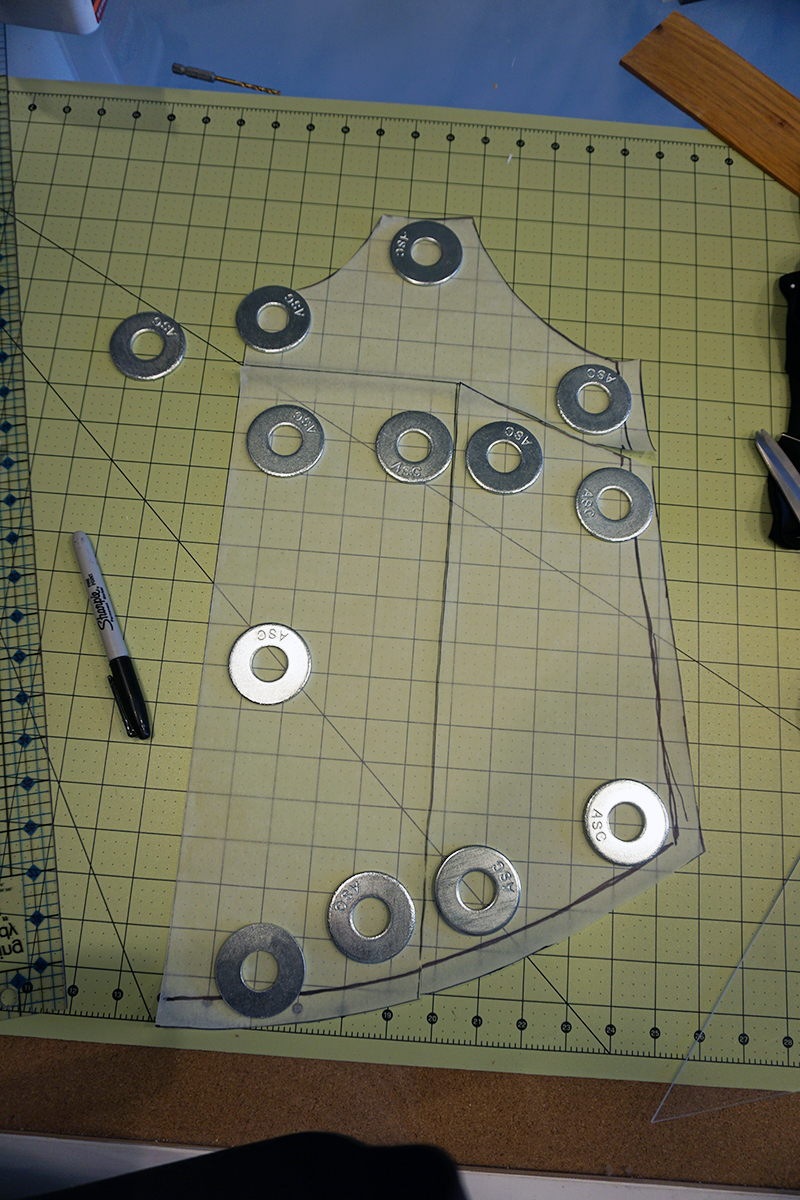 Mark a line from the dart point to the bottom of the shirt and from the dart point over to the center front. Cut these lines, including the dart.
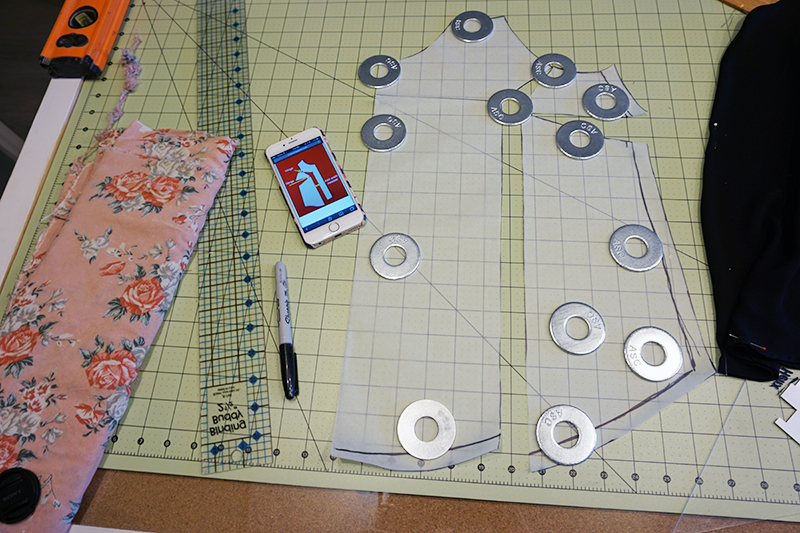 Measure the dart in the shirt to see how far you need to spread the dart. If the dart is 1/2" on either side of the fold you will need to spread it 1". Spread the dart so that you have the right measurement.
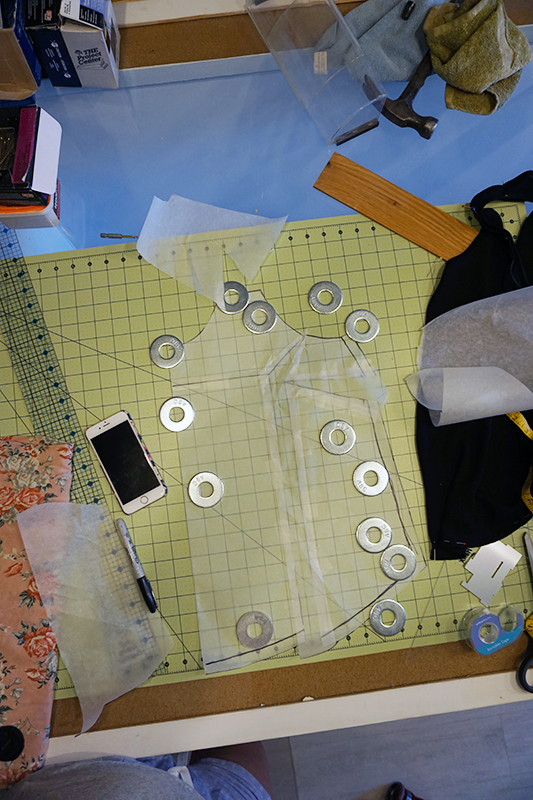 Slide paper under the cut pieces, tape everything together and re-draw the bottom hem lines and sleeve line.
 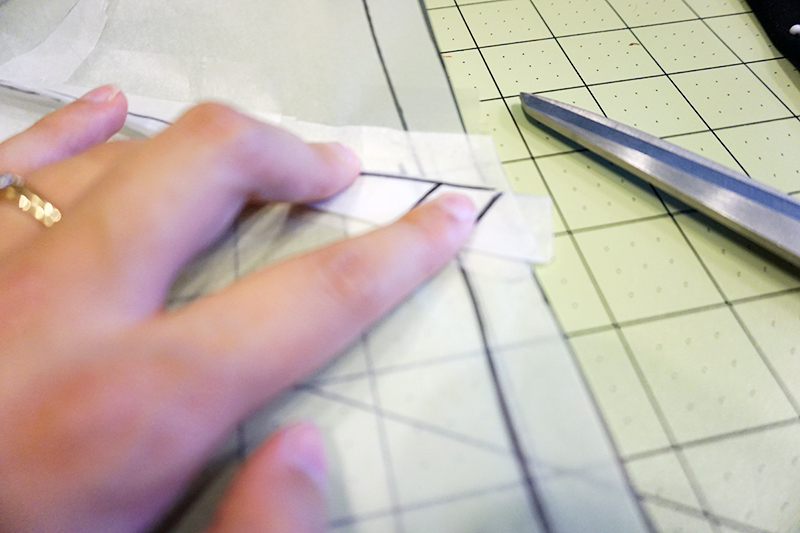 Fold the dart to mark the seam lines (ignore my mistake lines).
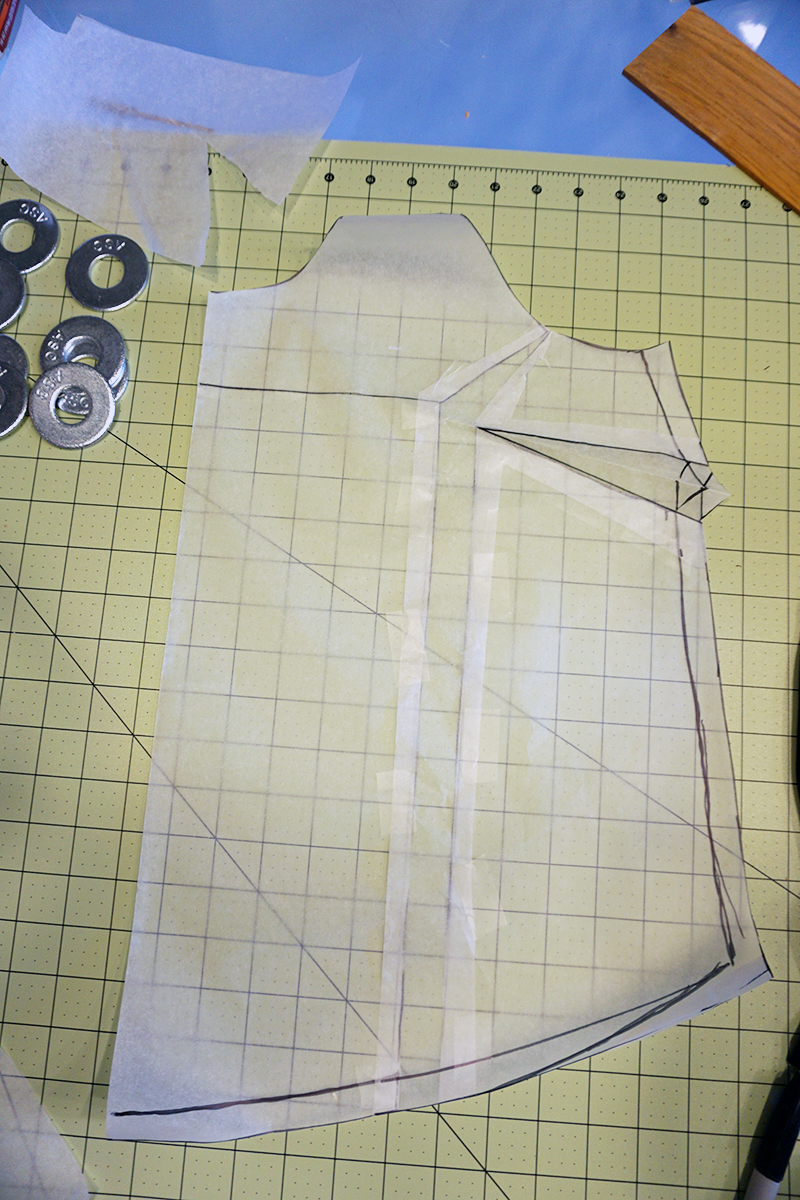 Ta-da! You have a front shirt piece. Cut all of the excess paper off.
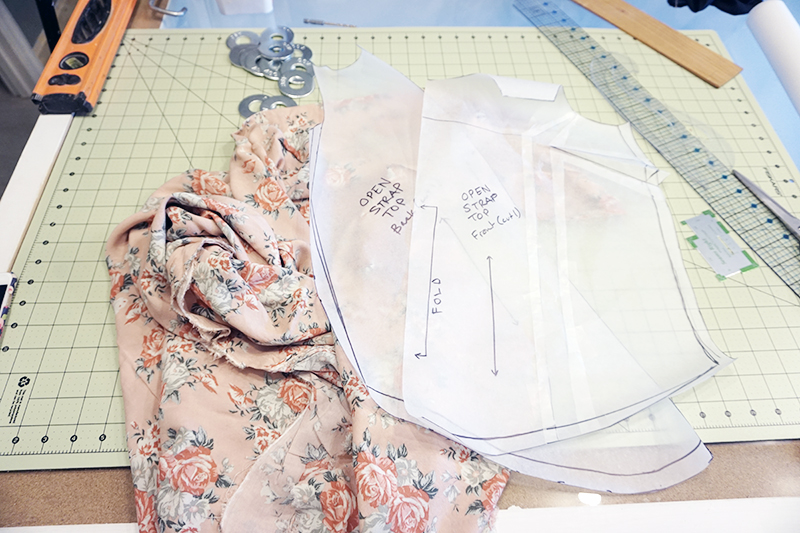 You should only have two pieces for this pattern, a front and back. They will both be cut on the fold.
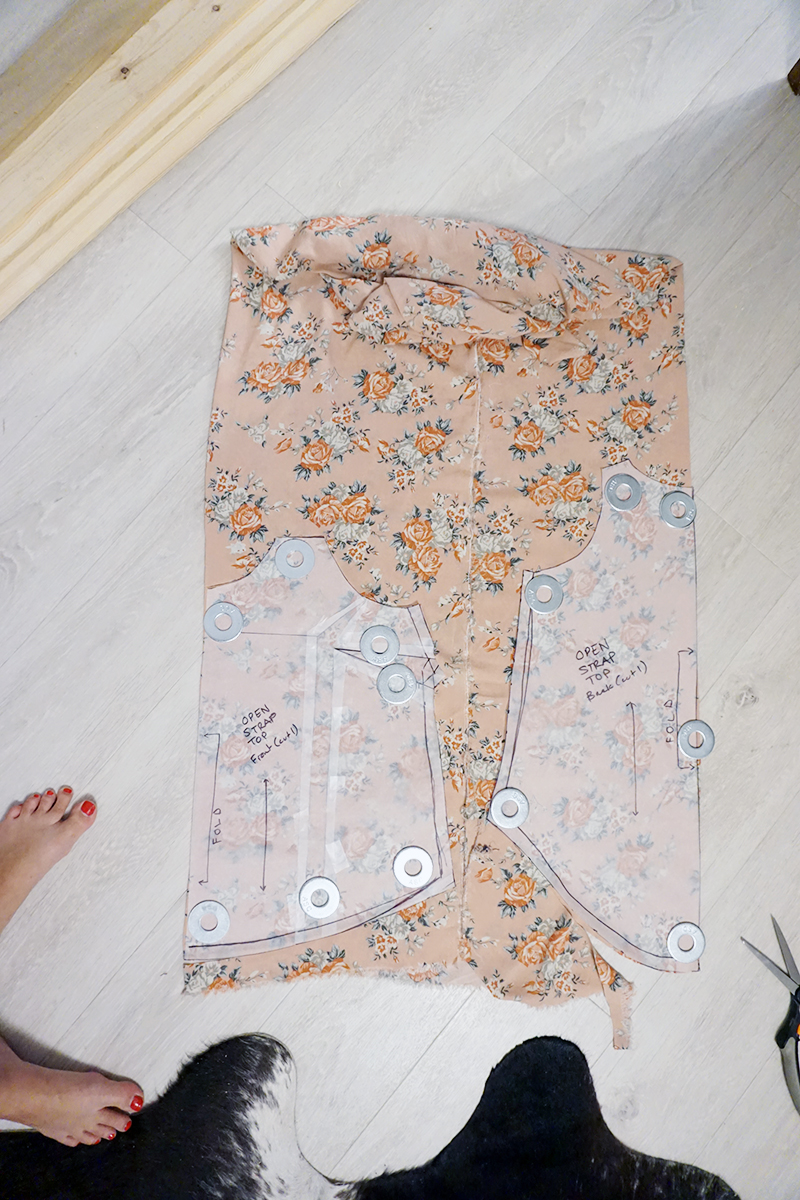 In order to cut both pieces on the fold, bring the selvedge edges to the center of the fabric and lay out your pattern pieces.
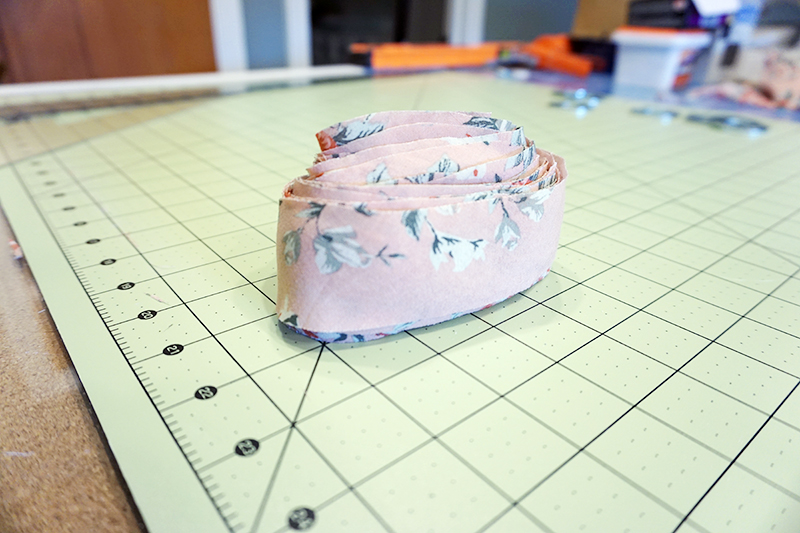 Make some bias tape. I made a ton using this tutorial: http://whip-stitch.com/continuous-bias-tape-tutorial/
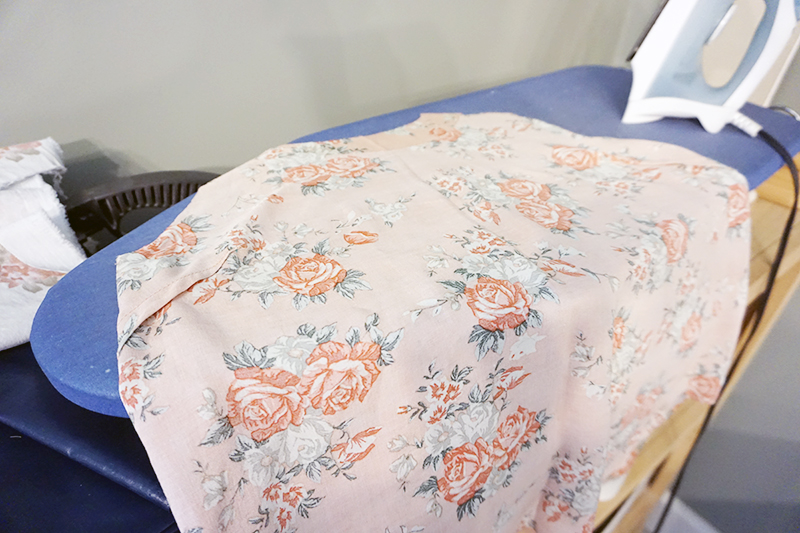 Sew the front and back pieces together at the side seams. I used french seams.
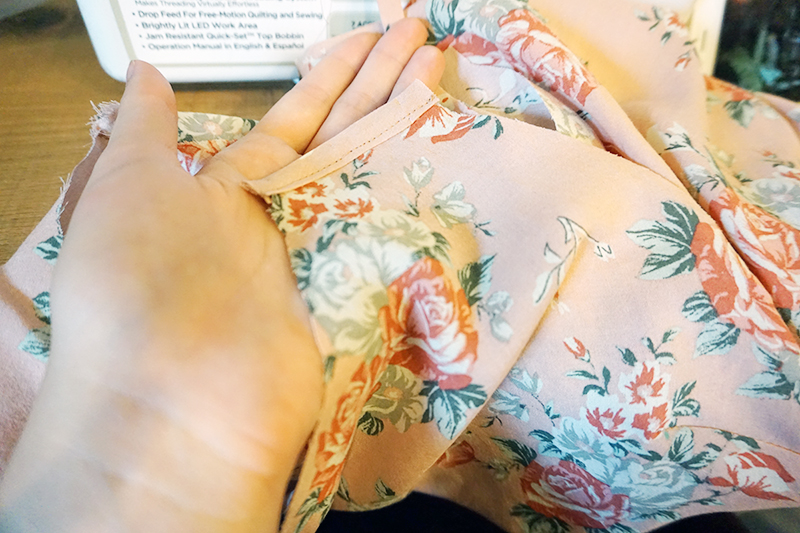 Pin and sew bias tape across the tops of the straps.
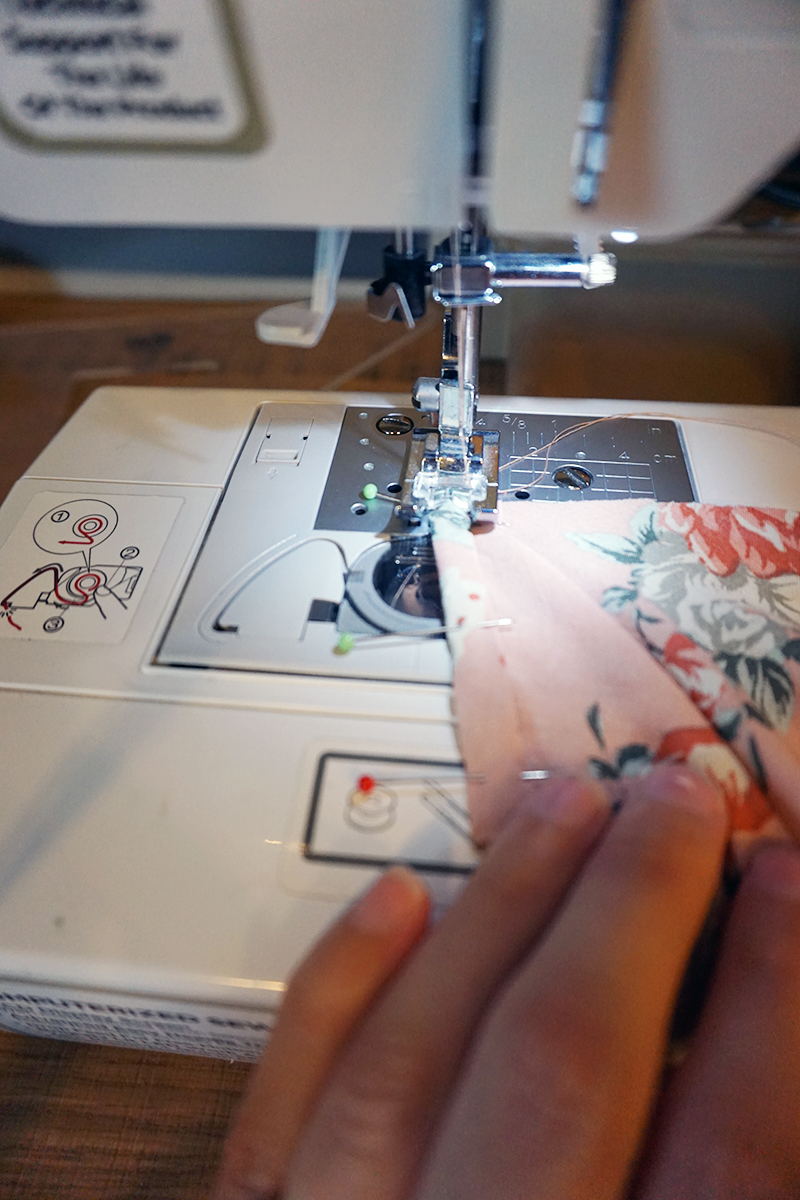 Stitch bias tape around the whole neckline and back, using your original shirt as a guide for the length,
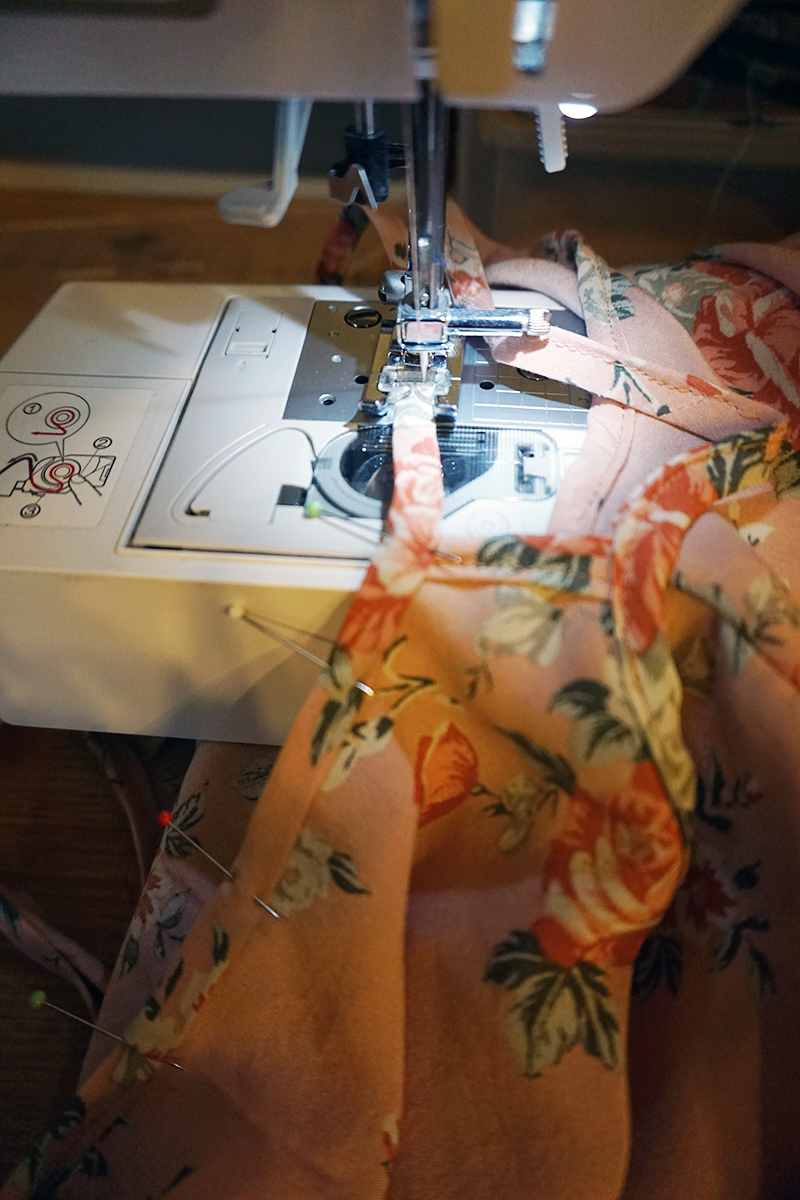 Stitch bias tape around each armhole, again using your original shirt as a guide for length. Hem, using a narrow hem or bias tape.
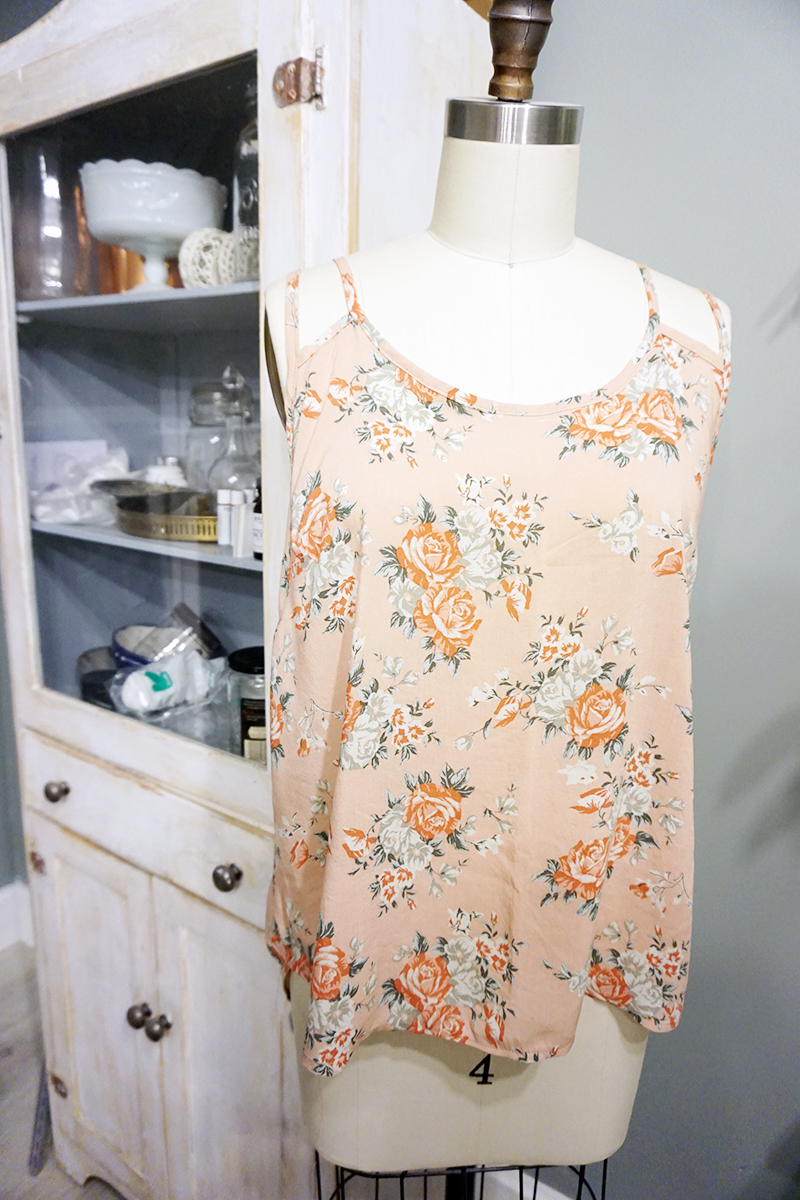 Your flowy, open-strapped tank is done!
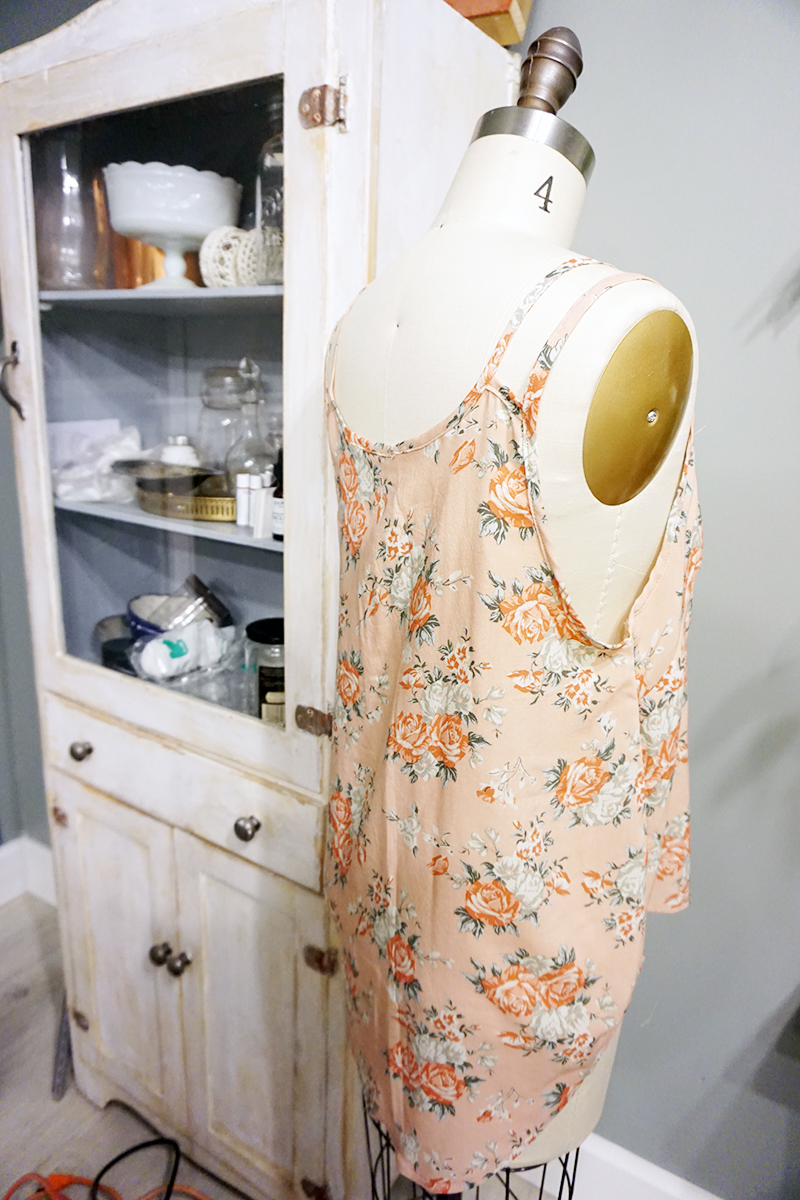
shirt