The second week of Me-Made May 2016 is over and I've managed to not repeat any of my me-made items yet. Honestly, I had no idea there were so many wearable me-made pieces in my wardrobe! Although, I suppose that's why this sewing challenge exists. To rediscover past makes, get inspiration for new projects and motivation to fix issues with pieces that aren't working for one reason or another.Here's a recap of my second week wardrobe:[BestWordpressGallery id="2" gal_title="MMMay Week 2"] I still haven't managed to complete a project other than the black knit shirt I made at the very beginning. There's a pencil skirt in the works, though. Too many things to sew and not nearly enough time to sew them!
skirt
Me-Made May 2016 - Intro
This is the first year I will be participating in Me-Made May, a challenge started 6 years ago by Zoe over at So Zo, What Do You Know? Over the past few years I have seen other bloggers joining the challenge and finally, this year, I was on top of things enough to be aware that it was coming up and plan accordingly. Yay for thinking ahead!I've challenged myself to wear one "me-made" item a day throughout the month of May. To keep myself accountable, I will take daily photos (if you follow me on Instagram, be warned - lots of selfies are coming) and I will post my progress weekly on this blog.It's only day 9 and I've already been so inspired by what everyone else is showing off! My sewing mind is on overdrive and I can't wait till I get the chance to sit down at my machine again.To avoid becoming overwhelmed by all the projects I have in mind, I've decided to make a plan. I want to try to create a new piece each week and here's my plan: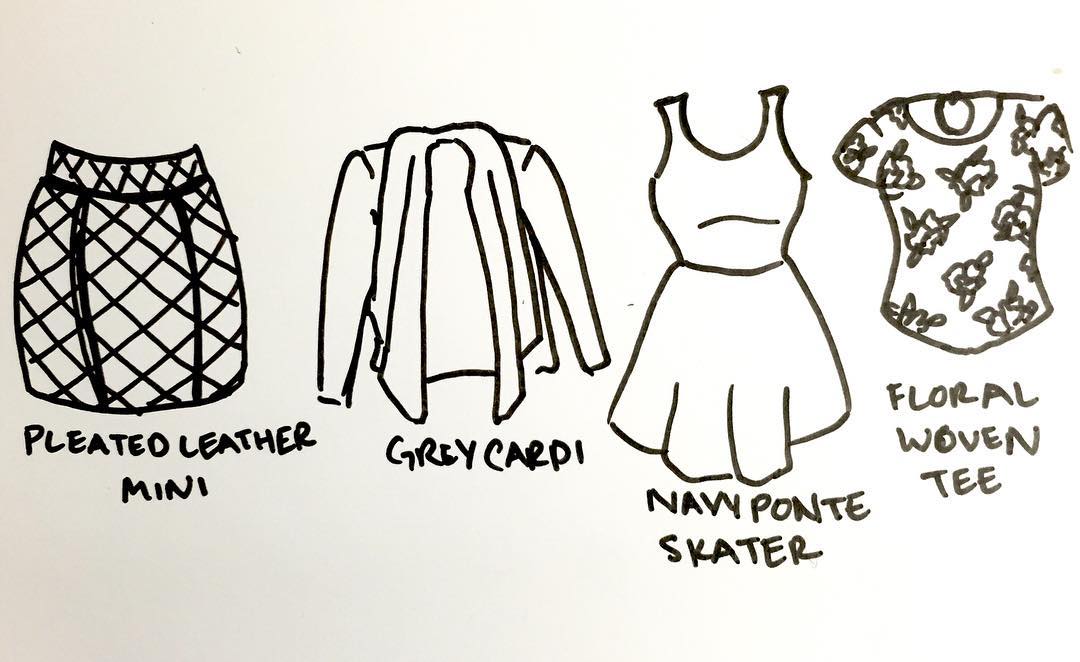 I made a prototype of the woven tee although I've been lurking HARD on Grainline's Scout Tee but just can't justify the cost of a pattern for what should be so simple to draft. My initial shot at the self-drafted tee has some issues that need to be worked out (sleeve cap too high, neckline too big, overall front width too big...) but it might be salvageable. You can see it in the first photo below:[BestWordpressGallery id="3" gal_title="MMMay16 Week 1"]After my first full week of wearing one me-made item a day I can pick up on a few trends:
- I am drawn to floral printed fabrics. This is a little surprising to me as most of my RTW wardrobe is very basic and limited to stripes or polka dots in terms of pattern. I guess sewing is where I make more feminine pattern choices!
- The majority of the pieces I've worn so far are self-drafted. Maybe this is because I'm not comfortable sewing patterns yet? Or maybe because these tend to fit better? Not sure...
- Speaking of fitting better, almost every piece I've worn has some sort of fitting issue I notice. The main issues are low armholes and forward-thrusting, sloping shoulders (I think). This was especially apparent on the yellow blouse.
- Make any fitting adjustments to the garment before I wear it. I could have easily adjusted the sleeve width on the kimono top, but instead I let it drive me crazy all day.
- Don't worry about not completing some of the other parts of my pledge (finishing a garment every week, posting a photo every day) because sometimes it's just not feasible.
- Always use a nice camera for the photos! The iPhone ones are so crappy looking but my fancy camera wasn't cooperating for a couple of the days.
- Plan an extra 10 minutes to take a photo before heading to work. My mornings have been a little frantic and that doesn't translate to a good vibe for the day.
A Walk in the Park
Just a few photos from a walk in the park today. We have this really great little dog park about a block and half away and we end up taking Q there several times a week. I also got a good chance to take some better pictures of the eyelet skirt in action (against a dilapidated building - deconstruction chic!) Oh! and I want the pretty blue dresser in the window of that store. But I think I can find some glass knobs, buy a thrift store dresser, and paint it blue for less than $75. Maybe for a weekend project?


Green Jersey Circle Skirt
in Projects
In my sewing frenzy last night, I made a circle skirt using the tutorial on MADE. I thought I had been charging my camera battery all night, but it must not have been connected correctly because I got a total of two pictures out of the battery. Neither of which were of the skirt. So I had my fiance take a pic with his cell phone (why does picture get shortened to "pic" in my mind when it was taken with a phone?) But first Q and I waited for the fiance while he did laundry.


I am so in love with this dress! It took no time at all and it is suuuuper comfy. Will definitely be furiously sewing many more.

A Skirt and Some Buttons
in Projects
After working the booth at Italianfest all weekend, I was eager to get some "me" time and do some sewing. I picked up a remnant this morning at JoAnn Fabrics. It's a beautiful white eyelet with a paisley pattern.There was a yard left, and I snatched it up to make a skirt. The one yard was a little short (and see through) so I cut it in half horizontally and used some muslin I had lying around to line it.I forgot the camera for the first part of the process, but basically I cut each piece of fabric horizontally to make four 20" x about 60" (two of the muslin and two of the eyelet.) I sewed the short ends of the two muslin pieces and did the same with the eyelet pieces to make two wide tubes. Then I sewed the tops of the tubes together with wrong sides facing out.Next step is hemming. I actually took pictures of this! Just fold and iron the hem down twice.
 After you've hemmed, sew a tube along the top of the skirt (making sure your elastic will fit) and leave an opening to push the elastic through.


 Attach a safety pin to both ends: pin one to the end of the tube so it doesn't slip through. Use to other one on the other end of the elastic to push it through the tube at the top of the skirt.
 Sew the ends of the elastic together and close up the tube. You're done!
 And, as an added bonus I made some fabric covered buttons!


 Enjoy!